How to Adjust a Bike Saddle and Seatpost
Walks through adjusting a bike saddle and seatpost for height, fore-and-aft position and angle. Gives you the steps to reposition and torque the seat safely.
In this article
This article walks through the process of adjusting the height, fore-and-aft, and angle of a bike seat.
Preliminary Info
On just about any bike, the seat can be adjusted in three ways: height, fore-and-aft, and angle. These adjustments can be made on almost any bike but there may be outliers that we do not cover.
It’s important to note that this article does not cover correct saddle position. Saddle positioning is one aspect of the process known as bike fitting, and the “correct” position is both highly personal and somewhat subjective.
A properly fitted bike can make a big difference in comfort and performance. Many bike shops offer bike fits as a paid service, and there are even businesses that specialize in bike fitting. Of course, online resources also exist, but it may be worth it to check with shops in your area.
Height Adjustment
To adjust your saddles height you’ll first need to loosen the seat collar.
If you have a quick release collar, pull the lever open with one hand and hold the post with your other hand. Once you have the lever open, wiggle the post and be sure it is free.
For bikes with a seat clamp bolt, find the correct sized wrench, typically a 4 mm, 5 mm, or 6 mm hex, or T25 torx. Hold the saddle with one hand and loosen the clamp bolt counterclockwise with the other. Once loose wiggle the saddle to be sure it is free.
If the seatpost is not round, you may not be able to wiggle it back and forth. In those cases, just lift or lower to desired height.
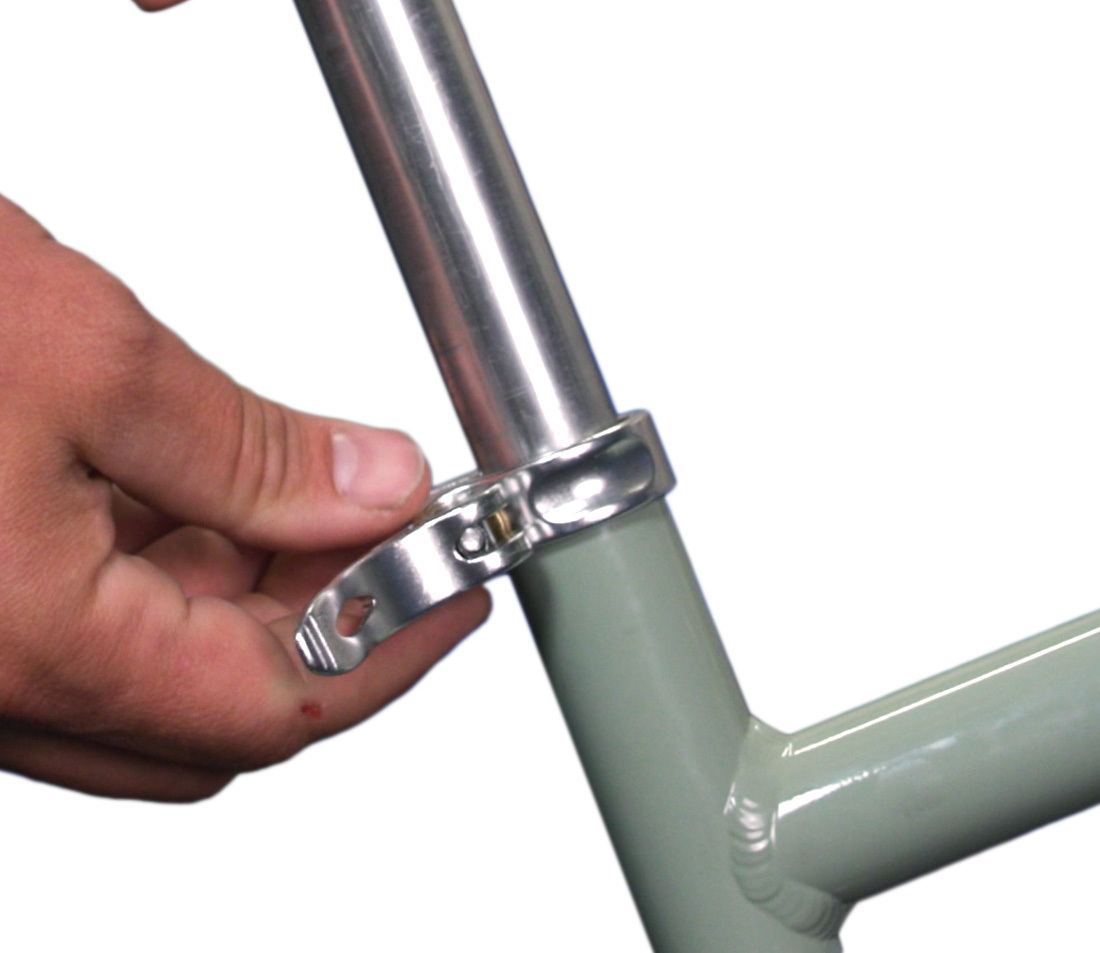
Quick release-style clamp
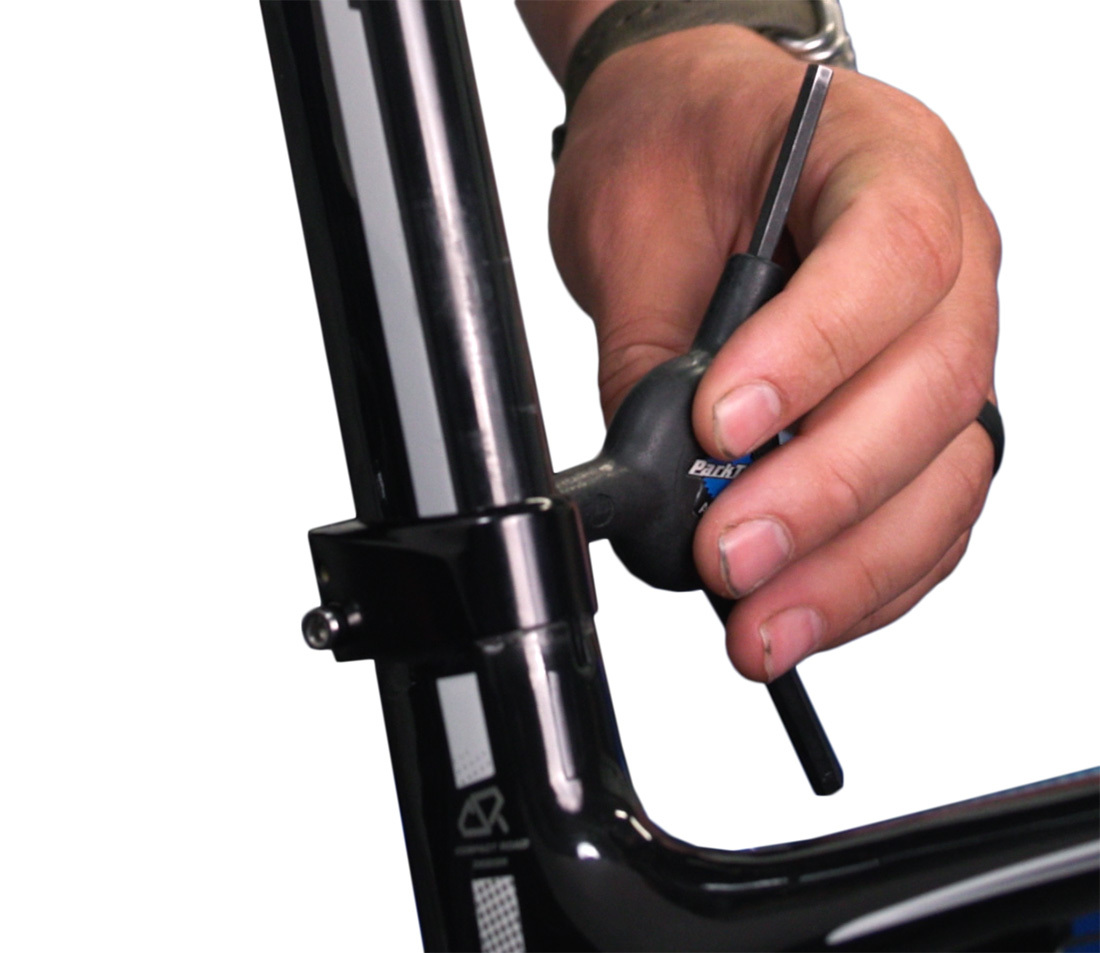
Bolt-style clamp
Adjust to the desired height. Before tightening, be sure the saddle is straight by looking down the length of the bike. Also be sure that you did not move the seatpost above its minimum insertion mark which is typically found on the seatpost itself.
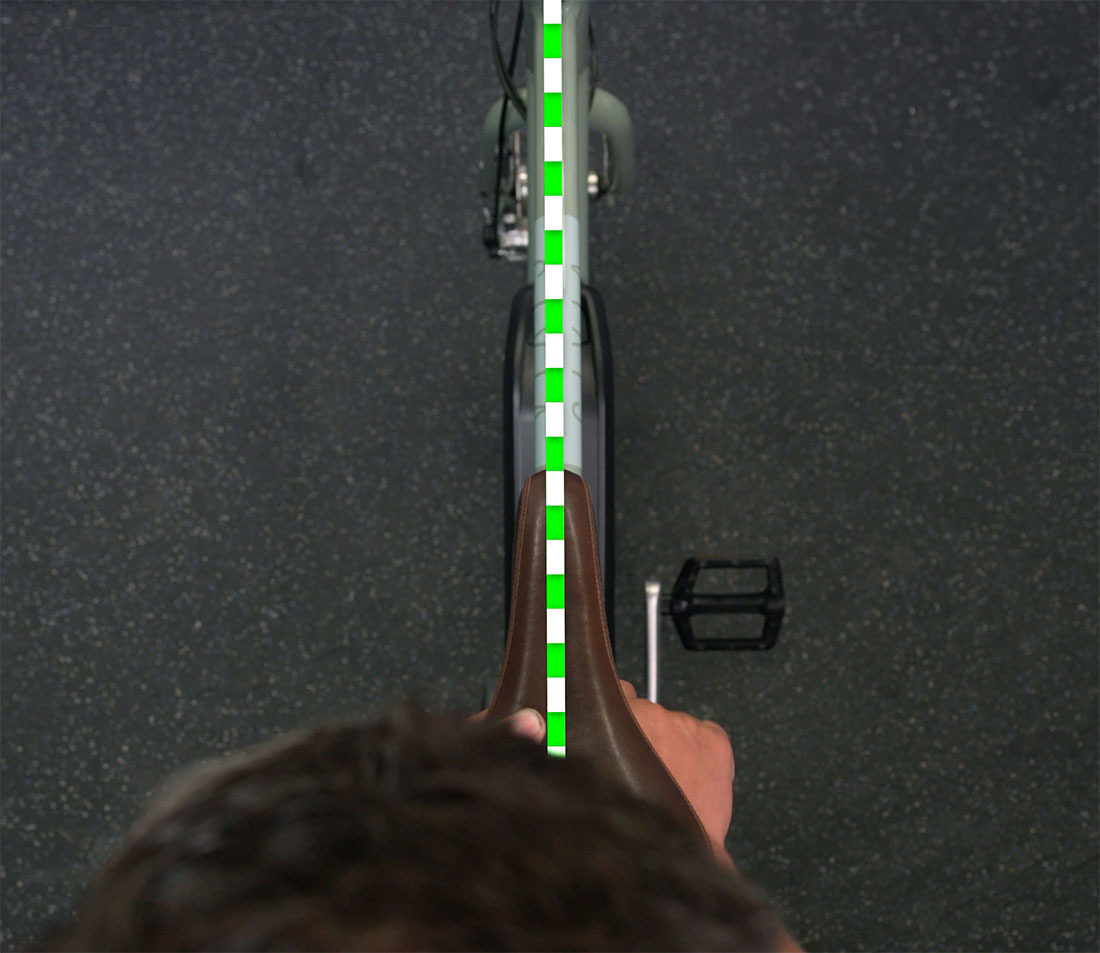
Align the nose of the saddle with the top tube of the frame
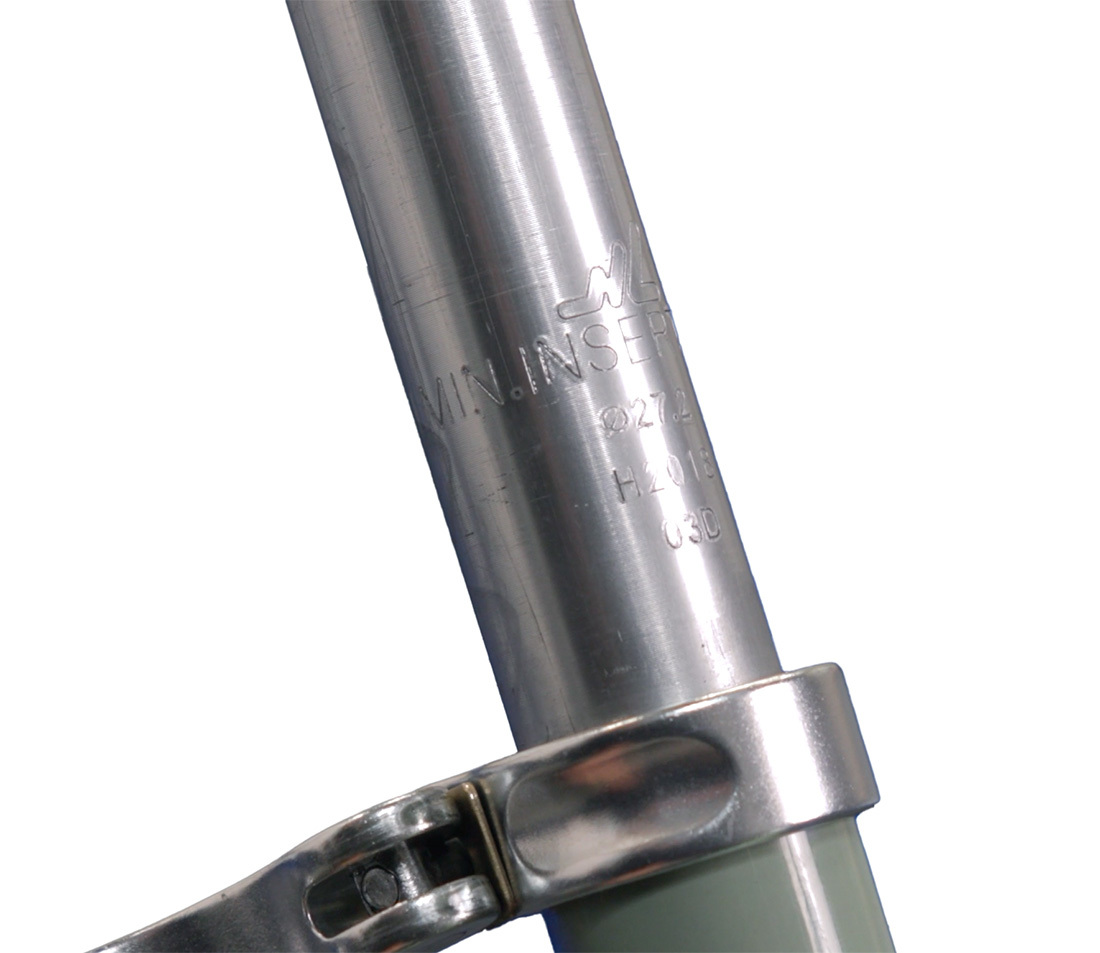
Example of a max height/min insertion mark. This should not be visible when installed
Tighten the collar bolt clockwise to the manufacturer’s specified torque. This torque can often be found on the collar or the manufacturer’s website.
Fore-Aft Adjustment
Most saddles have rails that are clamped by the head of the seatpost. This allows for some forward and backward movement. Note that there is a limit to this movement, as most saddles have max adjustment lines marked on the rails.
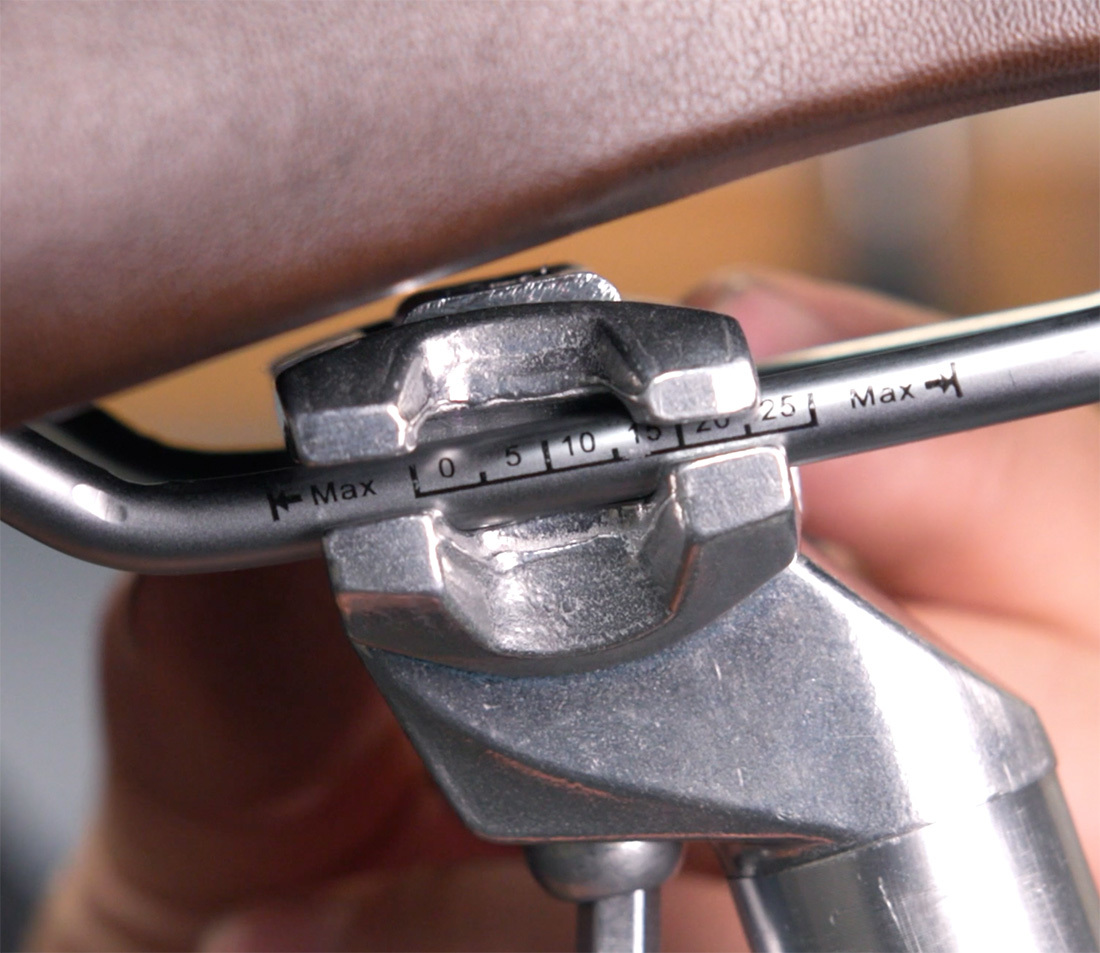
To adjust the fore and aft position, begin by loosening the mounting bolt(s) that clamp the seatpost onto the saddle rails. If the seatpost features two mounting bolts, loosen both evenly until the seat is able to move forward or backwards to the desired location. Retighten all fasteners evenly to the appropriate torque spec, unless you are also adjusting the angle:
Angle Adjustment
Adjusting saddle angle is very similar to changing the fore and aft position. On many designs, simply loosen the mounting bolts, adjust the angle, and re-tighten.
For a seatpost with two vertical inline bolts, you will need to loosen and tighten the front and rear bolts in tandem to adjust the angle. For example, to adjust the angle of the saddle upwards, loosen the front bolt and tighten the rear. To adjust the angle of the saddle downwards, loosen the rear bolt and tighten the front.
Some newer seatpost designs feature a separate adjustment bolt for angle adjustment. Loosen the mounting bolts, adjust the angle with the adjustment bolt, and re-tighten to manufacturer specs.
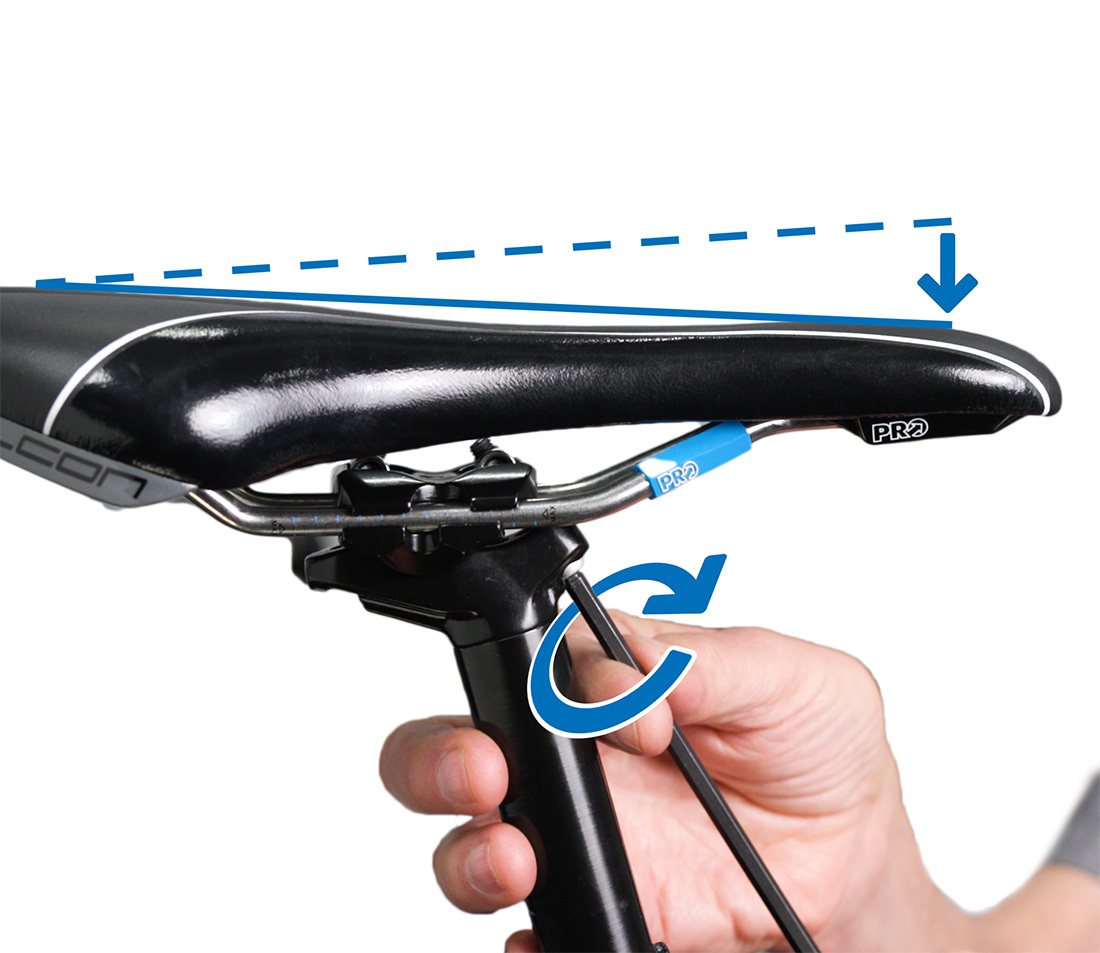
Angle adjustment on a saddle with inline bolts — tighten the front bolt and loosen the rear bolt to angle the saddle forwards
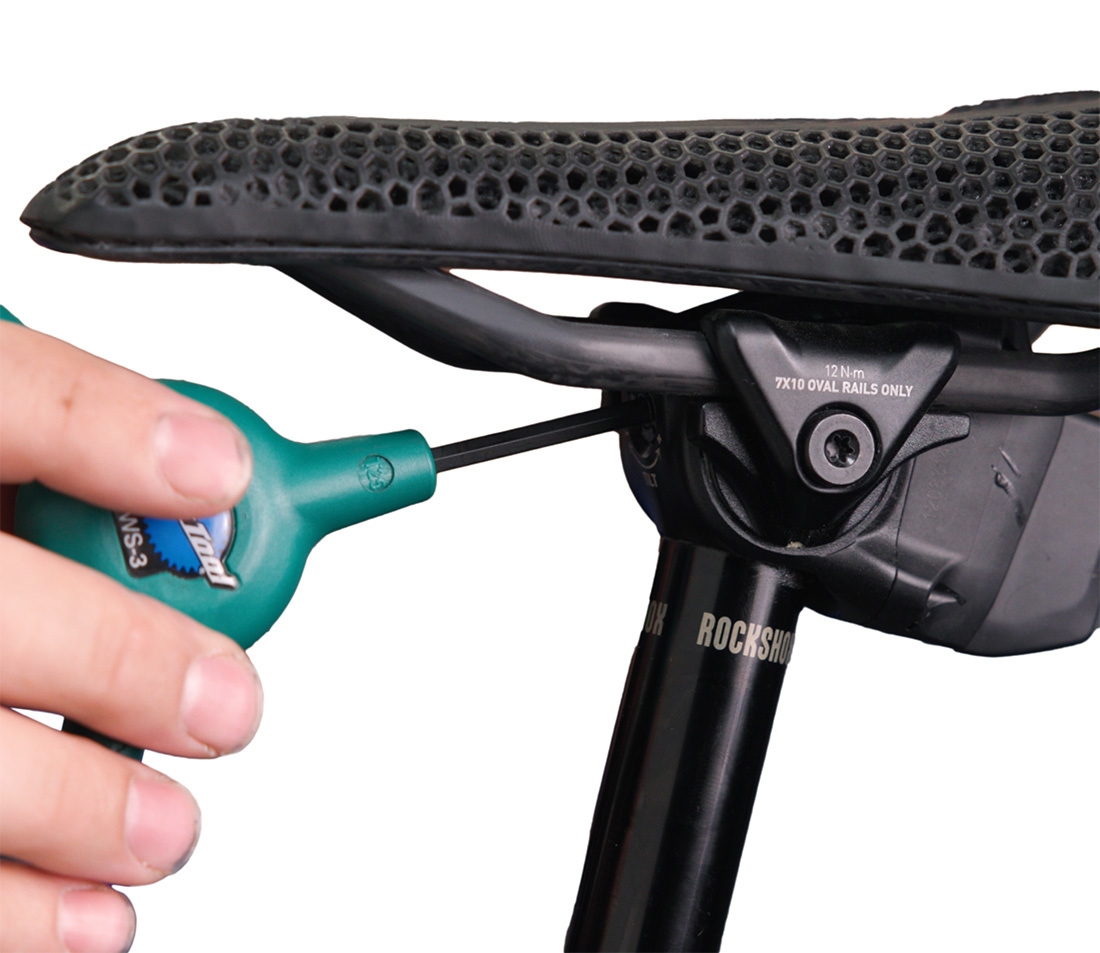
Seatpost with angle adjustment bolt
Secure the mounting bolts to the recommended torque. Once everything is adjusted and tightened, do a safety check by grabbing the front and back of the saddle and pulling up, down, and side to side with force. The saddle should not move. If it does, realign and re-secure.
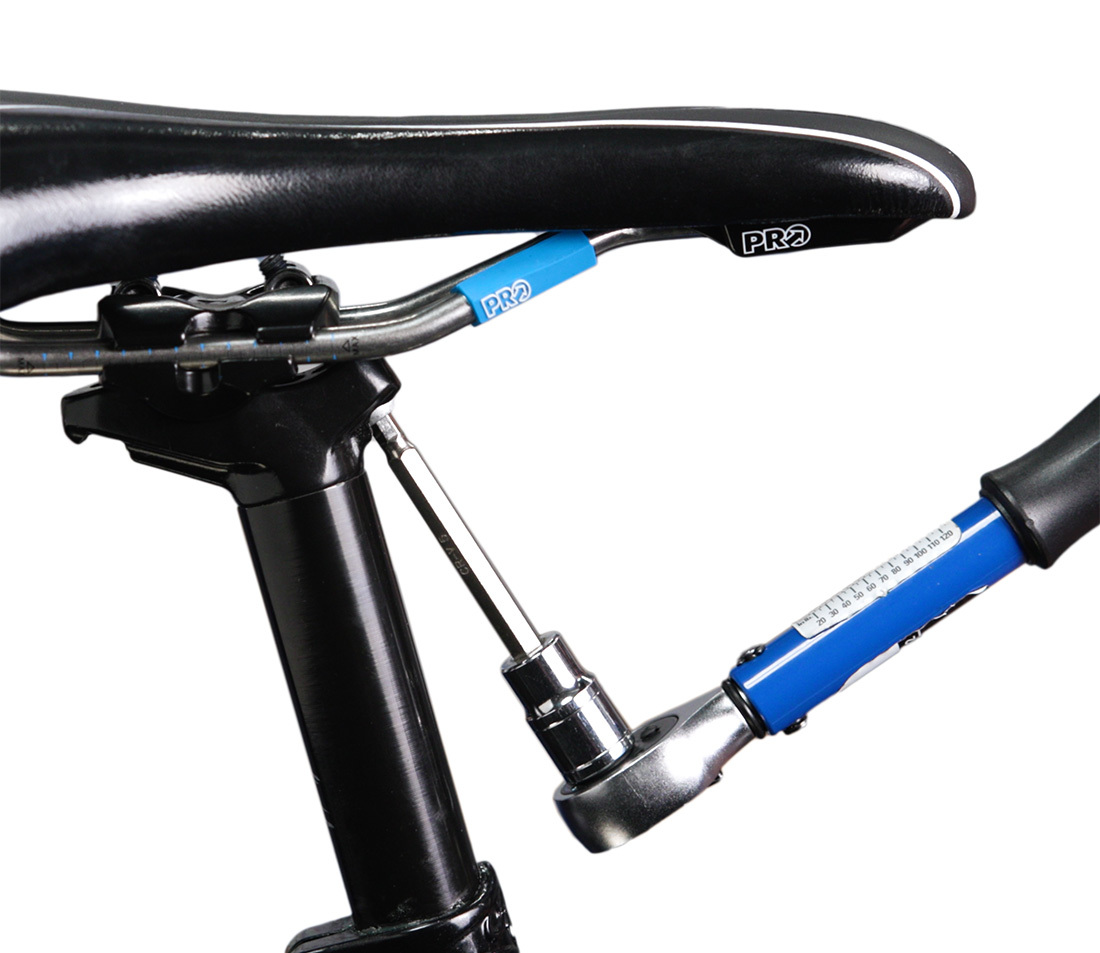
Use of a torque wrench is recommended
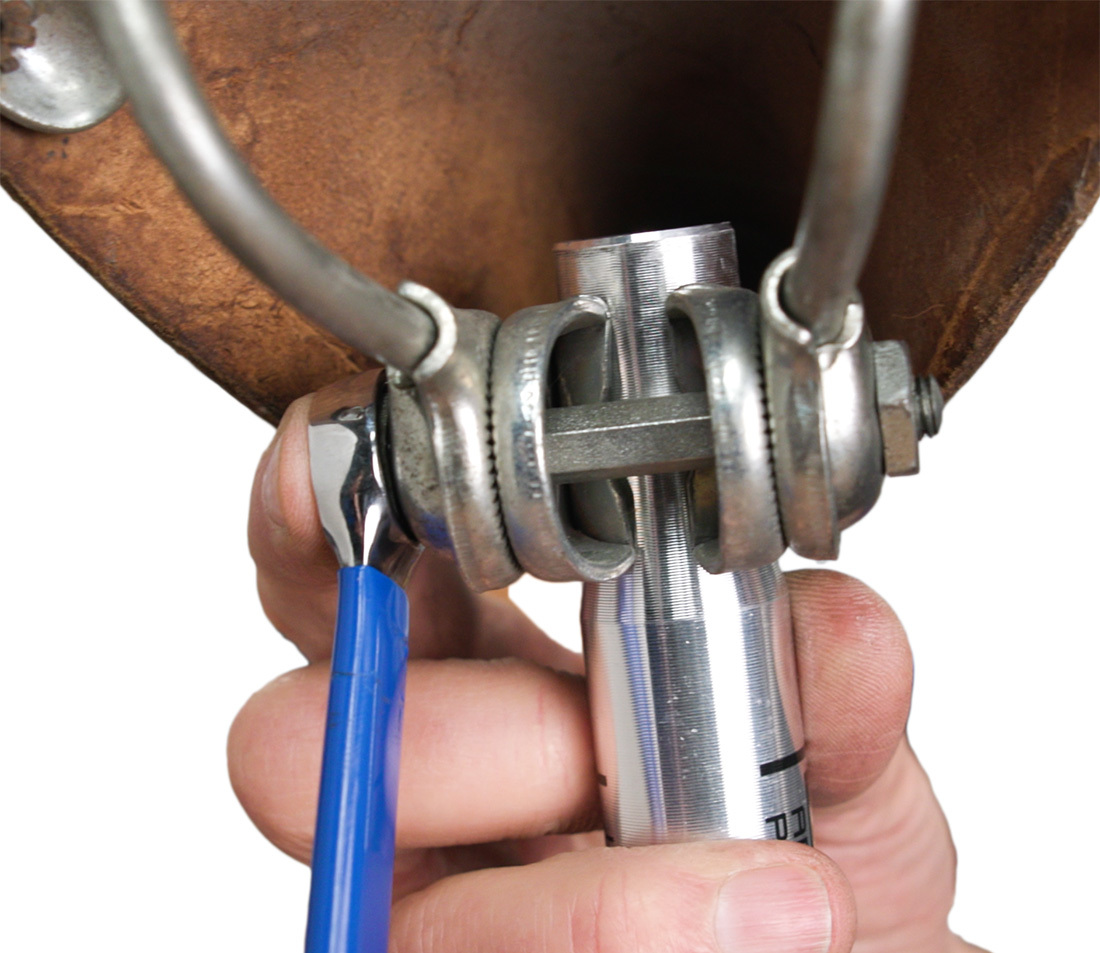
Typical torque for an old-style single horizontal bolt setup is 15-20 Nm