How to Patch a Tire and Tube
This guide covers patching a bicycle tire and tube, from locating the hole to fitting a pre-glued or vulcanizing patch. Fix a flat instead of replacing parts.
In this article
How to fix a flat on a bicycle inner tube or tire body, using a pre-glued patch or vulcanizing patch.
Locating the Hole
Note that these instructions only apply to traditional tire-body-and-inner-tube setups. Tubeless tire bodies cannot be patched with stick-on patches — use a plug tool such as the Park Tool TPT-1.
To fix a flat, first locate the hole in the inner tube. If possible, re-inflate inner tube to at least twice its normal width.
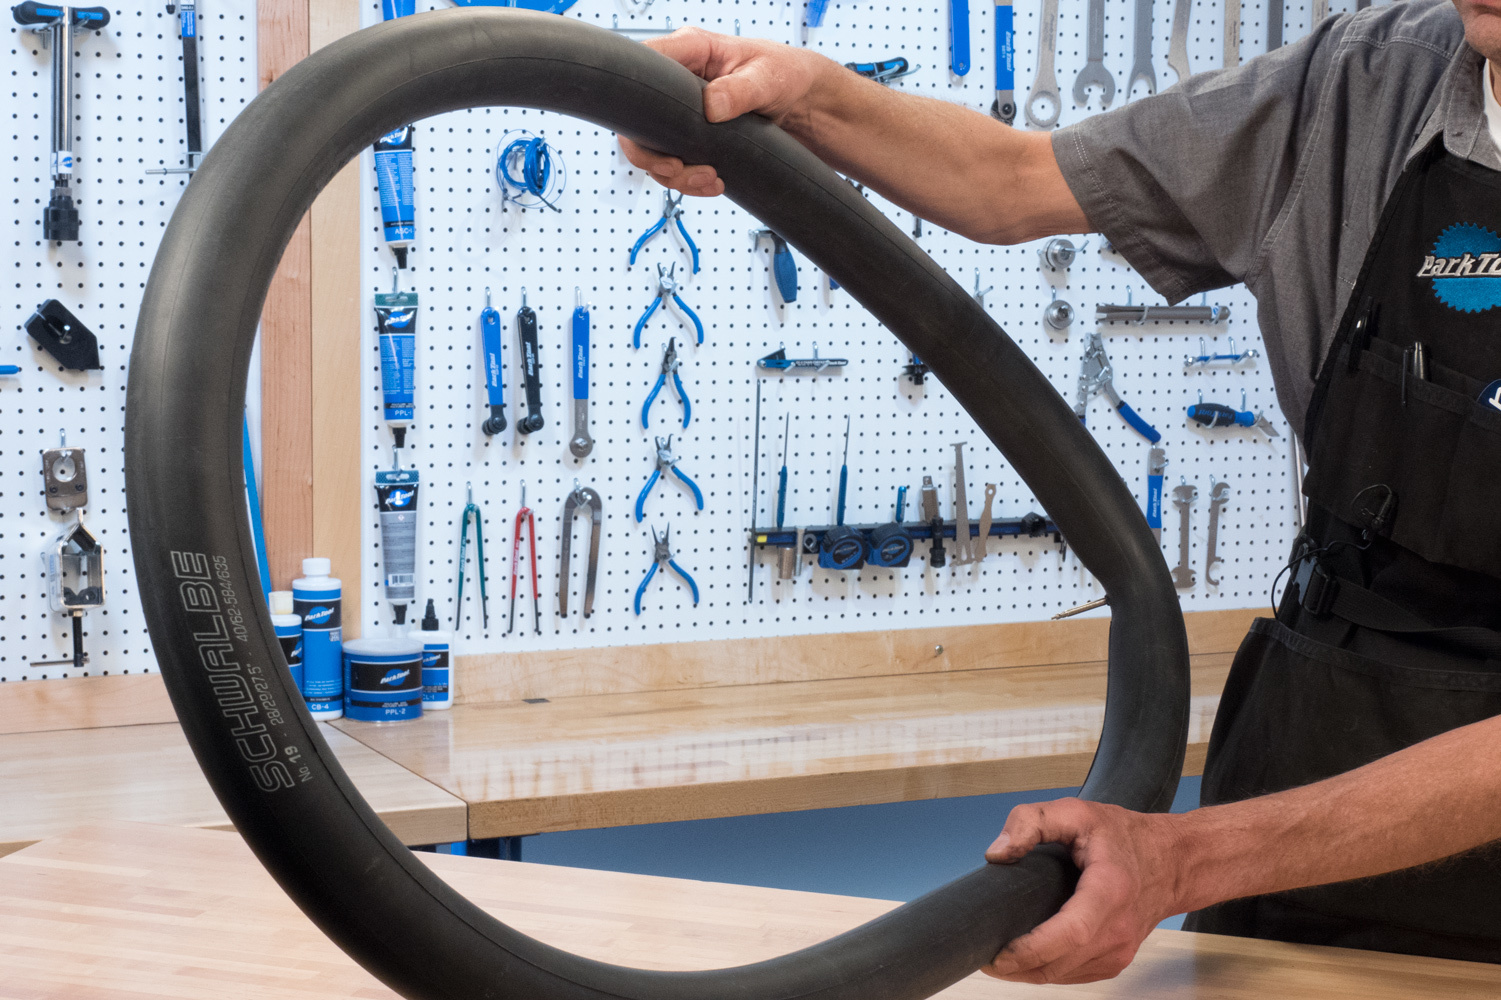
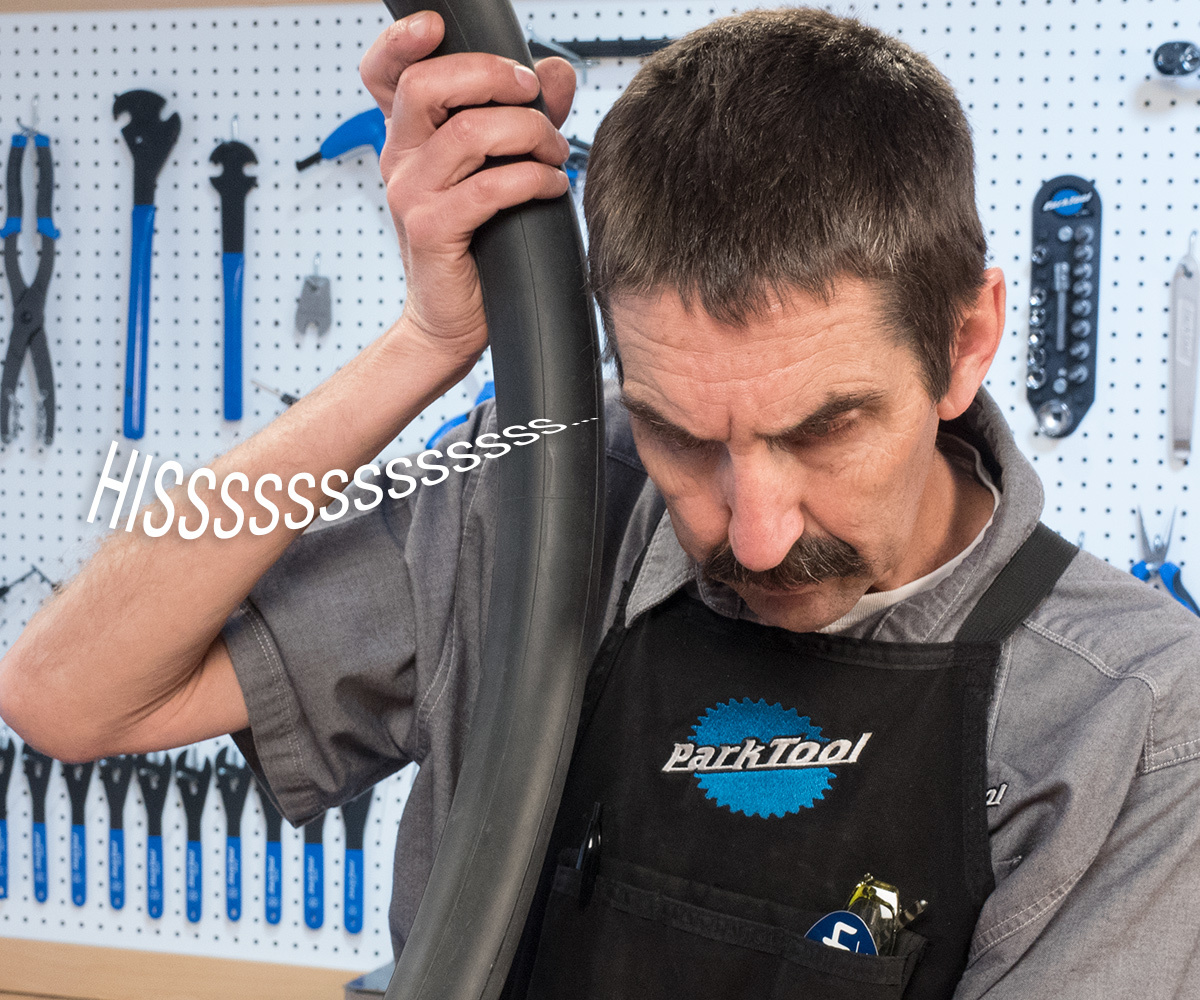
Inspect for air leaks by holding tube close to the sensitive skin of lips or by holding tube near your ear to hear leaks. Move the tube around its circumference. If these steps do not work, submerge tube in water and watch for bubbles at the hole.
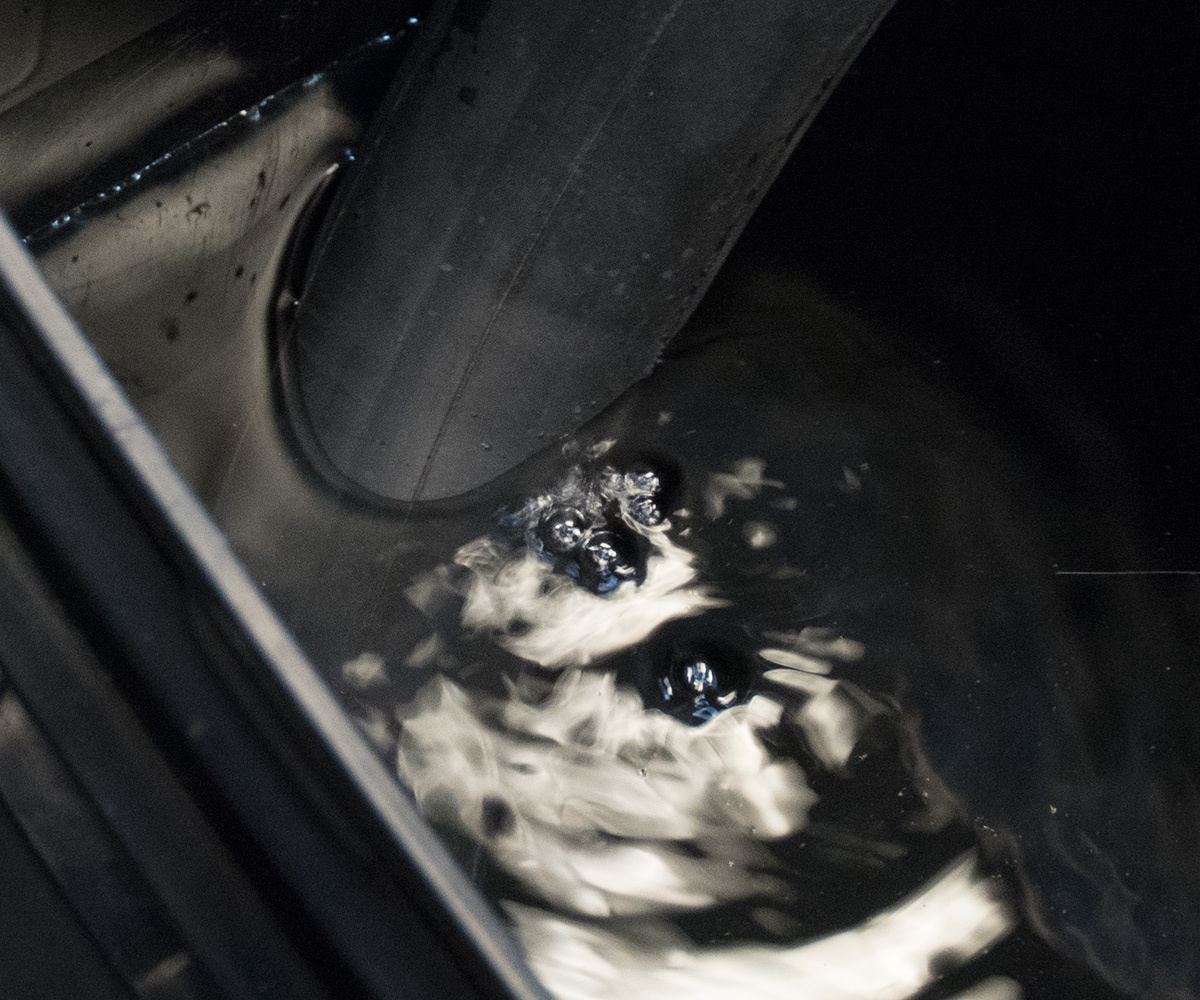
Preliminary steps
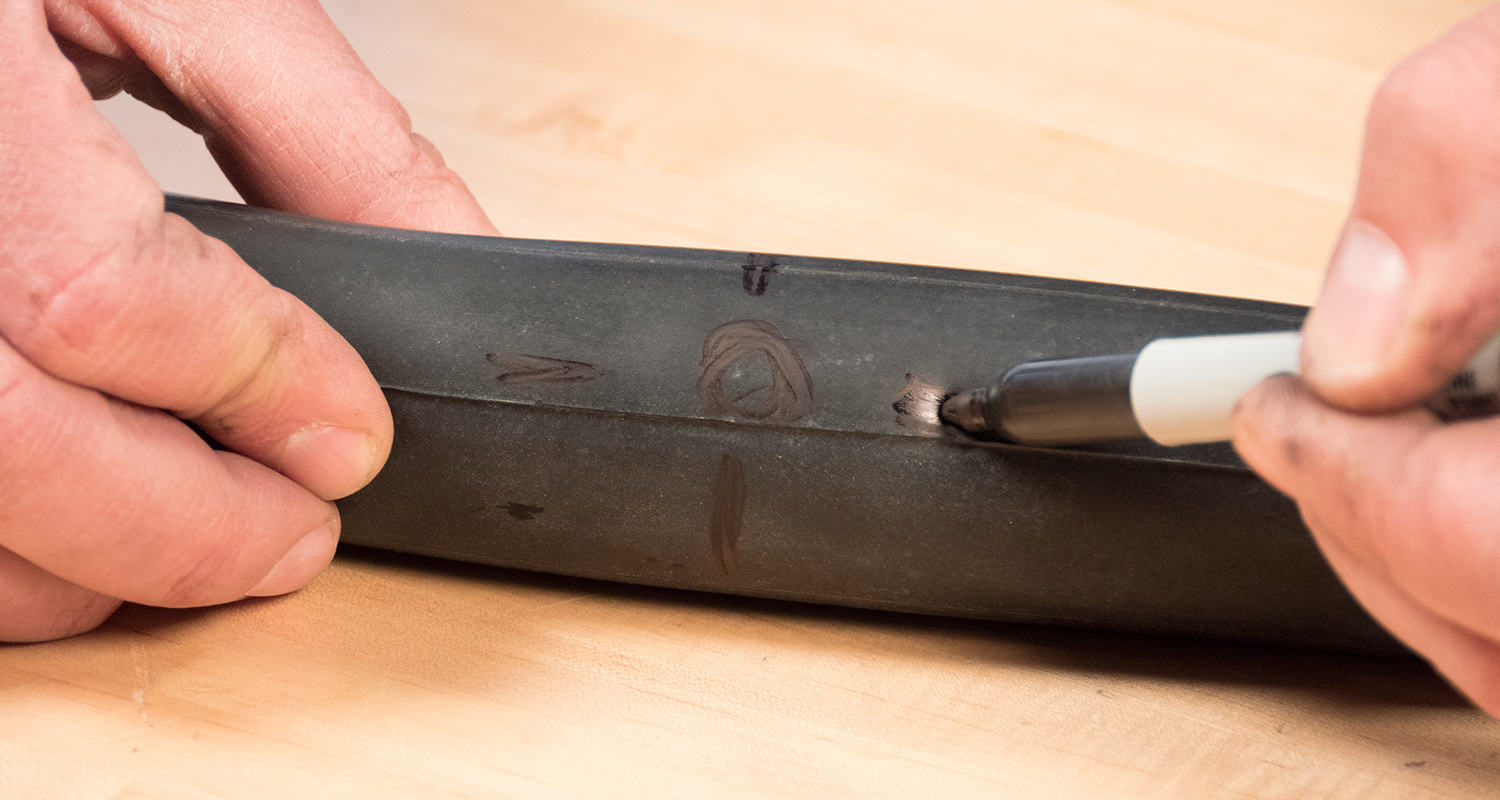
Once you have found the hole, use a marking pen to mark it. Make four marks, one to each side of hole. Do not mark close to hole, as the mark may be sanded off.
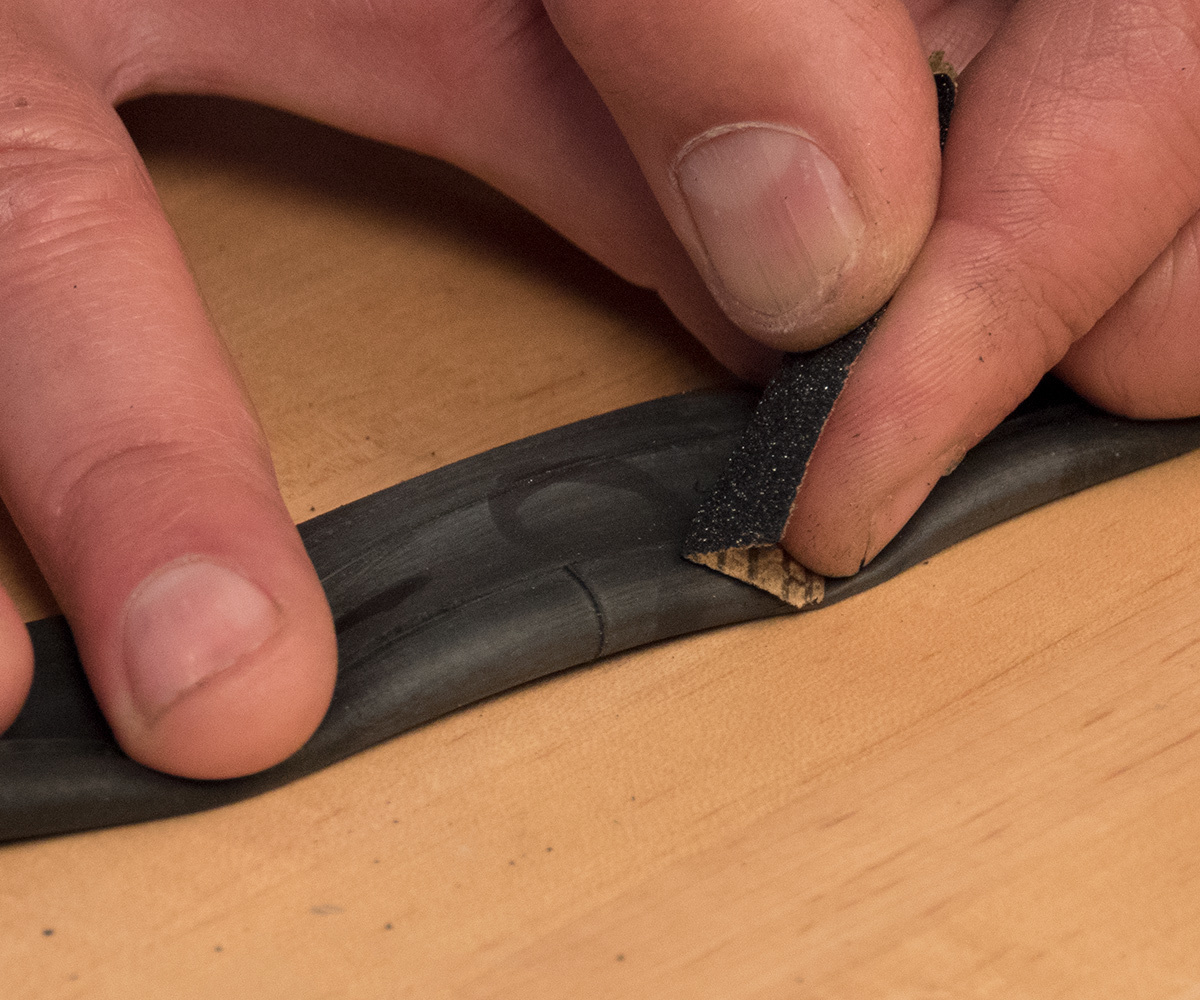
To prepare the tube for patching, clean the tube by lightly abrading area around hole. Most patch kits include a small piece of sandpaper, but a separate piece of sandpaper or fine emery cloth is also acceptable. Excessive sanding or heavy pressure can cause grooves in the rubber, which may lead to patch failure.
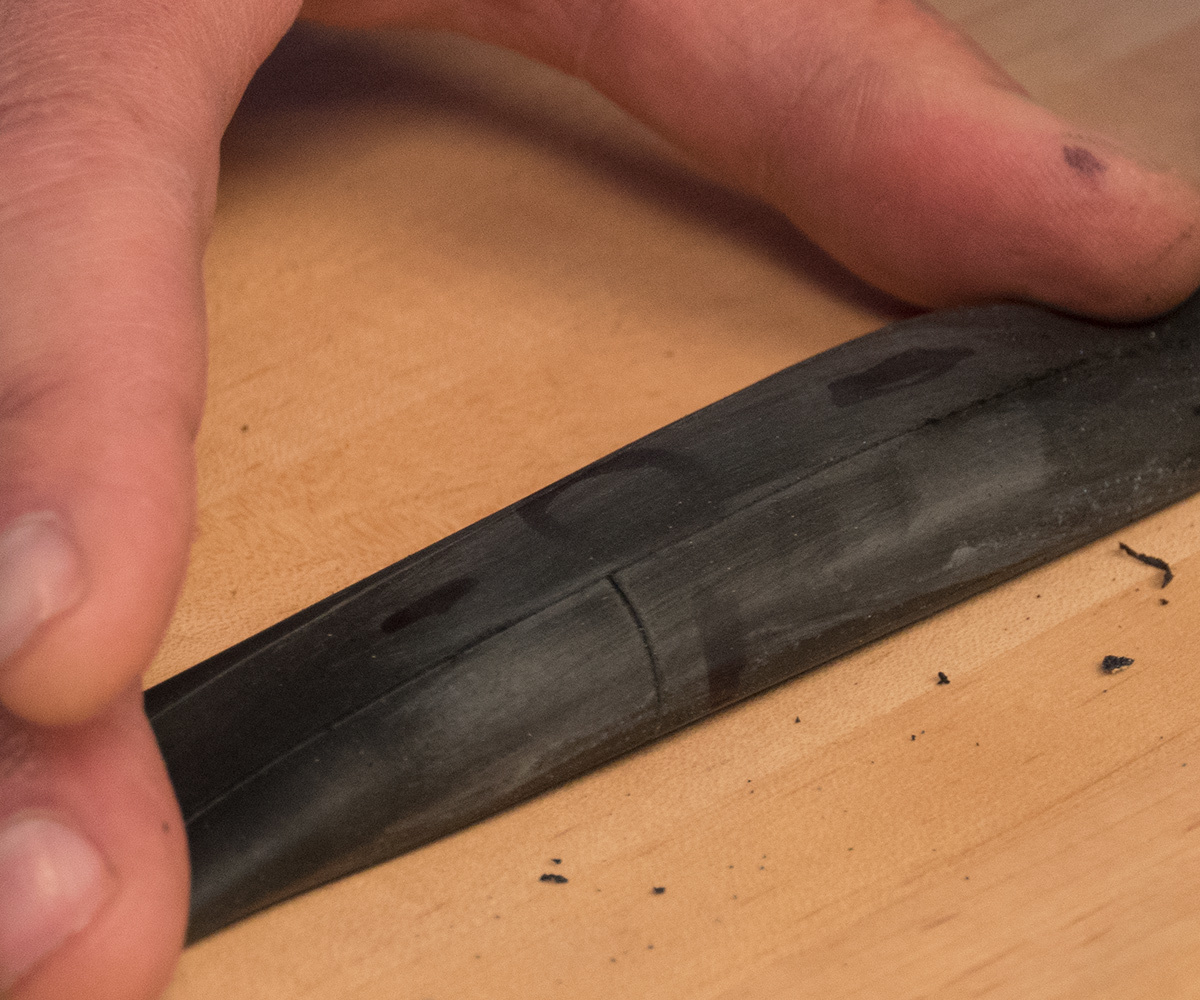
If possible, clean the area using a clean rag and alcohol, or any solvent that doesn’t leave a film. Allow the area to dry completely.
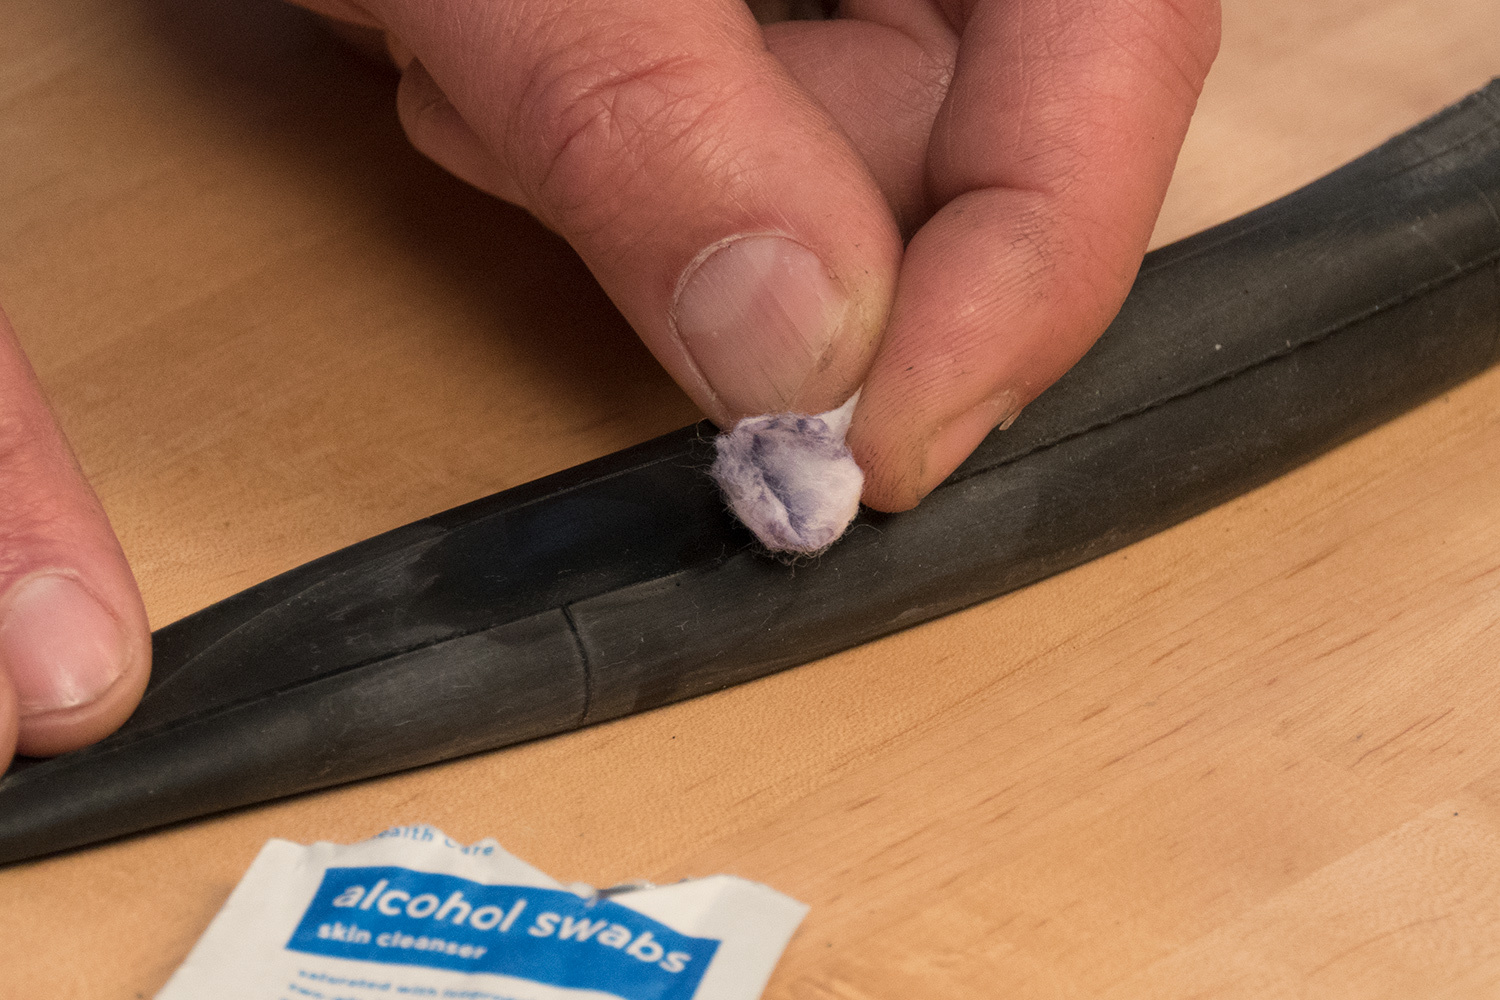
Patching an Inner Tube Using the GP-2 Super Patch Kit
For pre-glued patches such as the GP-2 Super Patch Kit, installation is extremely simple. A pre-glued patch should be considered a temporary trailside fix for emergency situations. It will not last forever, and the tube should be replaced as soon as possible. For a more durable fix, see the instructions for vulcanizing patches below.
- Peel the patch from its backing. Handle the patch as little as possible and only by the edges.
- Center the patch to the hole and lay the patch on the tube.
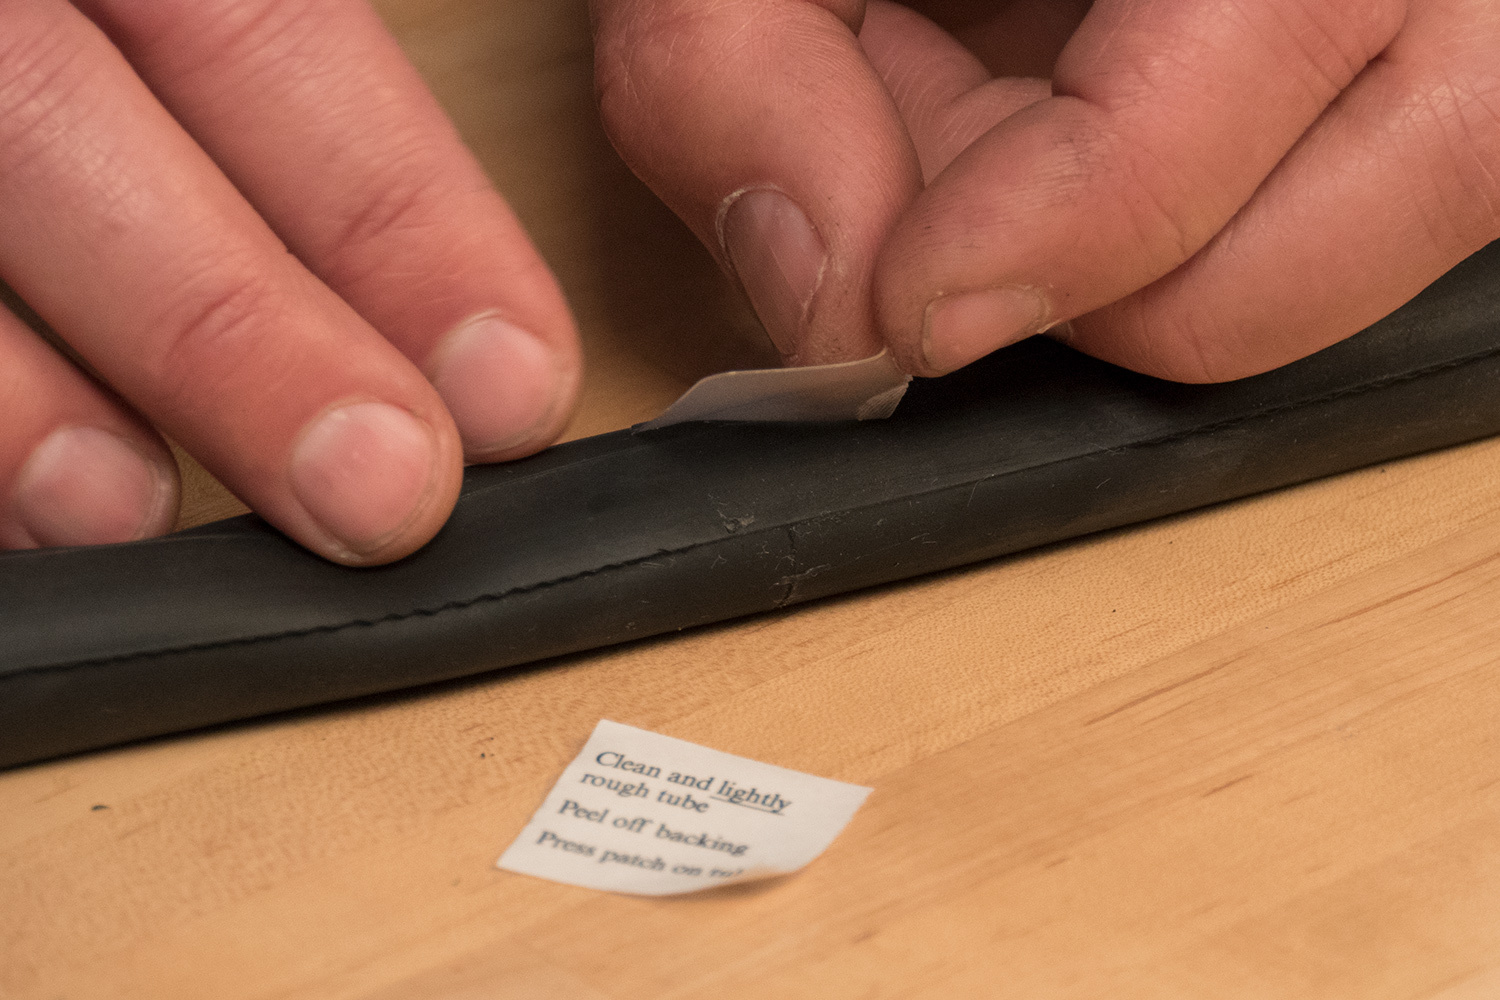
- Apply pressure to the patch to assure a proper seal. Roll the patch and tube between thumbs and forefingers.
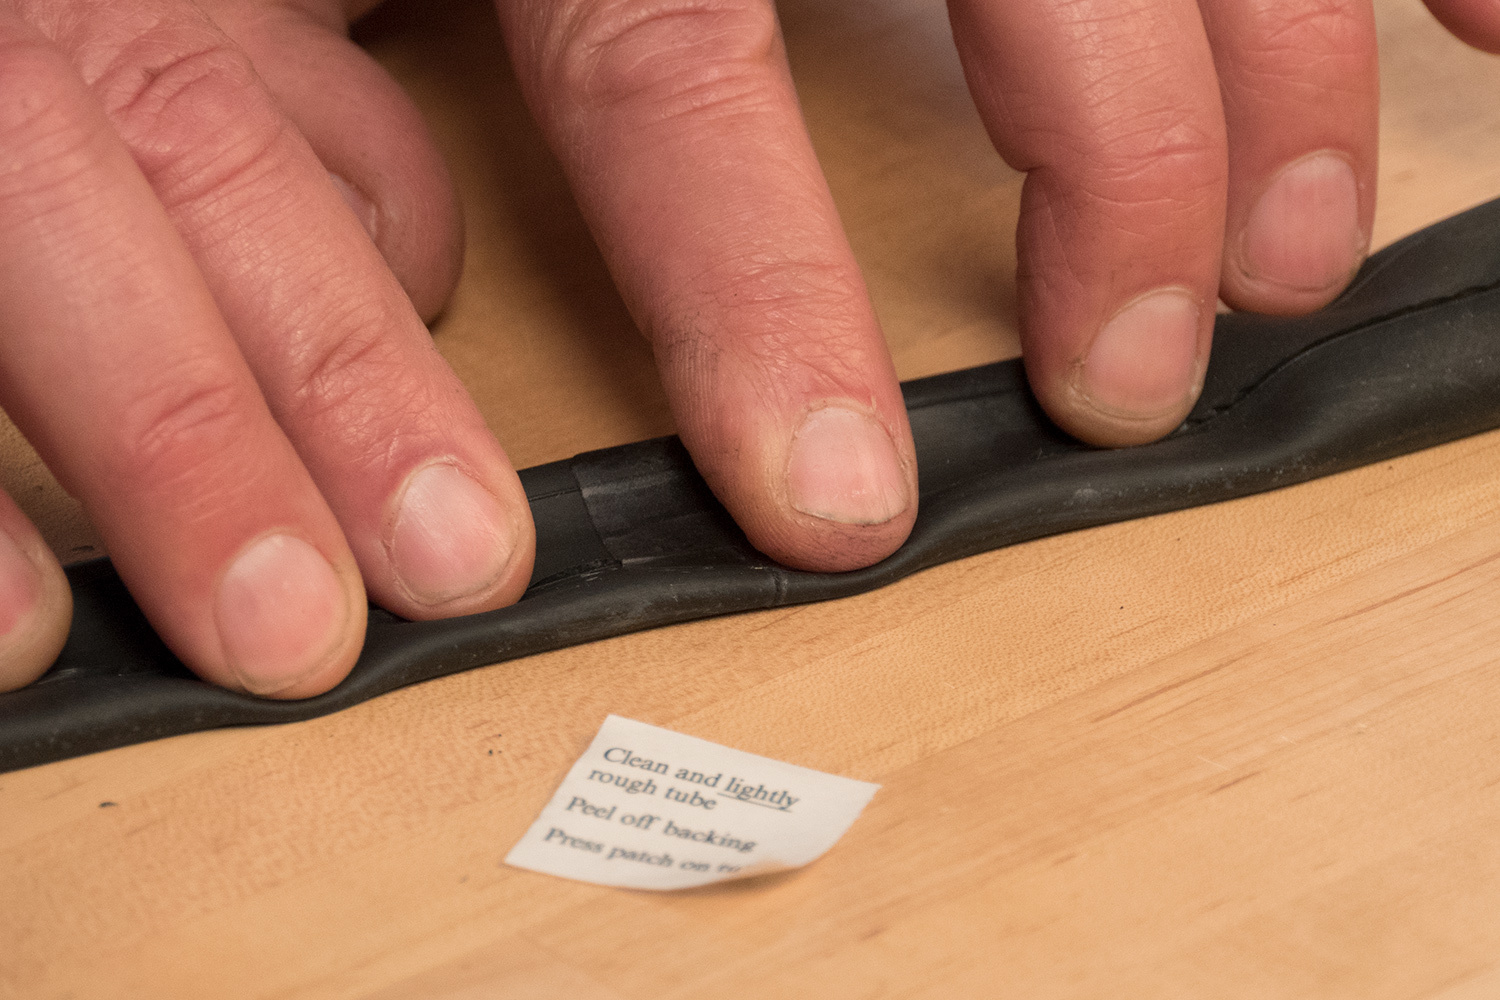
- The tube is ready to install. DO NOT test the patch by inflating the tube while outside of the mounted tire. This may stretch the tube body and weaken the patch bond.
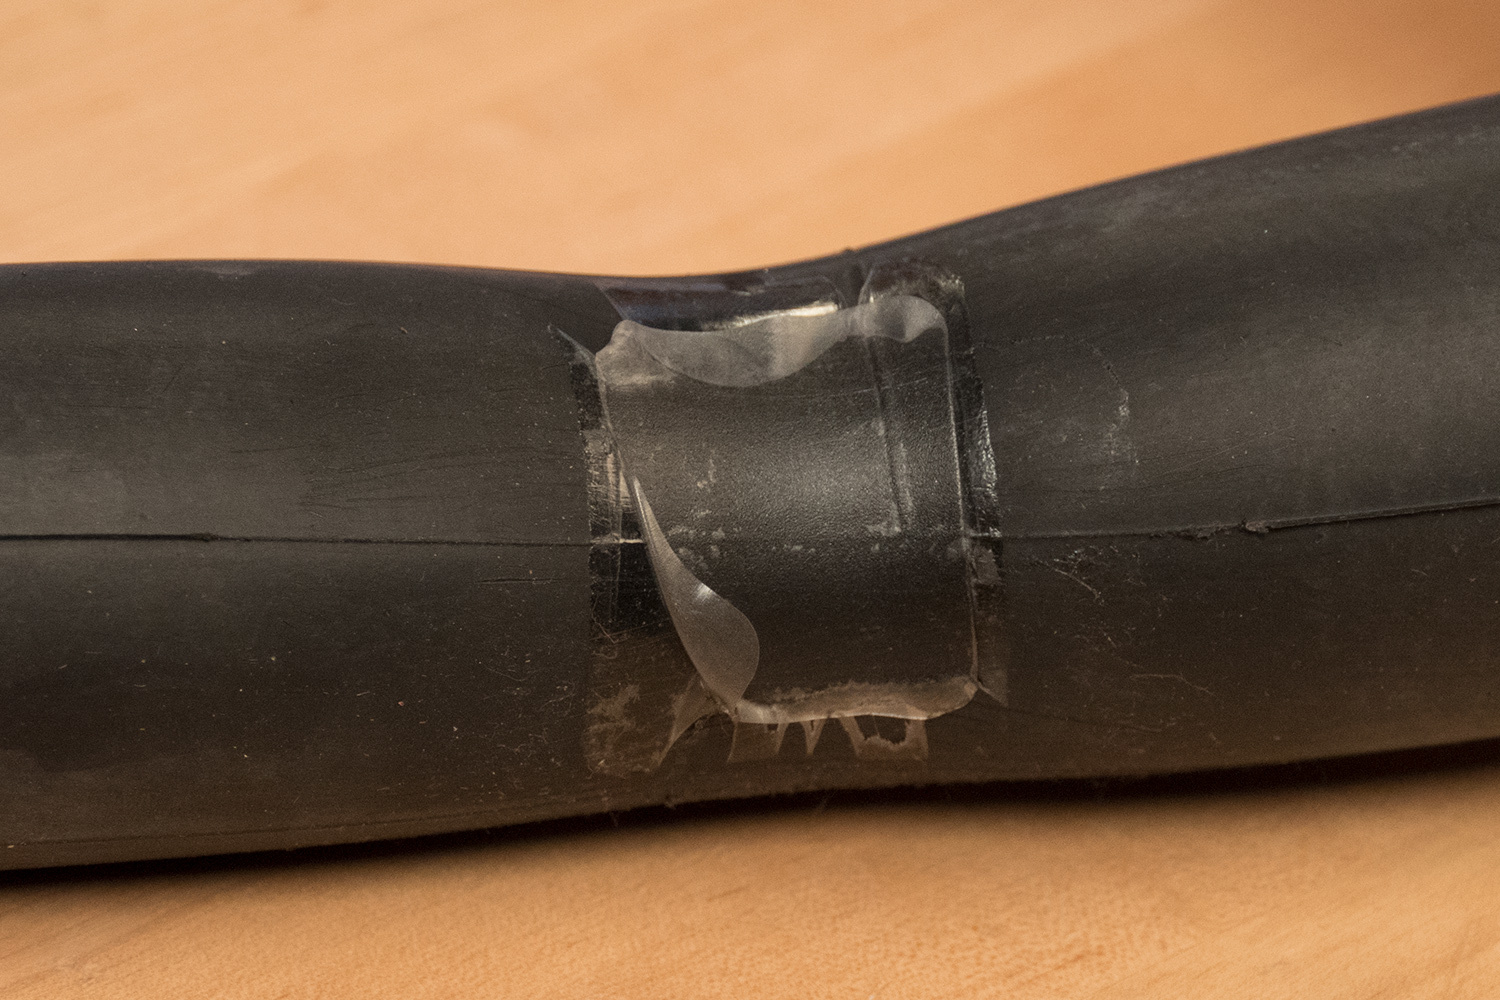
Patching an Inner Tube Using the VP-1 Vulcanizing Patch Kit
A glue-on style patch such as the VP-1 Vulcanizing Patch Kit is less convenient than a pre-glued patch, but is much more durable when properly installed, as the patch is chemically bonded to the tube. The VP-1 requires the application of a thin layer of self-vulcanizing glue on the tube before the patch is applied.
- Open the glue tube and puncture the seal. Apply a thin coat of glue and spread it evenly around the area of the puncture, slightly larger than the patch size. Use a clean finger or the back of the patch to spread the glue evenly in a thin layer. Do not apply too much glue - the glue layer should not appear “glopped” on.
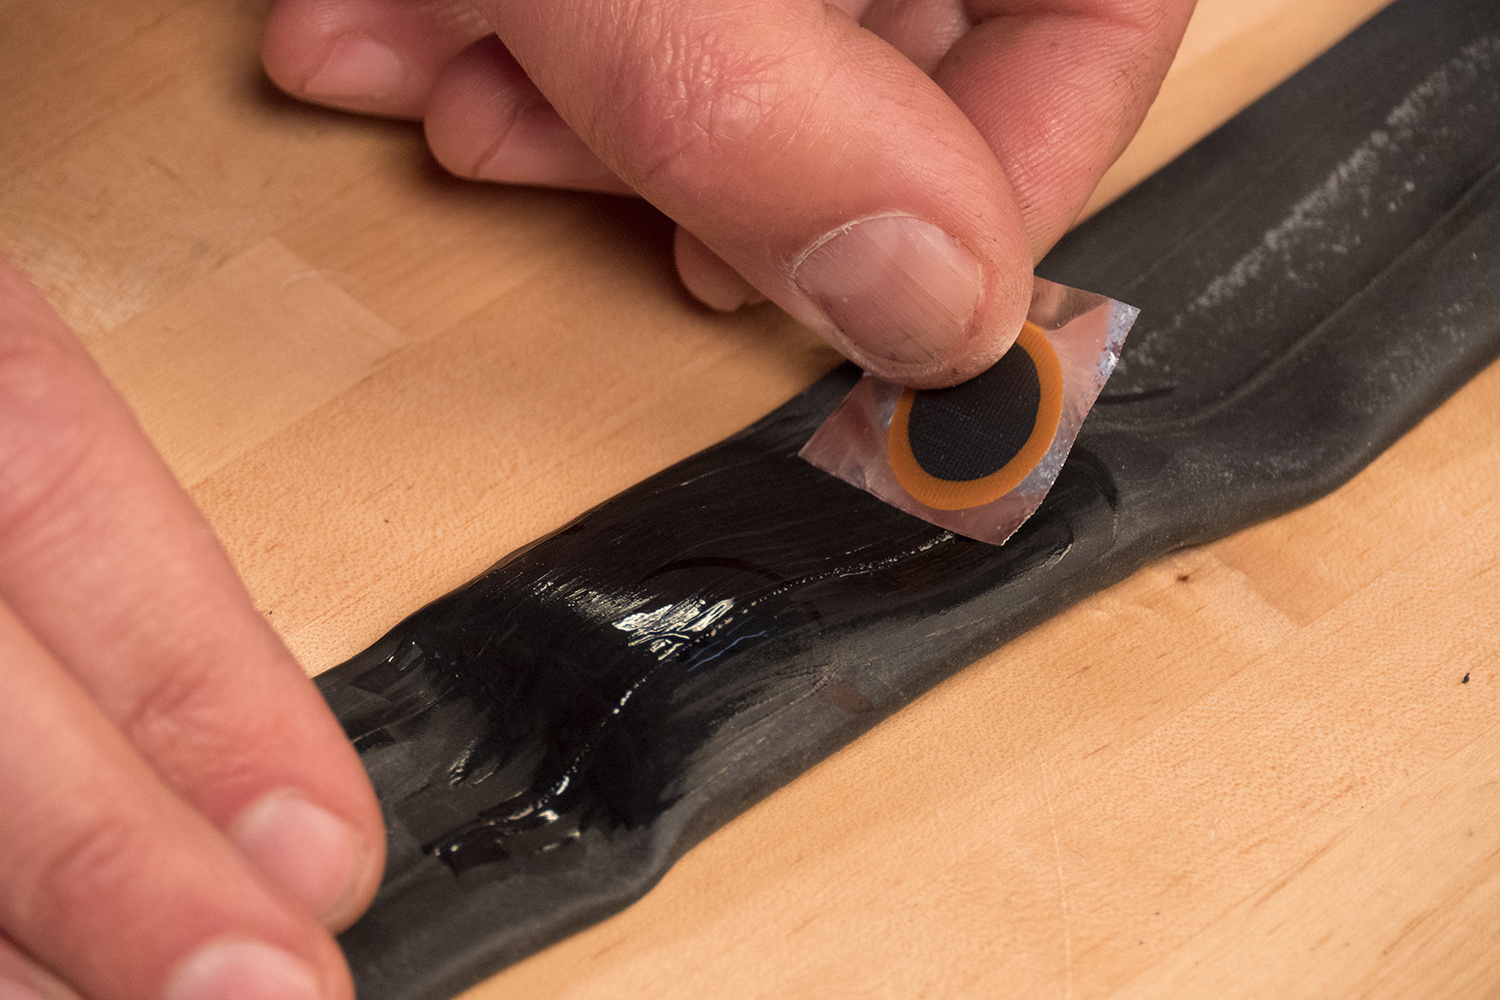
- Allow the glue to dry. This may take several minutes. Test by touching only the perimeter area of glue, not where the patch will contact.
- Peel the patch from its backing. Handle the patch only by its edges
- Center the patch to the hole and lay the patch on the tube
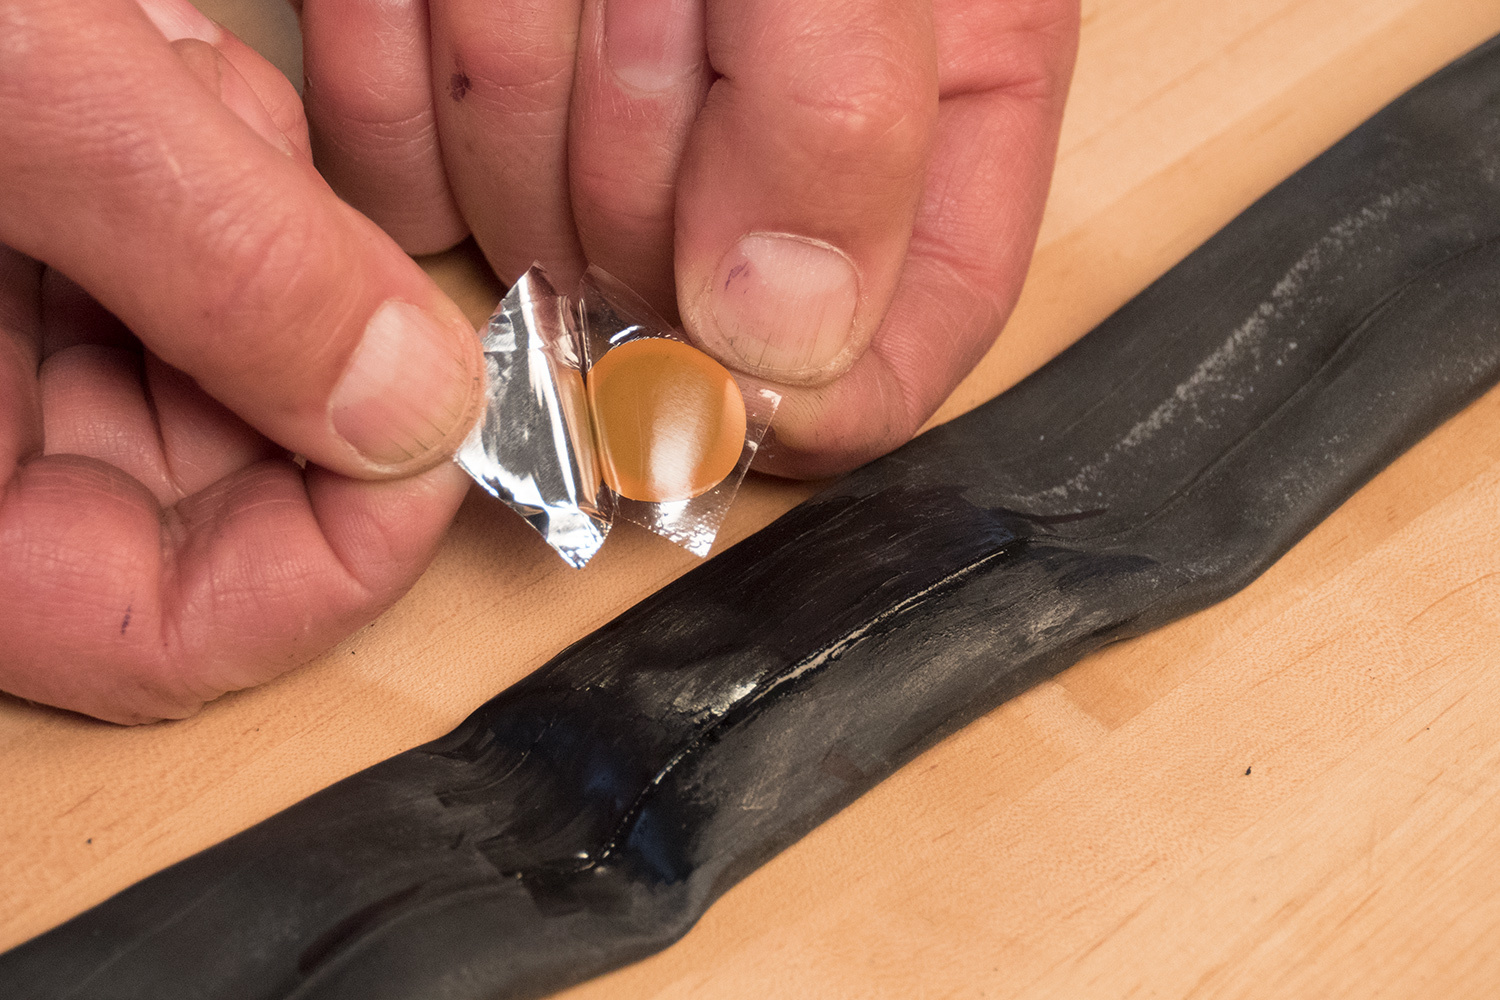
- Apply pressure to the patch, especially at the edges
- If possible, maintain pressure for over a minute
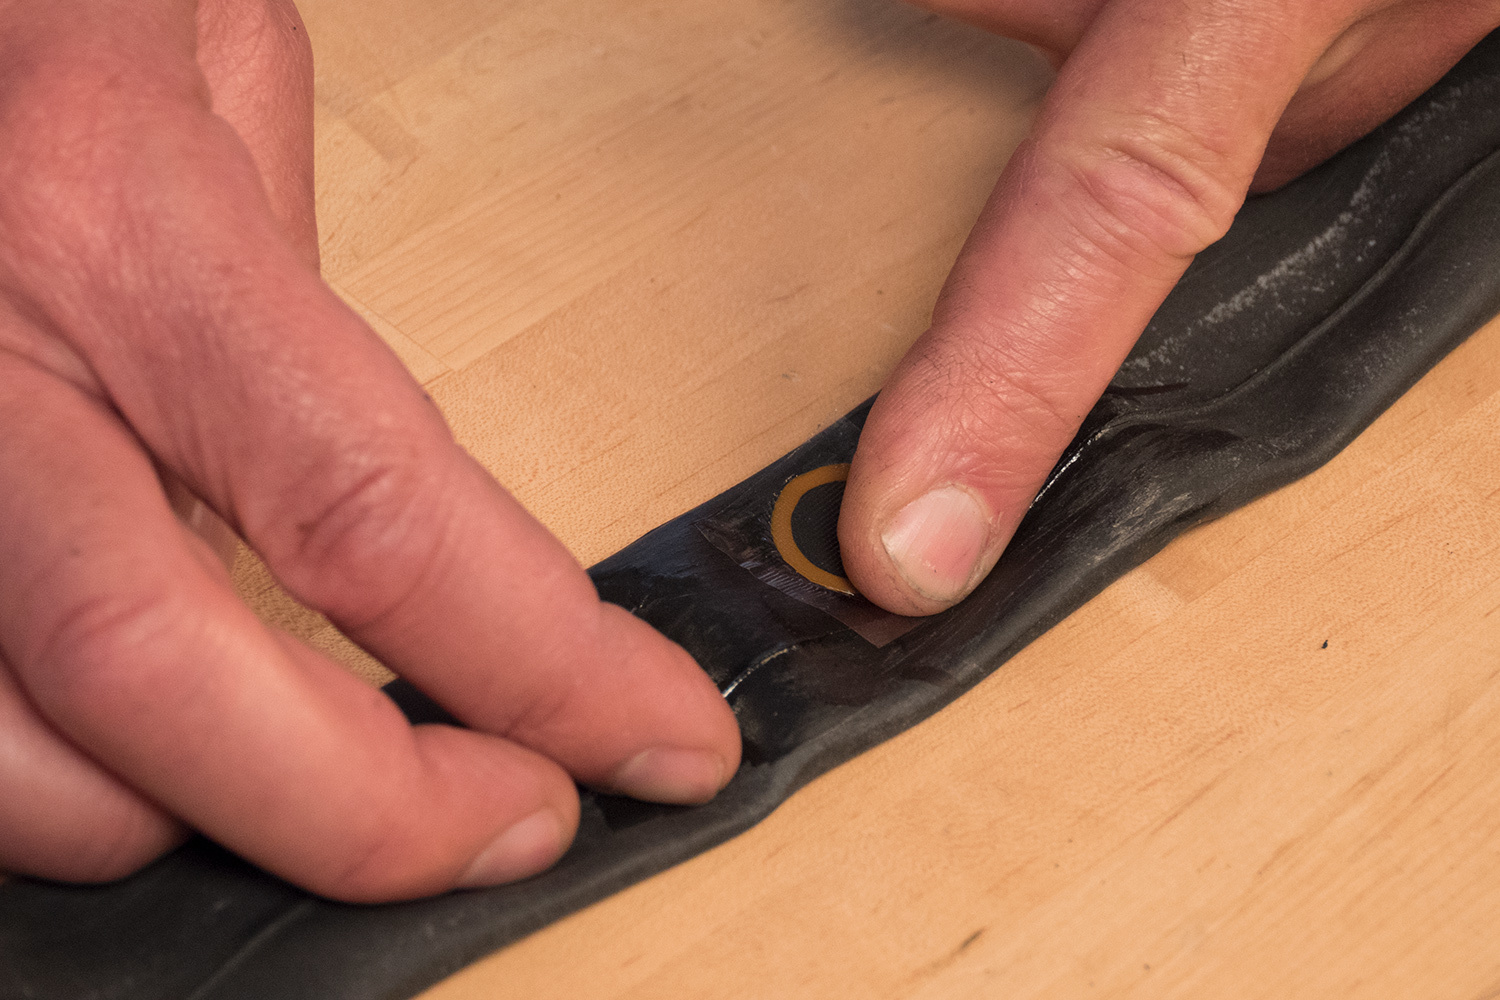
- After a minute or two, inspect the bond of the patch to the tube, verifying that all the edges look adhered to the tube surface
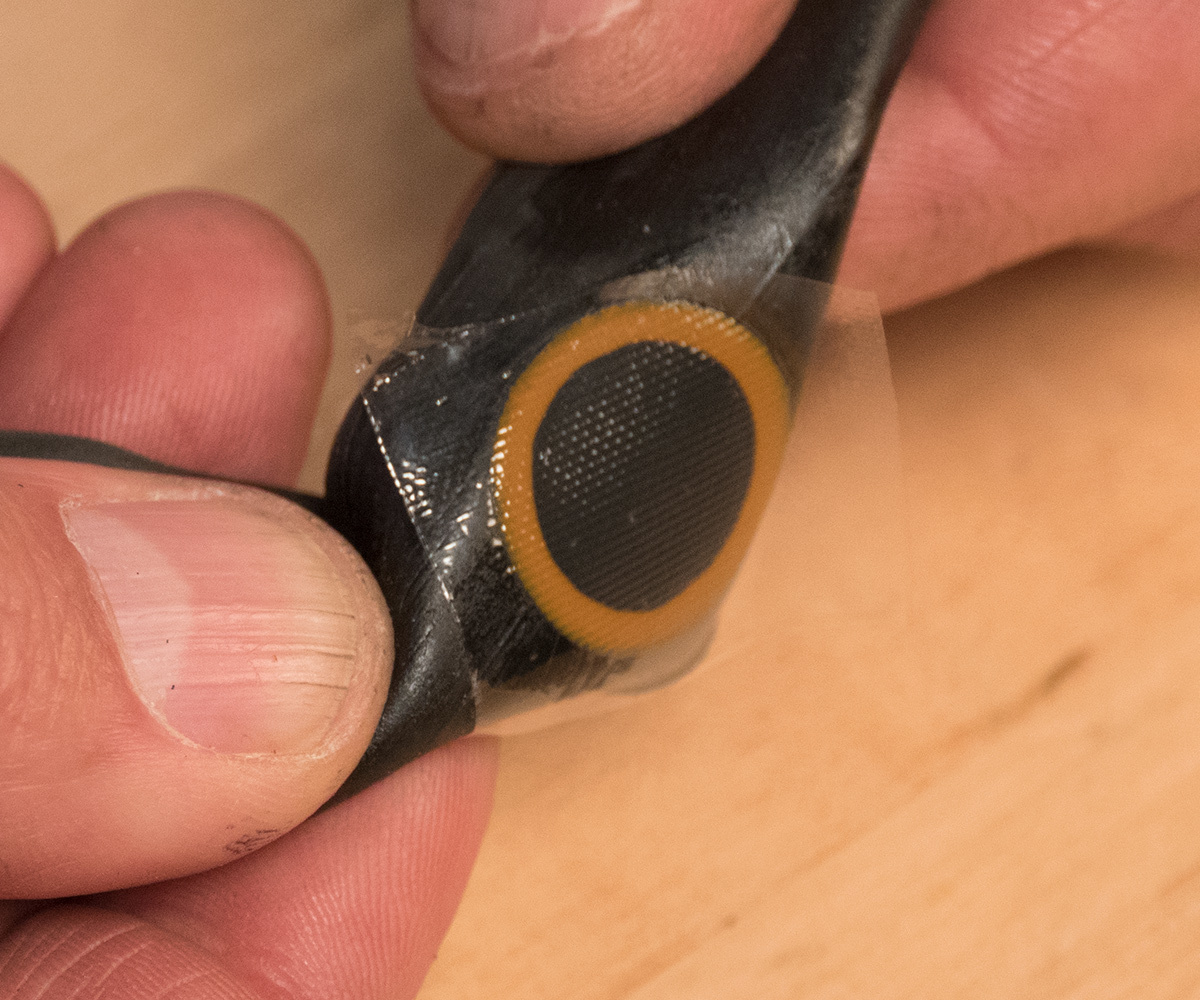
Properly bonded patch
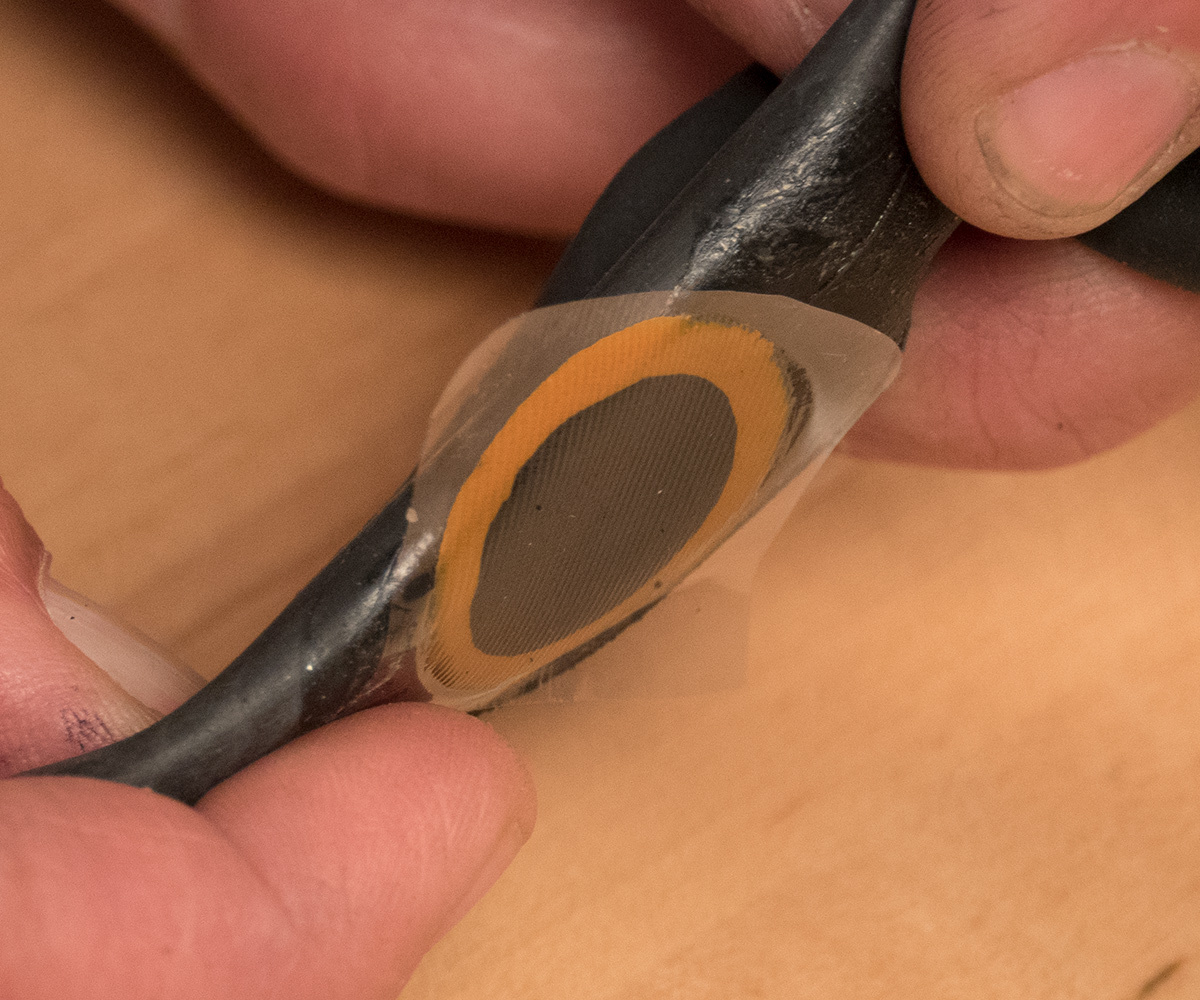
Improperly bonded patch
- Leave the clear plastic cover on the patch
- Mount the tube inside the tire and inflate
NOTE: Leaving on the cellophane cover over the patch will allow the patch to slide inside the tire and reduce stress on the fresh patch. If the cellophane is removed, use a dusting of talc or baby powder over the patch.
Temporary Repair of Tire with TB-2 Tire Boot
If a tire has been ripped and the casing damaged, it may not hold an inner tube. It is possible in some cases to make a temporary trailside repair with a tire boot such as the TB-2. A booted tire should not be considered a permanent repair. The tire should be replaced as soon as possible.
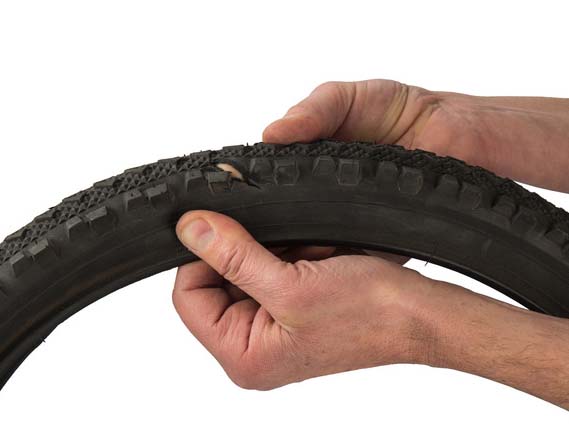
- Locate the rip in the tire. Compare the rip to the size of the tire boot. The tire boot must completely overlap the rip to be effective.
- Wipe the inside of the tire clean adjacent to the rip.
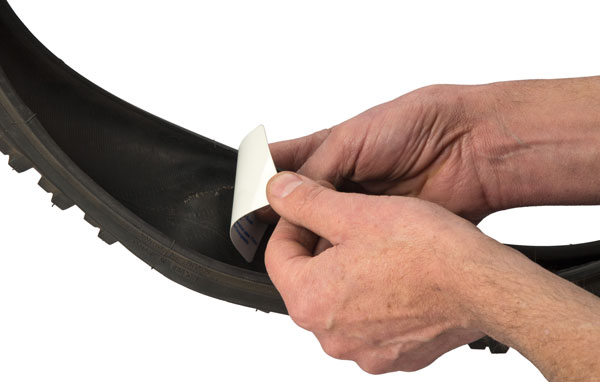
- Peel the backing off the boot (this is the side opposite of the logo).
- Align the patch so the edges do not extend beyond the tire bead. If necessary, cut the boot so it does not extend past the tire bead.
- Center the patch to the rip and press the patch to the inside of the casing.
NOTE: Always replace ripped tires as soon as possible.