How to Remove and Install a Bike Saddle
Removing and installing a bike saddle, plus measuring the old one so its position can be copied. Keeps your riding position unchanged when fitting a new saddle.
In this article
This article covers the process of saddle removal and installation, as well as instructions for measuring and replicating the positioning from the old saddle to the new saddle.
Preliminary Info
The proper term for a bicycle seat is “saddle”. Saddles are commonly manufactured from a molding that is covered with various materials such as leather or synthetic materials. There is often padding under the cover — however, saddles can also be just a piece of formed leather or plastic without padding.
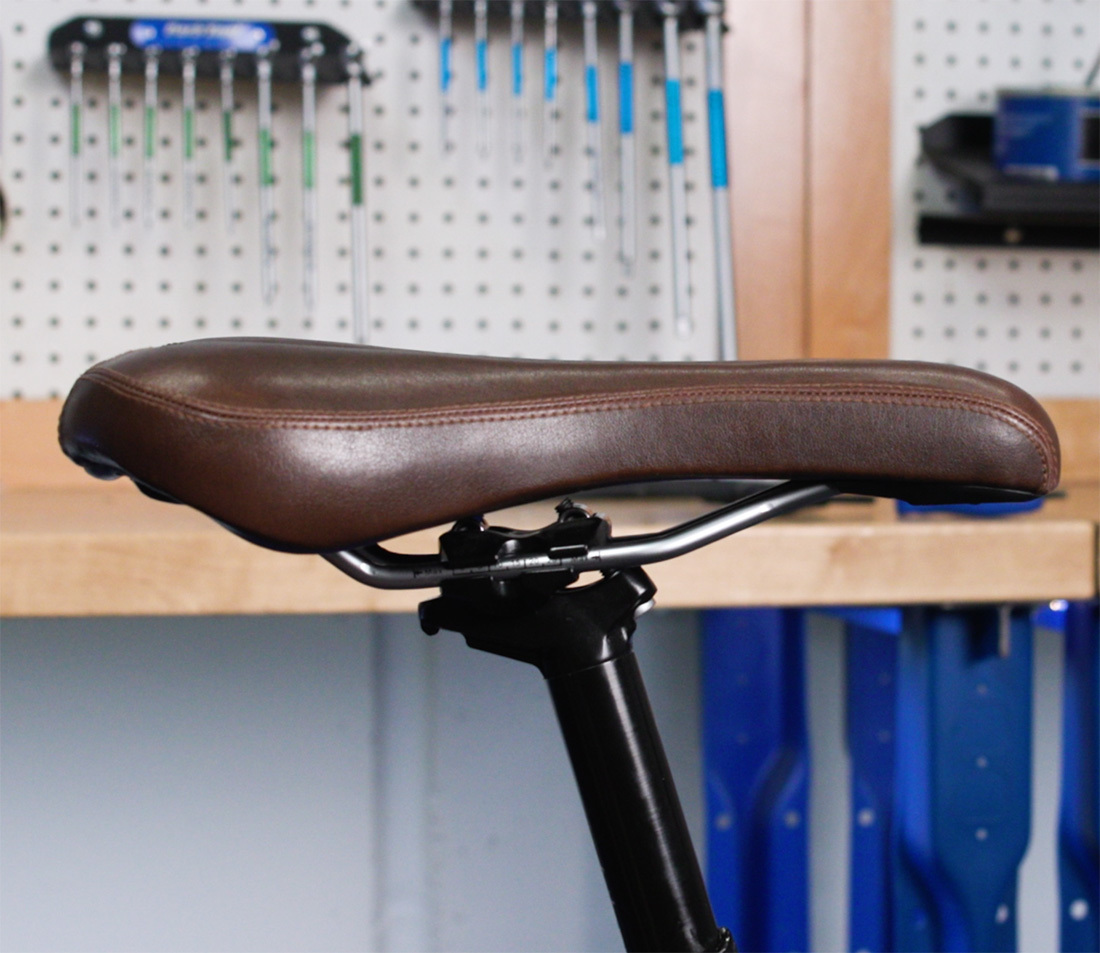
Saddles are commonly made with a pair of rails for connecting it to the seatpost. These rails are nominally 7 mm in diameter and are spaced 42 mm apart center to center. If this description doesn’t match the saddle in front of you, scroll down to “Exceptions and Anomalies”.
Seatposts
Most seatposts are designed with a clamping system integrated directly into the post. These come in several different configurations, all of which generally allow for saddle adjustment front to back, as well as tilting adjustment up or down.
Less expensive bikes and older bikes may use a simple post with a non-integrated system. A clamping head fits over the narrowed section of post. The process
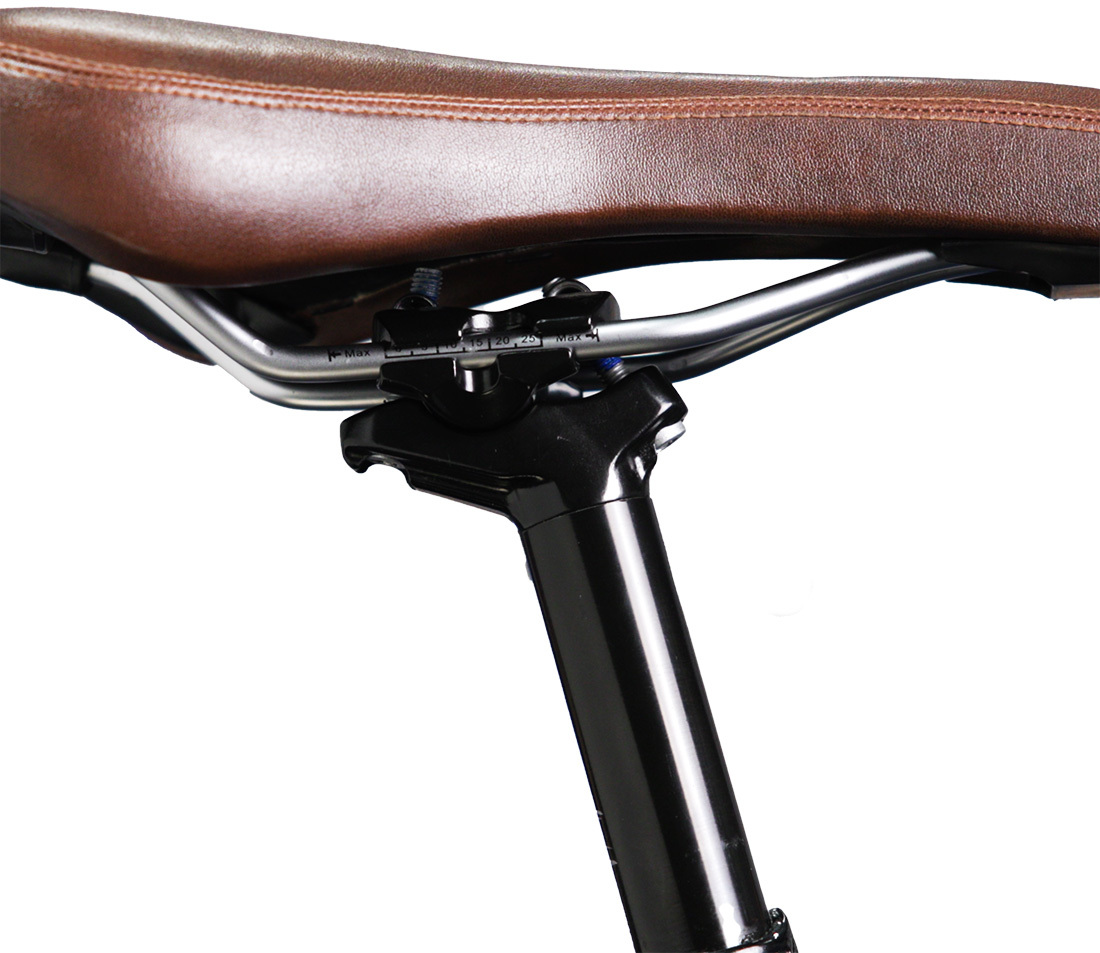
Example of an integrated seatpost
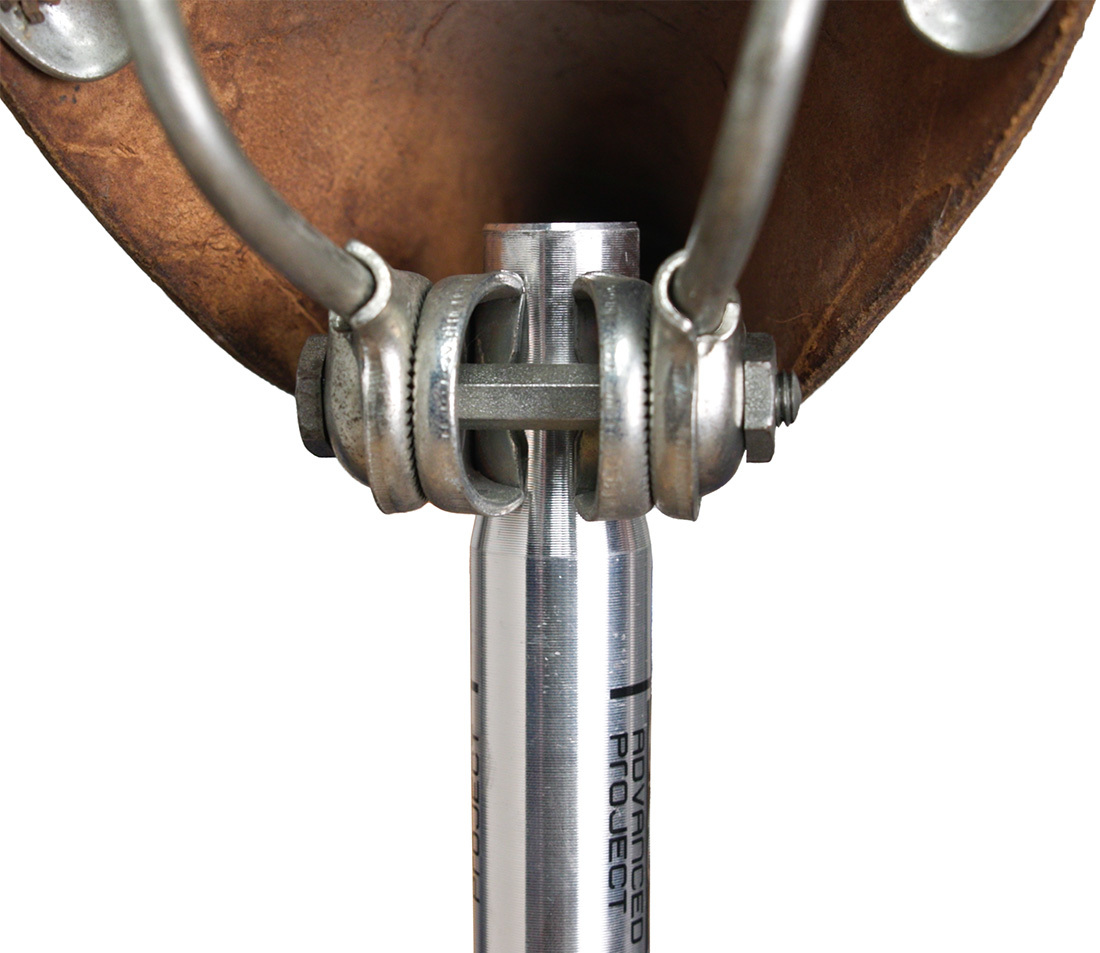
Example of a non-integrated seatpost
Saddle Removal
When replacing a saddle, it may be desired to duplicate the position of the original saddle. To do this, start by taking a few basic measurements. Record all these numbers on a notepad or notes app for later reference.
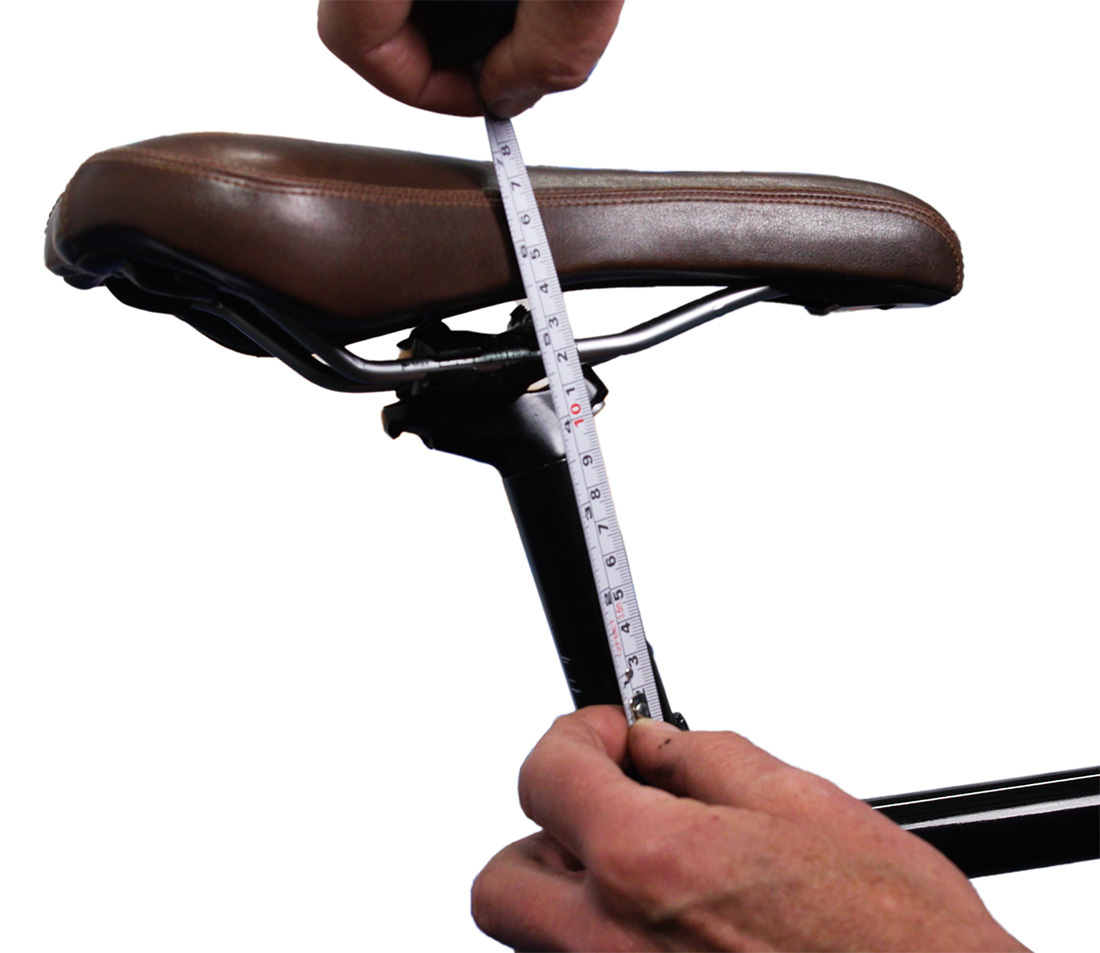
Begin by taking the original saddle height, using any reference point on the bike (such as the seatpost collar). This is because saddles can vary in stack (the distance from rails to the top of the saddle).
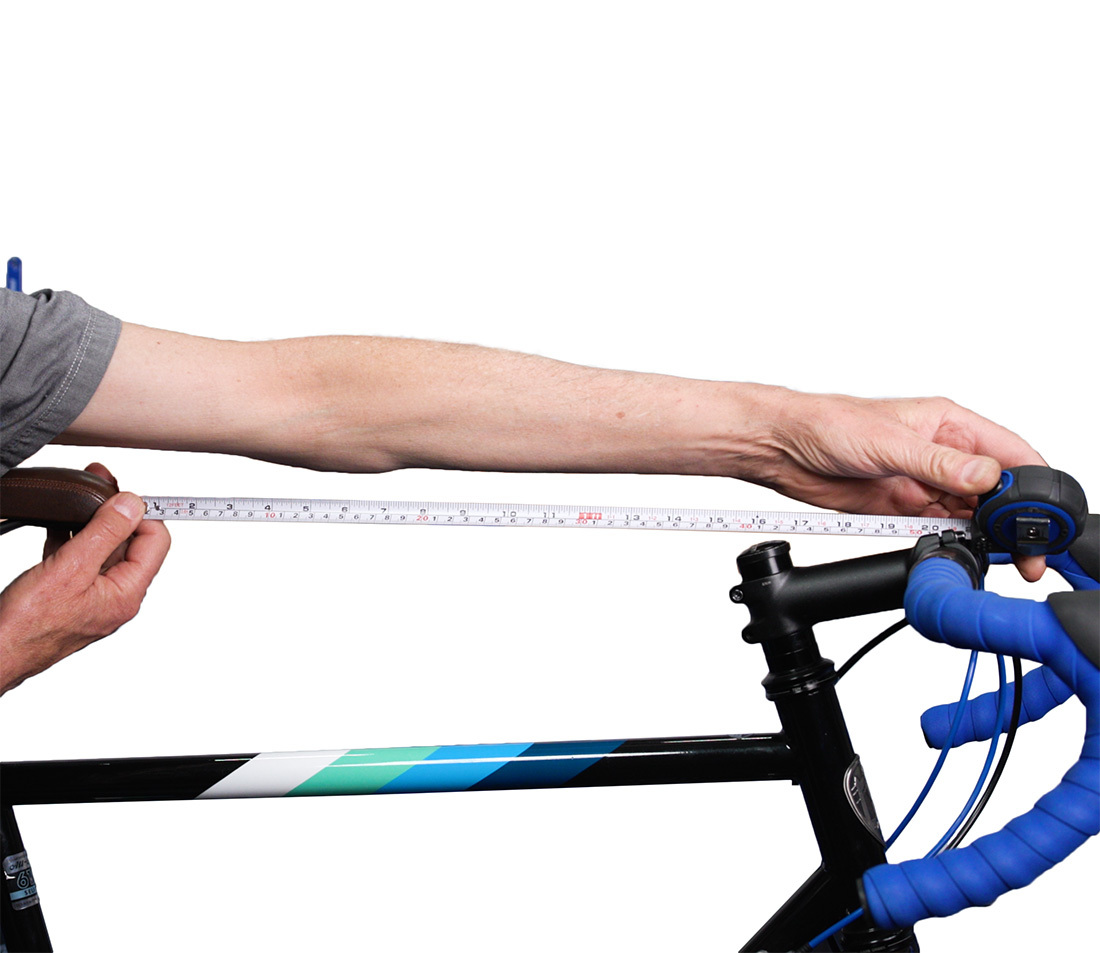
Next, measure the distance from the saddle nose to the center of the handlebar. This helps you duplicate the saddle front to back, or fore-aft position.
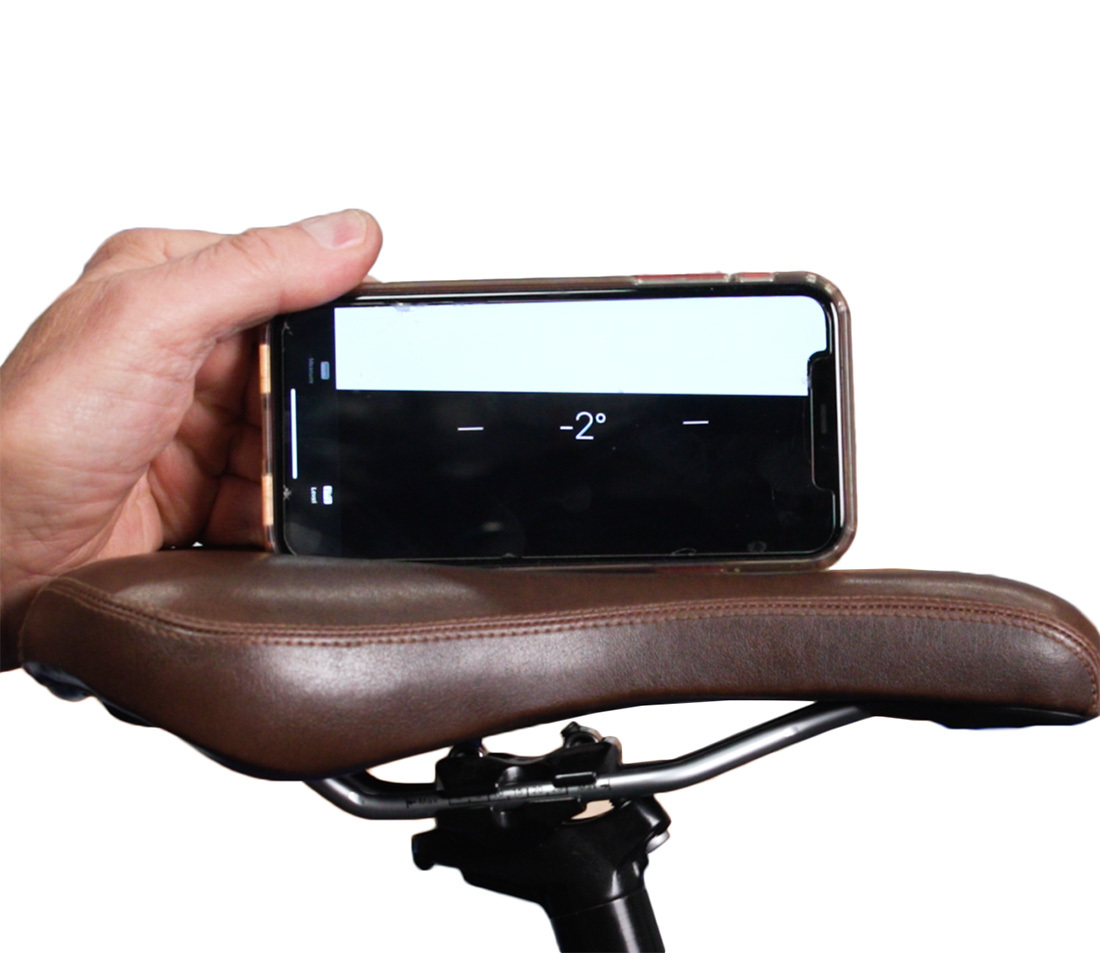
Lastly measure the angle of the saddle in the middle. Use a protractor, bubble level, or even a cell phone.
Now remove the old saddle. Inspect the seatpost-to-saddle-rail connection and determine what needs to be loosened or removed. If the clamp system seems new or confusing, take notes of the orientation of parts or better take a picture.
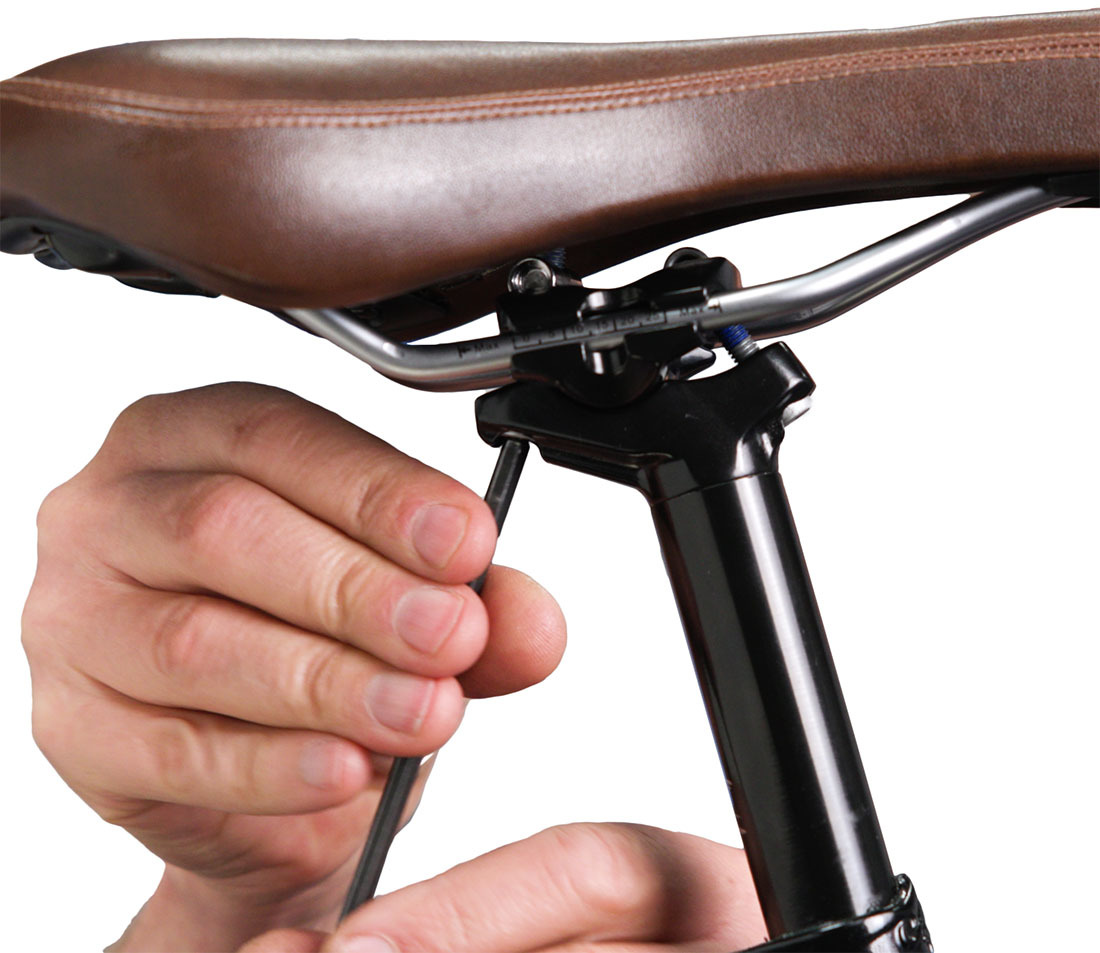
Loosen the saddle rail mounting bolt or bolts enough to remove the saddle from between the clamping plates. Sometimes the saddle rails will come out easily from the clamp. However, it can often be quicker just to at least partially dismantle the clamp.
Installation
Before installing the new saddle to the post, it is good to apply surface prep to the bolts and the head. Begin by wiping all components clean. Consult the seatpost manufacturer to see what they suggest in the way of grease or thread prep.
Install the new saddle between the clamping plates of the post. Thread in the mounting bolts, but do not fully tighten them yet.
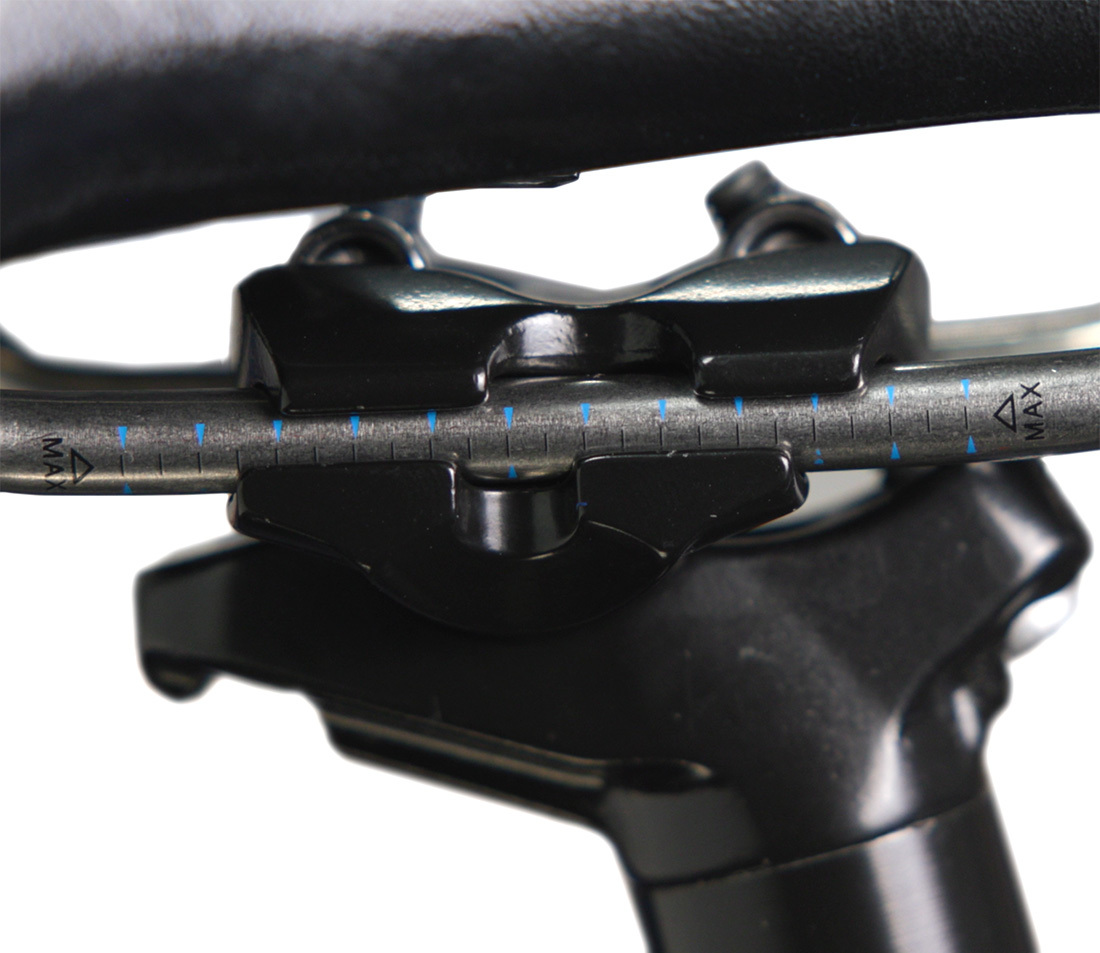
Begin the adjustments. Check your previously-recorded measurements if desired and slide the saddle backward or forwards to match the previous fore-aft measurement. Notice, however, that some saddles have fore-aft limits on the rails. Do not clamp beyond these marks.
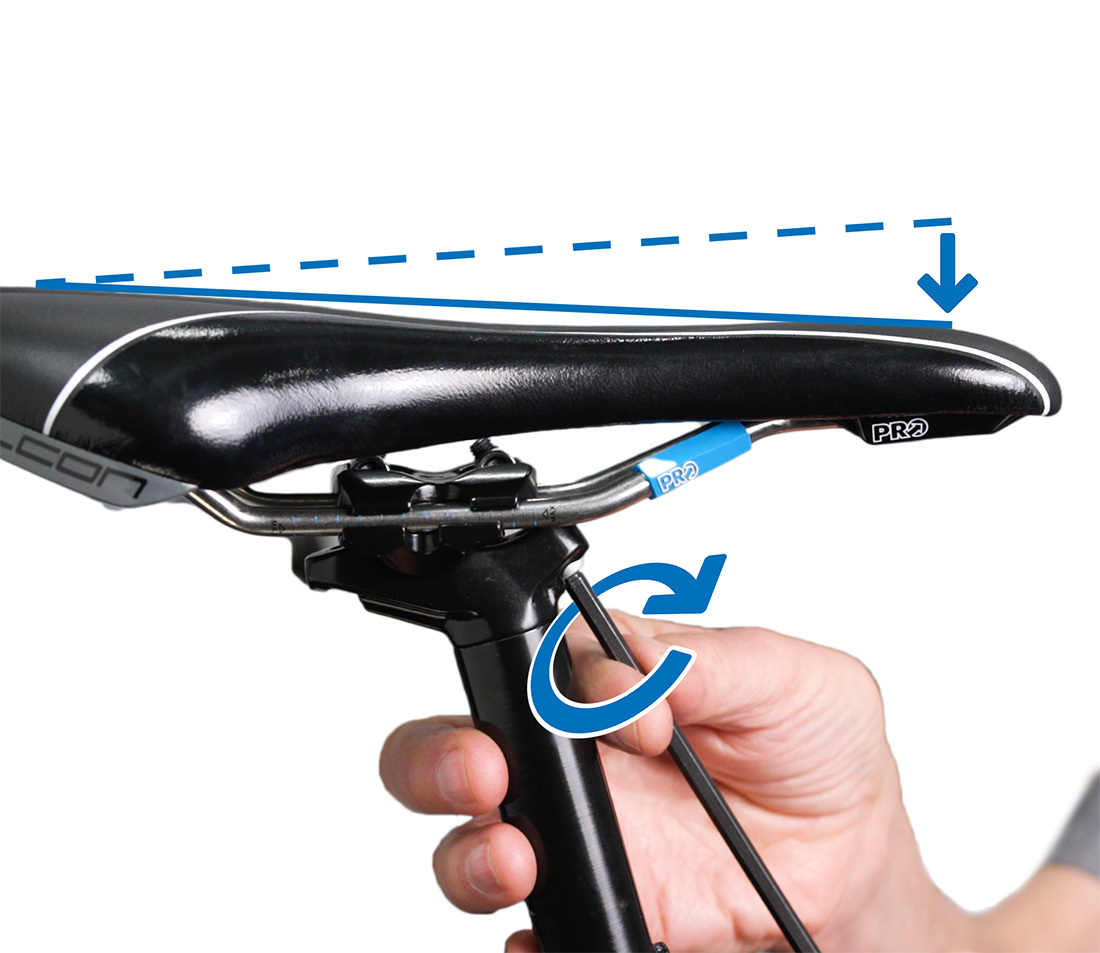
Next, match the saddle angle. For many seatpost designs, saddle angle can be adjusted while the mounting bolts are still loose. For some designs with bolts in front and in back, you may need to loosen and tighten the bolts in tandem to get the desired tilt. For example, loosen the front and tighten the back to tilt the saddle upwards — or do the reverse to tilt it down.
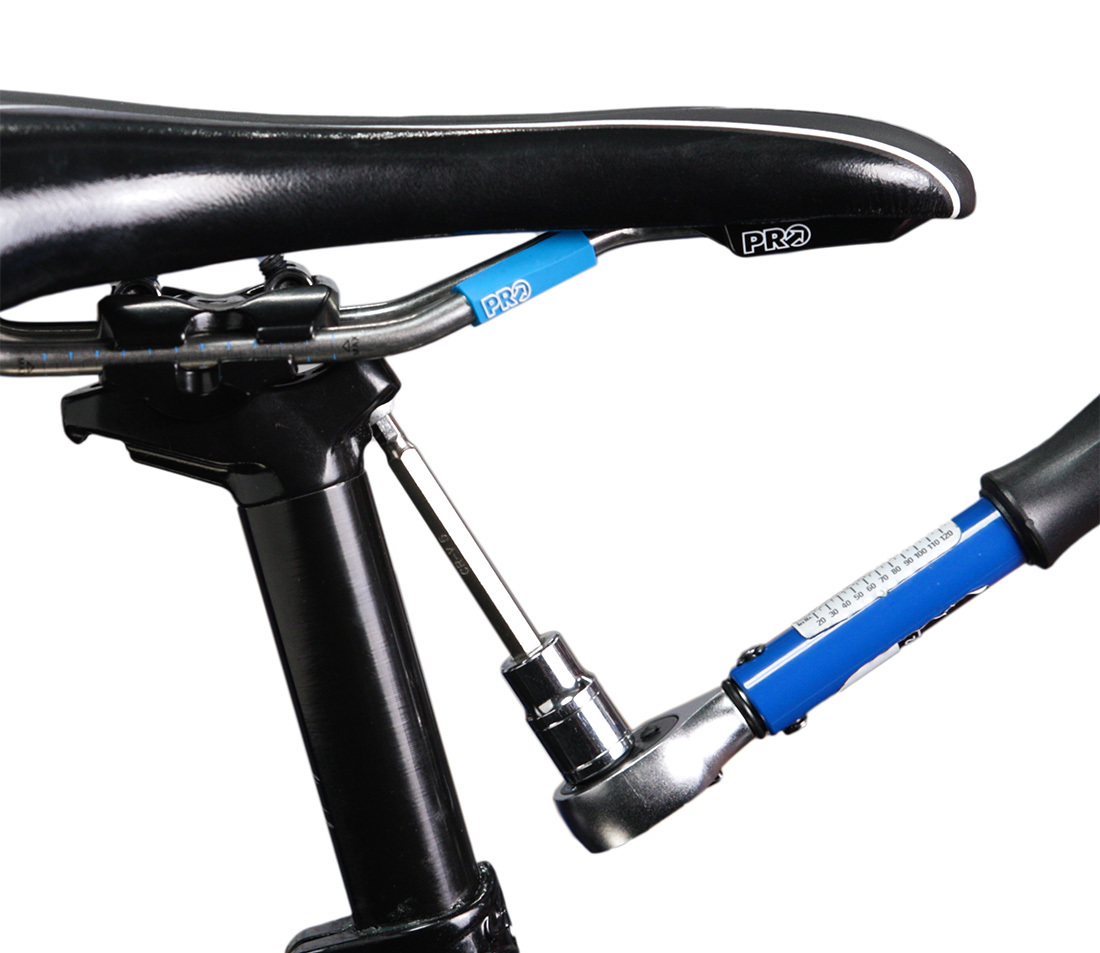
Secure the mounting bolts to the recommended torque. For non-integrated systems, which typically don’t have a manufacturer recommendation, a safe range is 15-20 Nm.
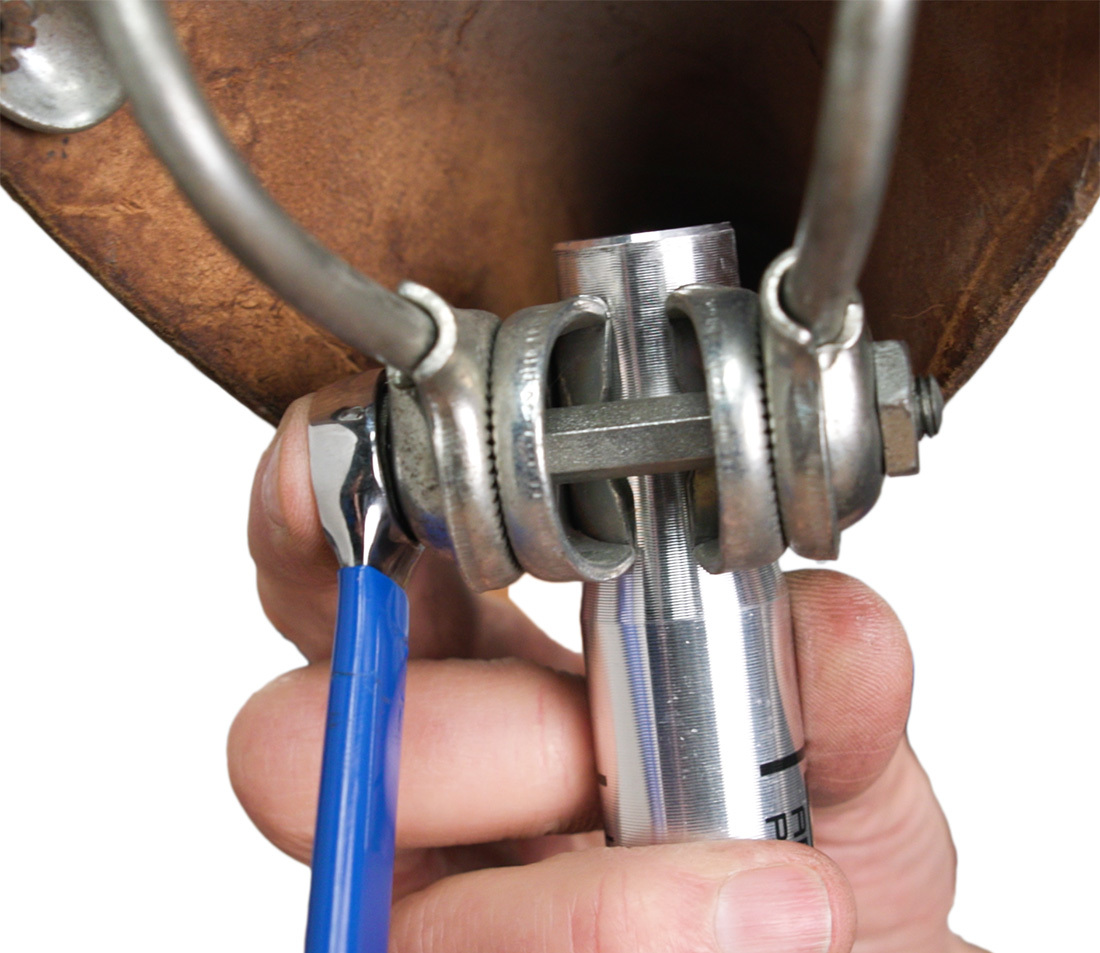
Finally, double check the saddle height and adjust as needed.
Once everything is adjusted and tightened, do a safety check by grabbing the front and back of the saddle and pulling up, down, and side to side with force. The saddle should not move. If it does, realign and re-secure.
Exceptions and Anomalies
Oval Saddle Rails
Although the common saddle uses round metal tubing for the parallel rail system, there are some exceptions.
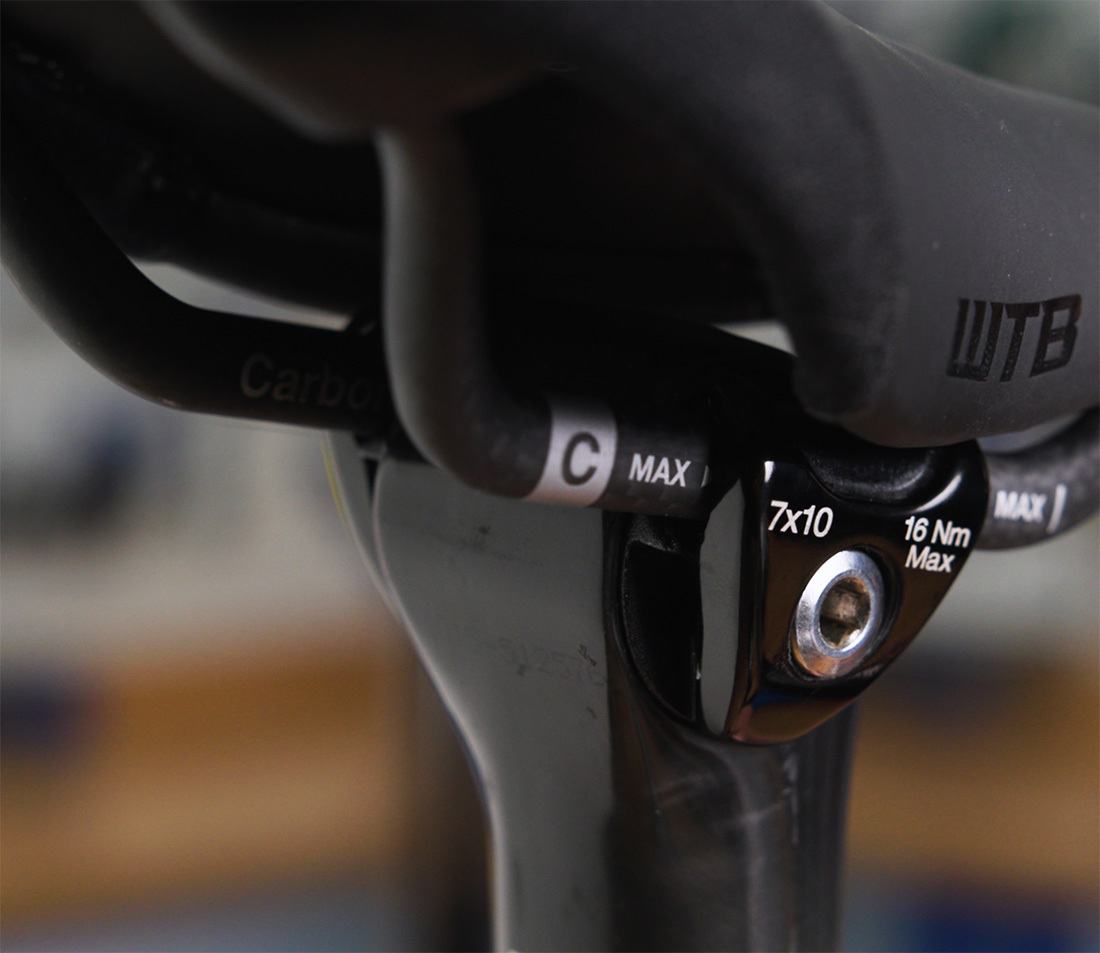
Saddle rails made of carbon fiber may be oval in shape, not round. Typically these require a special post to fit these taller rails, which can be 7 x 9 mm or 7 x 10 mm, not a round 7 mm shape. Consult the manufacturer to see if your carbon fiber parts are compliant with your seatpost.
Low-Profile Saddles
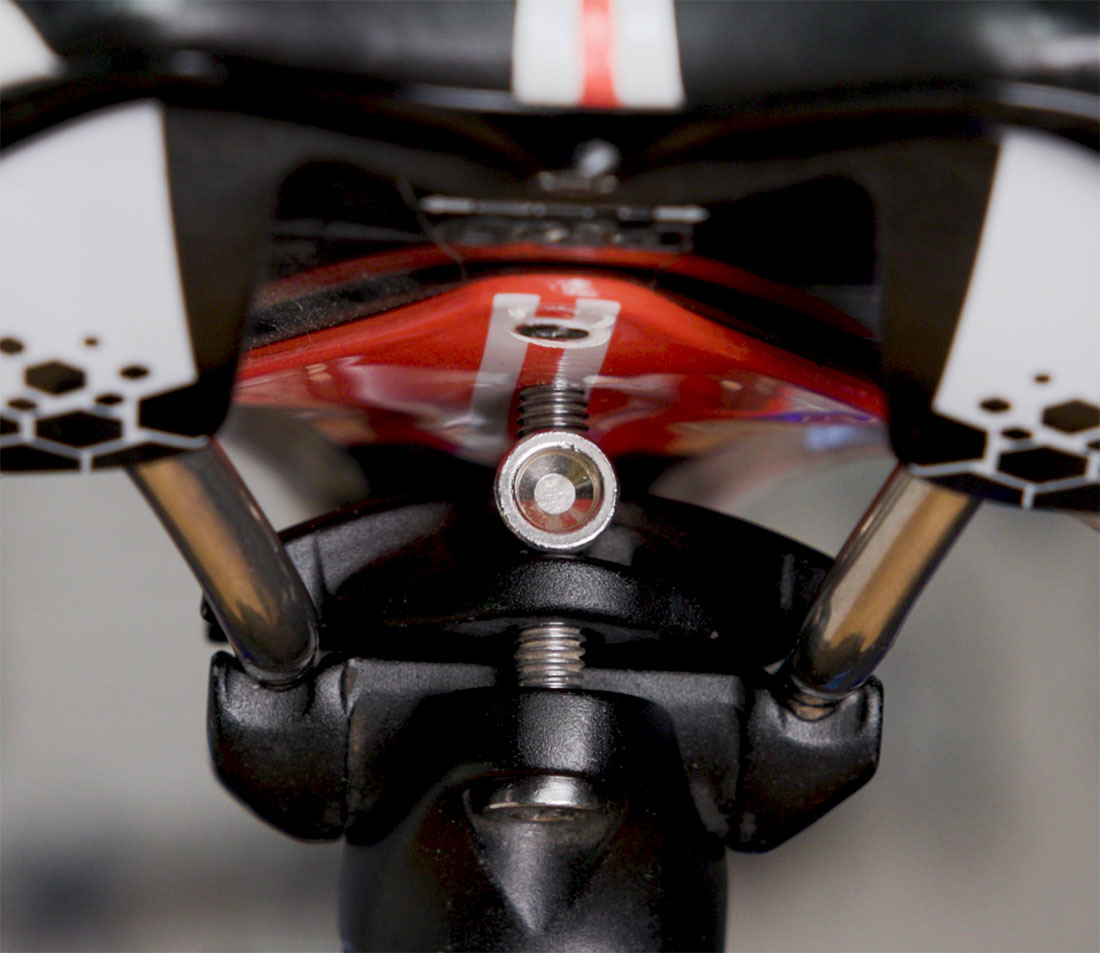
Clearance between the saddle rails and the molding can be an issue with low-profile saddles. Not every low-profile saddle will be compatible with every seatpost. You may need to search for a seatpost design that will not interfere with your particular saddle.
Pivotal BMX Saddles
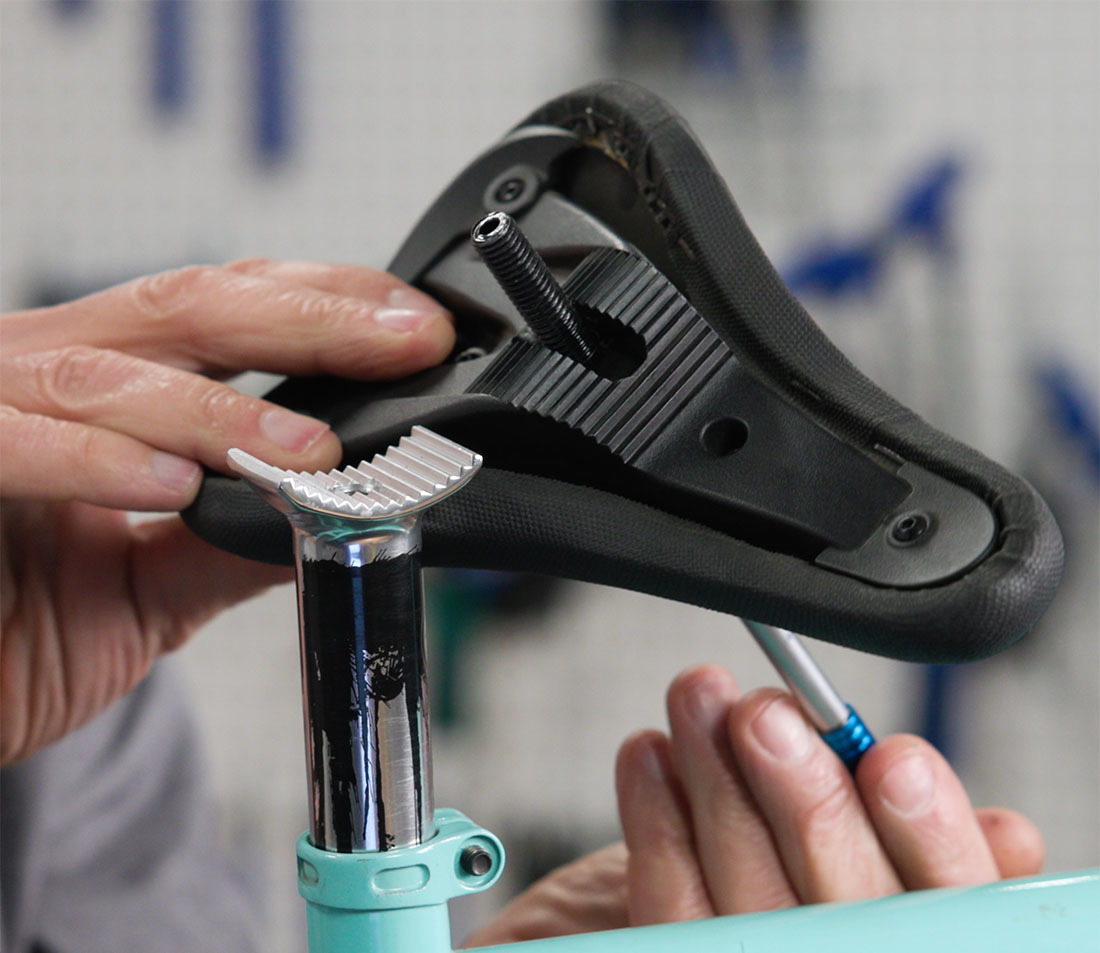
The pivotal BMX seat design does not use the two rail system. This standard has a single convex fitting on the saddle. This allows for angle adjustment, but does not permit fore-to-aft adjustment. The saddle actually contains the binder bolt, with is secured to a concave shape on the post. The saddle bolt is accessed through a hole in the saddle.
Flat Saddle Rails
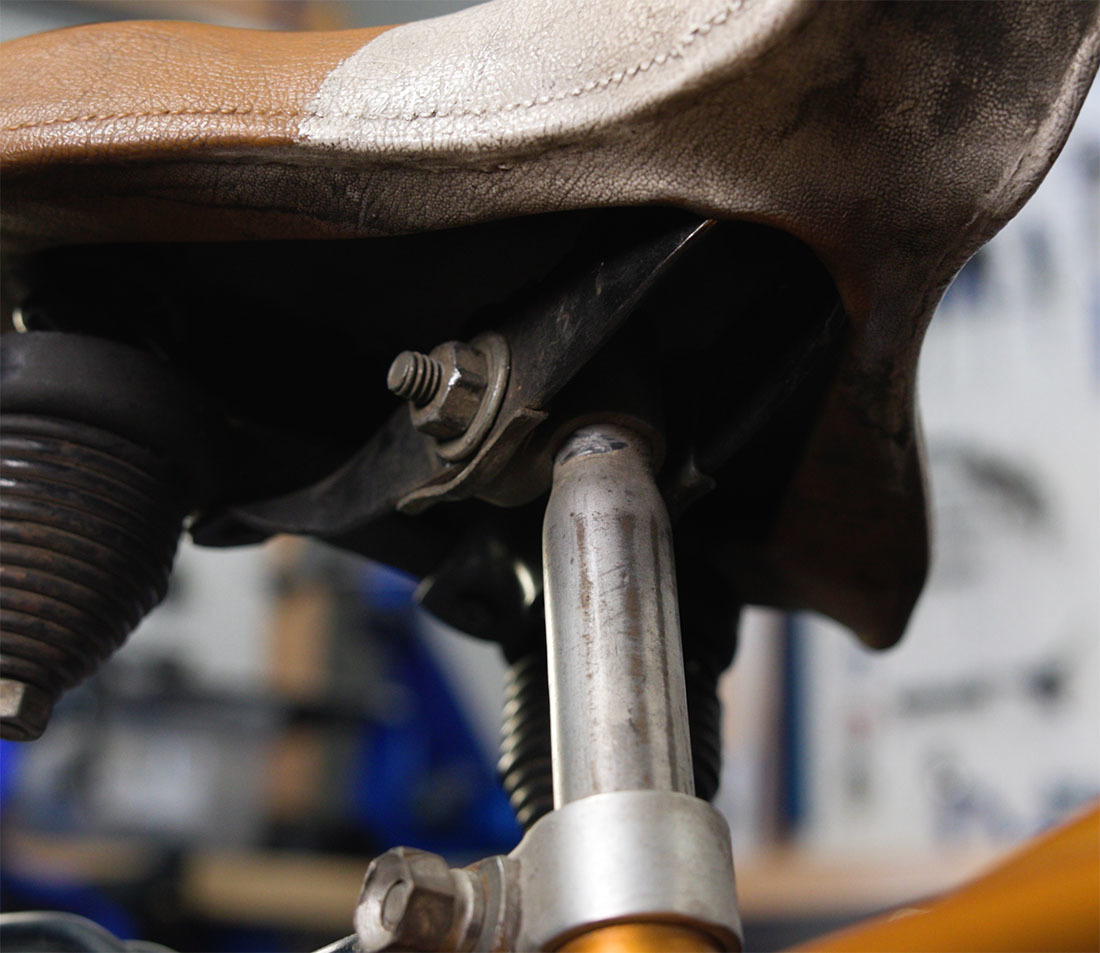
Excercise bikes, inexpensive bikes, and older bikes may feature flat saddle rails. These use a compatible clamp on the post.
Other Exceptions
As with all bicycle components, there will always be unique, proprietary saddle designs out there that don’t conform to any standard. You may need to inspect your saddle rail clamp system to determine how it is attached. If all else fails, try to contact the manufacturer for more information.