How to Adjust a Threadless Headset
Shows how to adjust a threadless headset, where the top cap sets the bearings and the stem locks them in. A correct setting keeps steering smooth and bearings safe.
In this article
A properly-adjusted headset allows for smooth turning and maximizes the life of a bicycle's components. This is the procedure for adjusting the modern style threadless headset.
Threaded vs. Threadless Headsets
Before adjustment, first verify if the headset is threaded or threadless. A threadless headset system uses a fork with a smooth (unthreaded) steering column. A stem and spacers are installed onto the steering column, and a top cap is installed in the top of the steering column. The top cap sets the bearing adjustment, and the adjustment is locked in place by tightening the stem onto the steering column.
A threaded headset uses a fork with a threaded steering column. An adjusting race and locknut thread onto the steering column, setting the bearing adjustment and securing the fork in the frame. A quill stem is then installed into the steering column.
These are grossly simplified explanations. A full breakdown of both systems can be found in the articles for threaded headset service and threadless headset service, but it is fairly easy to visually identify both systems. If wrench flats are visible above the top cup, the bicycle has a threaded headset.
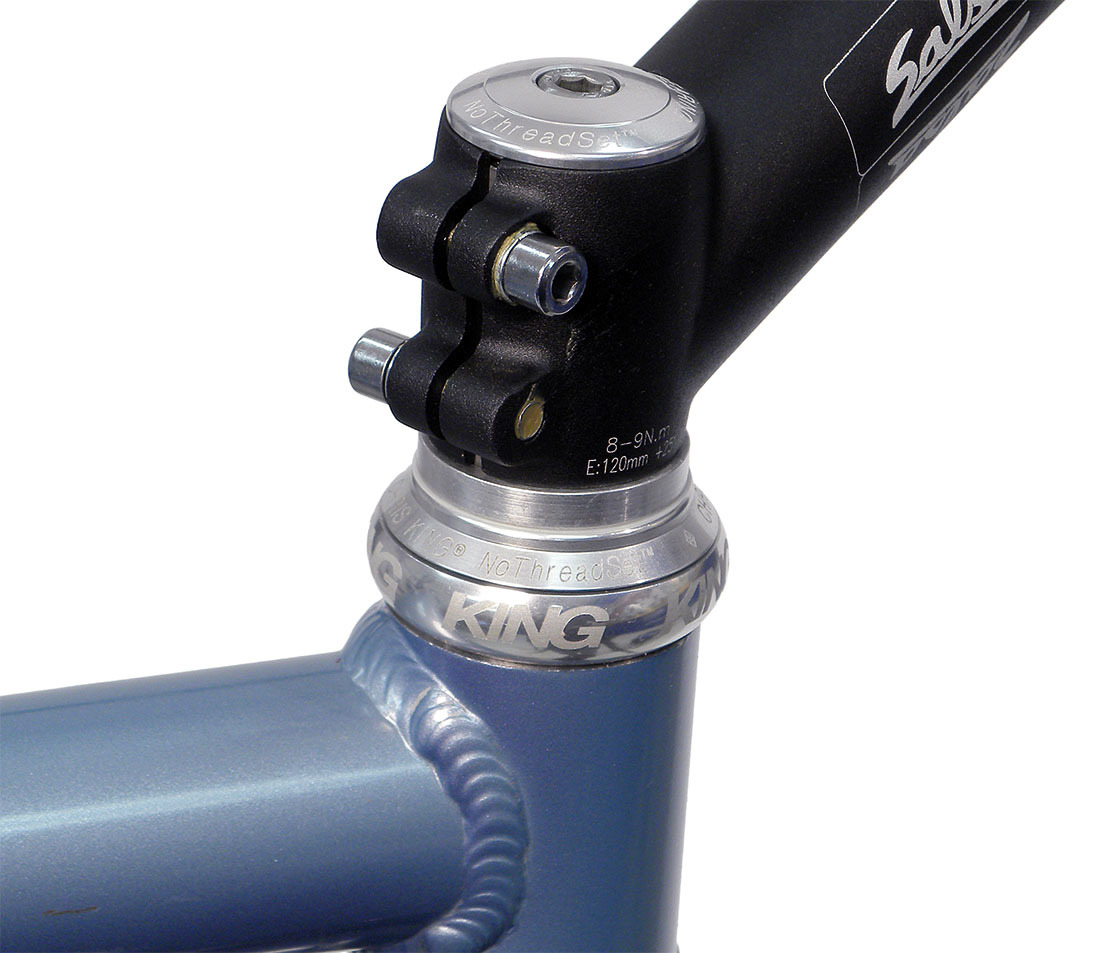
Example of a threadless headset. Note the lack of wrench flats.
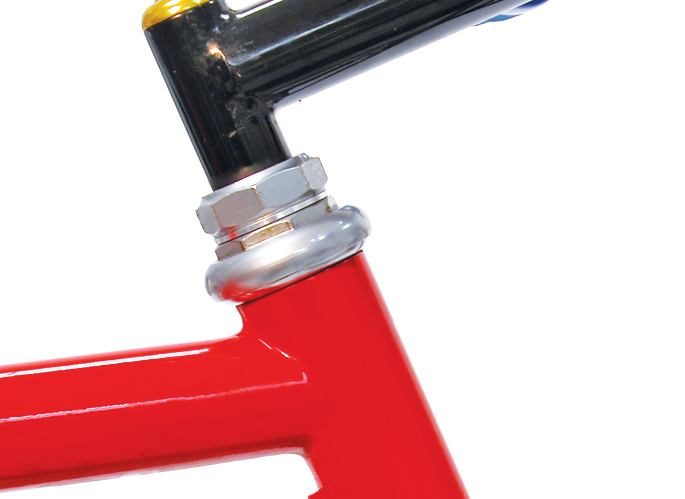
Example of a threaded headset. Note the presence of wrench flats.
Diagnosis
All bearings on a bike have some friction as they rotate. This is normal and does not affect the ride. Better quality bearing surfaces are ground smoother and will have less friction and resistance to turning. Adjustable type bearing systems use two opposing races which can be moved relative to one another.
If a headset adjustment is too loose, there will be play in the bearing system. The bearings can move up and down and are subject to being rattled or slammed against the race surface with each minuscule impact to the front tire. Over time, this can cause wear to the surface of the races and even deform the ball bearings themselves. A loose headset with play may also handle poorly.
To check for a loose headset, apply the front brake and the put your free hand over the headset and head tube. Rock the bike back and forth, and feel for a play between the components. A knocking or rocking movement between the frame and the threaded race is an indication of a loose headset.
The adjustment can also be too tight. Headsets that are run too tight can cause premature wear and can get “indexed” or feel “notchy”. Often a headset that is adjusted too tight will feel stiff and may feel rough.
The appropriate adjustment for a headset is as loose as possible with no play.
Adjustment
Threadless headsets work on the same principal as threaded headsets. The bearing races need to press against the bearings. The bolt in the top cap will put pressure on the stem, which presses on washers below the stem, which press on the bearing races, which press against the bearings.
NOTE: The cap and bolt at the top of the stem do not secure the stem onto the steering column. The bolt or bolts on the side of the stem keep the stem from moving once the adjustment is made. The cap is used for bearing adjustment only.
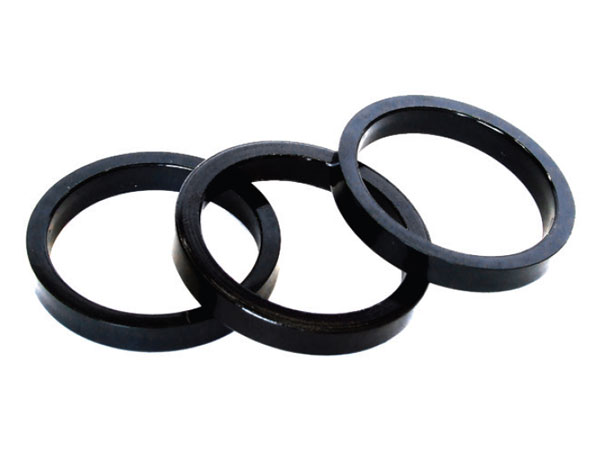
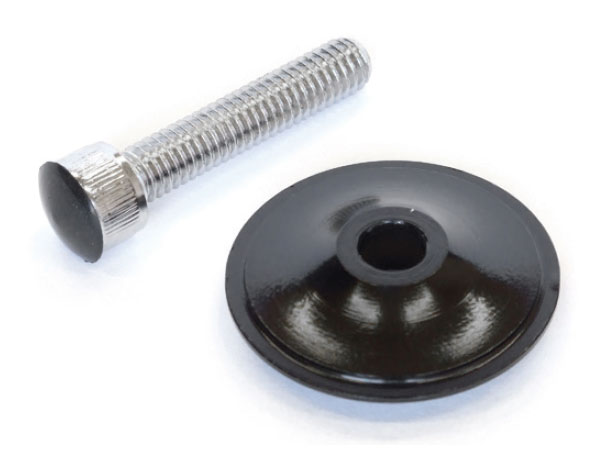
Begin by removing the adjusting bolt in the center of the steering column. Next, remove the top cap. There may be a star-shaped nut or other fittings inside the steering column. The bolt threads into this fitting and pulls on the fork against the headset bearing surfaces, which acts to tighten the adjustment. Note the height of the steering column relative to the stem. It should be about 3mm (1/8″) below the level of the stem. The stem needs to press down on the spacers in order to adjust the bearings. If the steering column is level with the top of the stem, another spacer is needed below the stem.
- Remove bolt and top cap to inspect steering column. Lubricate adjusting bolt and reinstall cap and bolt by hand only. Do not tighten.
- Loosen stem bolt(s) that secure stem to the steering column. Lubricate these bolts if they are dry. NOTE: Do not lubricate inside stem or on steering column surface.
- Wiggle the stem side to side to see that it is loose. If the stem is jammed or rusted frozen to the steering column, no adjustment can be made.
- Align stem straight to wheel and gently secure the top bolt. Stop when any resistance is felt.
- Tighten stem bolt(s).
- Check for play by pulling back and forth on fork. Turn the handlebars in different directions while checking for play. There may be play at this early setting. Use care when grabbing suspension forks, because the legs may have play. Grab upper portion of fork.
- To adjust bearings, loosen stem bolt(s).
- Turn adjusting bolt in center cap only 1/8th turn clockwise.
- Secure stem bolts, check for play again.
- Repeat adjustments as above until play disappears. Remember to loosen stem bolts before turning adjusting bolt in cap.
- Check alignment of stem and tighten stem binder bolts fully.
NOTE: Another test of play is to place the bike on ground and grab the front brake tightly. Press downward on the handlebars and rock the bike forward and back. A knocking sensation may indicate a loose headset. In effect this does the same thing as grabbing and pulling on the fork. However, play in the brake caliper arms may also cause a knocking. Front suspension forks may also have play in the legs, which can cause a knocking.If the adjustment seems very tight, there may be other problems in the headset. Bearing surfaces may be worn out, or the ball bearing retainers may be upside down, or a seal may be improperly aligned. If play always seems present no matter the adjustment, the steering column may be too long for the stem and top cap. Add spacers beneath stem in this case.
Troubleshooting
If you find yourself unable to find the sweet spot between too tight and too loose, there may be several culprits:
Bearing Quality
Bearing surfaces are made from hardened steel. The surfaces are cut typically by grinding. Round ball bearings roll on the curved surface of the cup and cone. Even the highest quality bearing surfaces will have slight grinding marks. Bearing surface smoothness will vary between manufacturers and between models. Some bearing systems will simply feel smoother... because they are smoother. This is why it is difficult to adjust by using a subjective feeling of smoothness. Generally, adjust bearings for the loosest setting that has no knocking or play, regardless of this relative smoothness.
Worn-Out Headset Components
If after adjusting a headset for being too tight, it still feels rough and excessively sticky, it may simply be worn out. The headset should be replaced. Keep in mind that low-end components will generally feel less smooth even when properly adjusted, just as higher-quality headsets and bearings will feel smoother.
If the headset seems to lock in place or center itself when the wheel is straight, it is likely the lower races have dents from the ball bearings. The result is the headset is locking into the one forward position. The headset should be replaced.
See Threadless Headset Service for more information on replacing components on a threadless headset.
Headset Cannot Move Freely with No Play
This can happen if there is a component out of position or the bearing cage was installed upside down. Disassemble the headset and verify that all components are in correct place. See Threadless Headset Service for a detailed walkthrough of correct component orientation.
Loose Cups or Adapters
Over time, a loose headset may allow play in the cup or adapter of the headset, wallowing out the head tube. A bearing adjustment will not fix this. If a cup or adapter is so loose that can be easily turned by hand while installed in the frame, you may be able to secure it in place with some retaining compound. Otherwise, it may be time to look into a new bike. Consult a professional to determine if there is an alternative solution.