Crank & Bearing Removal & Installation: Campagnolo® Power Torque™
Service of the Campagnolo Power Torque crank system, covering crank removal, bearing access and reinstallation. Explains the risks involved before you begin.
In this article
This article will review the service of the Park Tool CBP-8 Crank and Bearing Tool Set servicing the Power Torque™ crank system from Campagnolo®.
Getting Started
The Power Torque™ crank uses a spindle integrated into the drive side
crank. The left side crank is removed to get to the bearings or to remove the right crank.
Crank Removal
IMPORTANT NOTE: The Power Torque™ lacks any factory-designed removal design or procedure. The Power Torque™ cranks are very difficult to grab and secure for a pulling operation. There will be inherent risk in servicing Power Torque™ cranks.
- Remove the clip from the drive side bearing cup. The spindle cannot be removed with this clip in place.
- Remove crank bolt and washer using a 14 mm hex wrench.
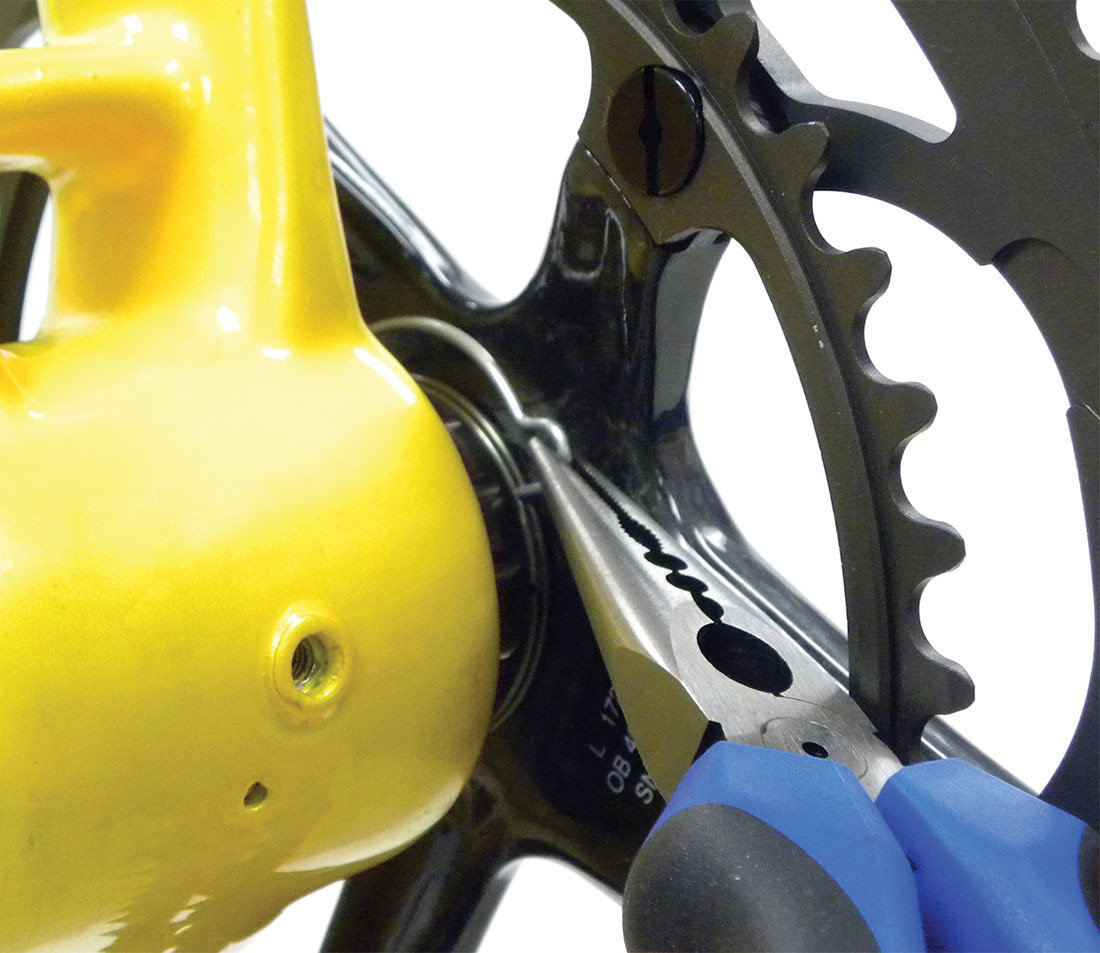
Remove clip from right side bearing cup
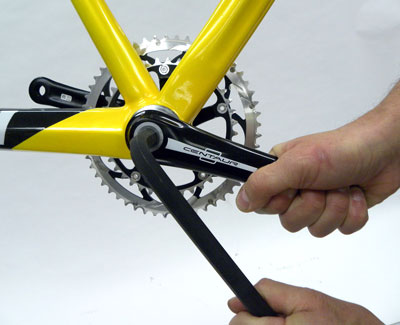
Remove crank bolt with a 14 mm hex wrench such as the HR-14
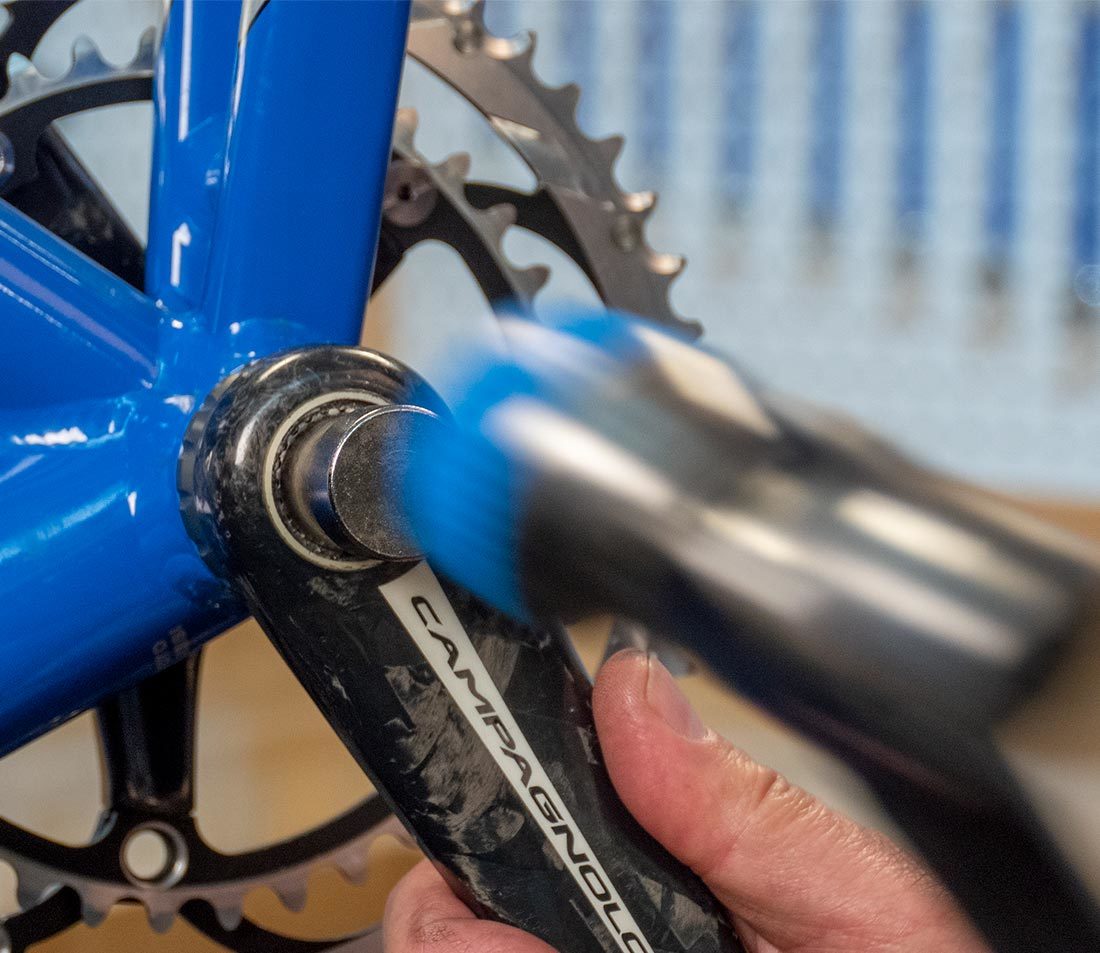
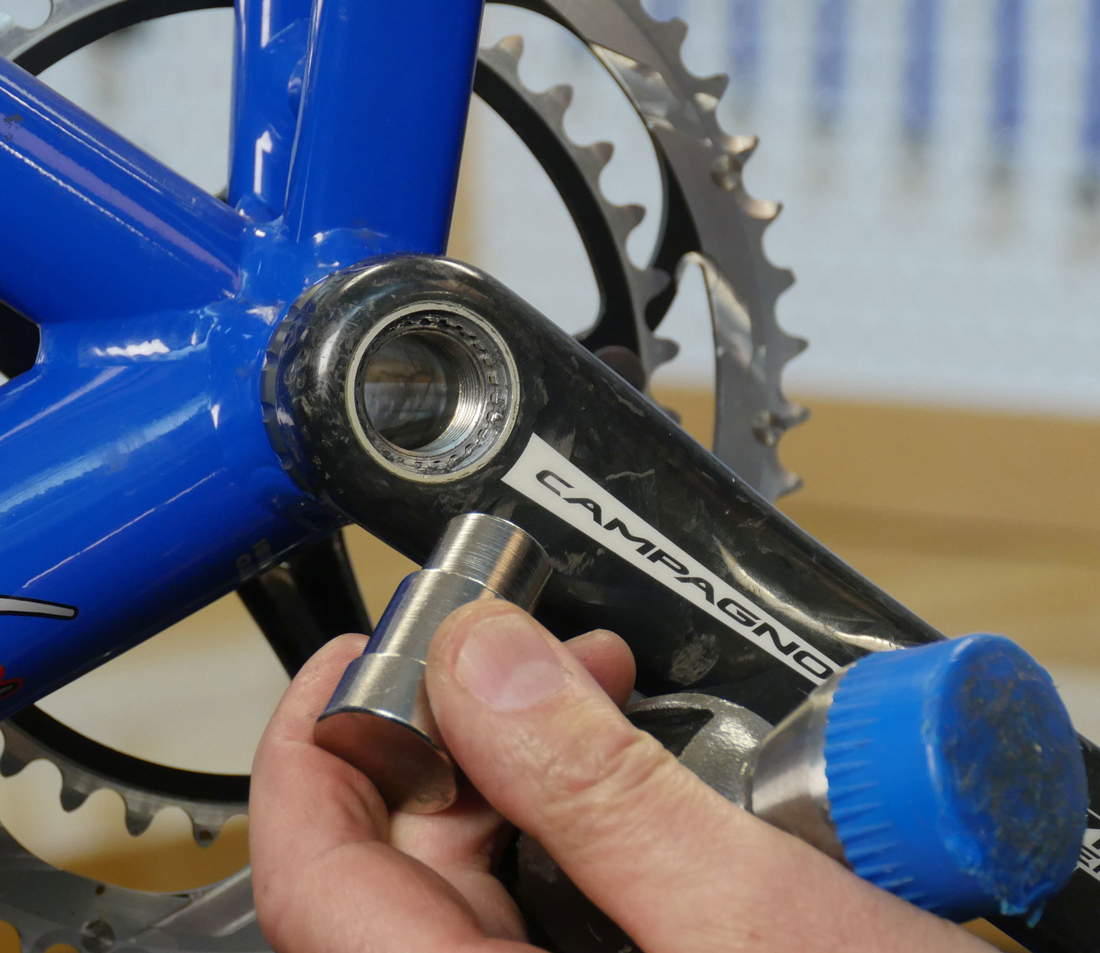
- Insert the 1198 extension plug into the spindle. Plug is sized to only engage the spindle.
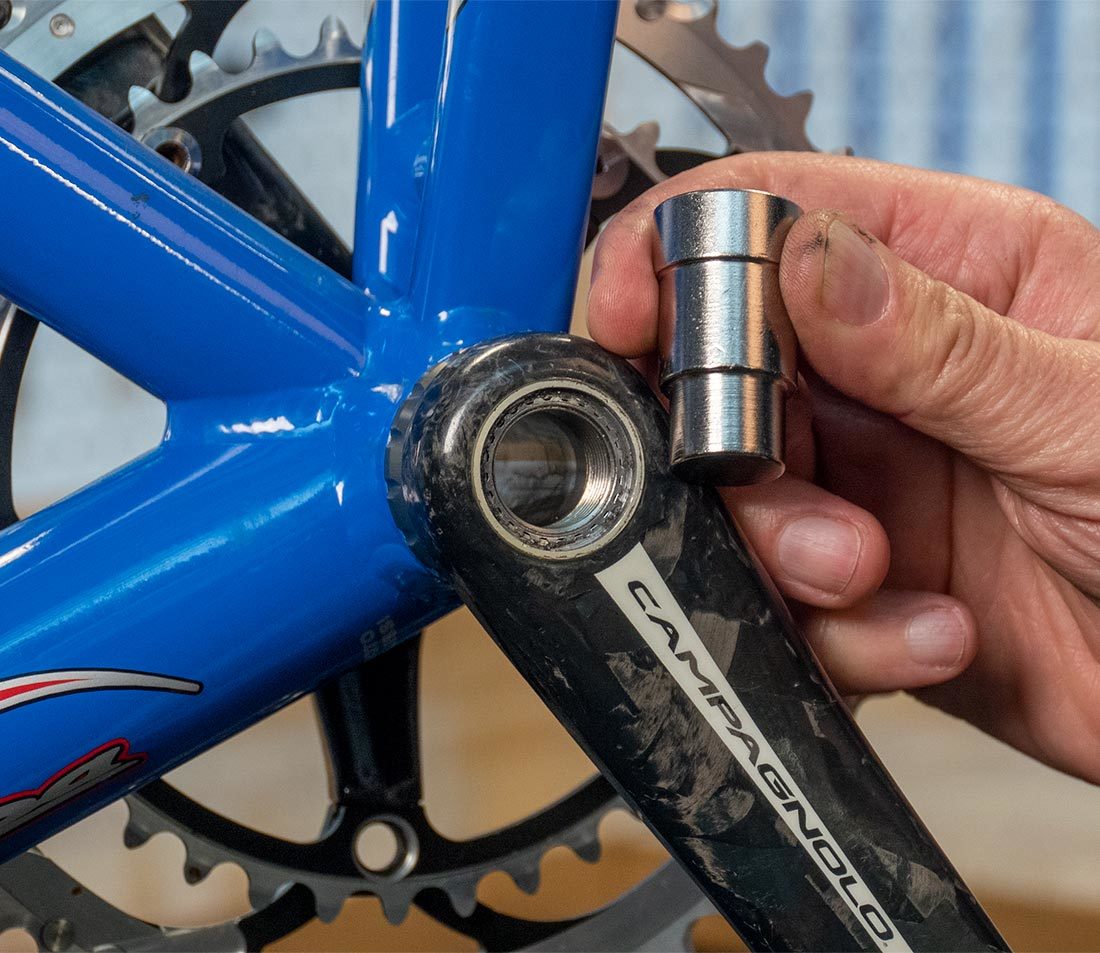
Crank bolt and washer removed and spindle ready for #1198 extension plug
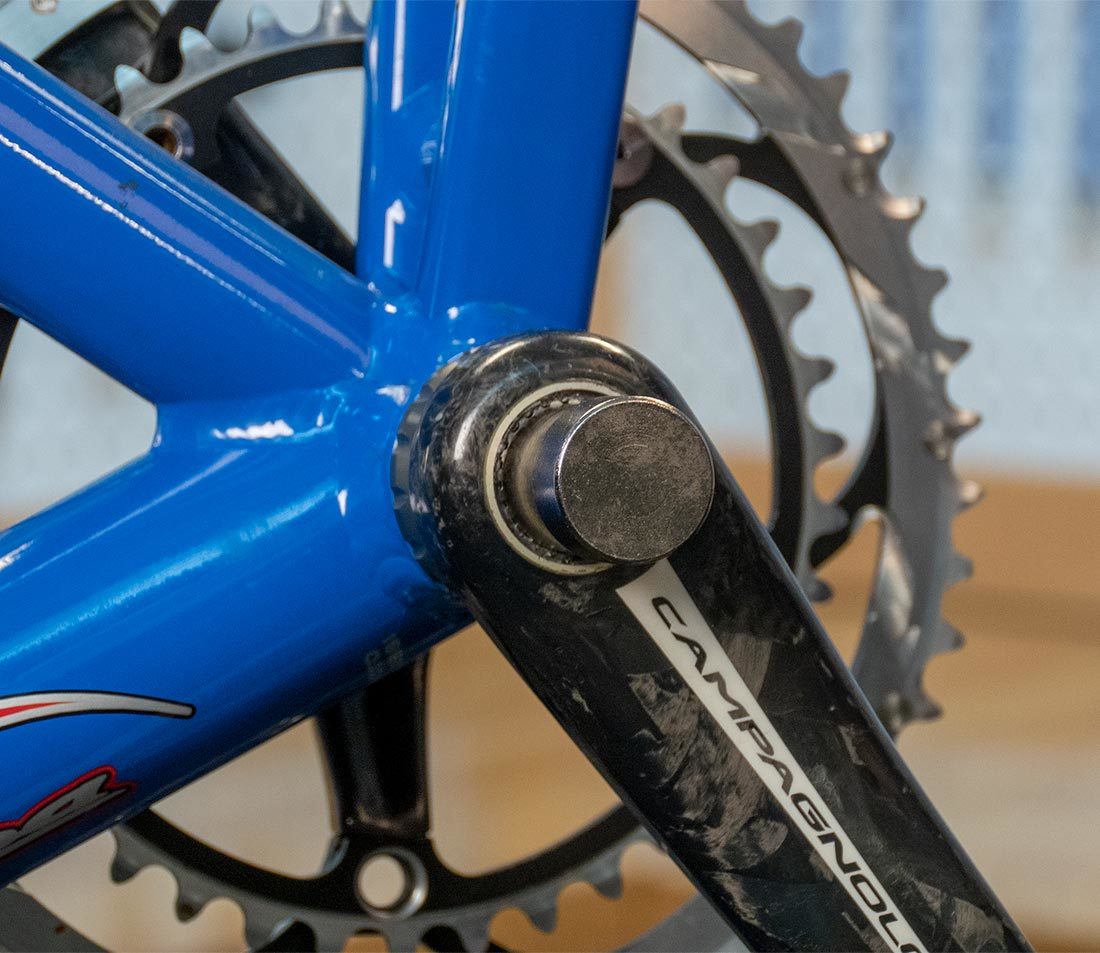
#1198 extension plug installed in arm
- Brace bottom bracket. Have someone assist by holding right side as necessary.
- Use a large mallet to squarely strike the #1198 extension plug, driving the spindle out of the non-drive-side arm.
- Continue until arm is free of spindle. Expect right crank to fall as it is freed of left arm.
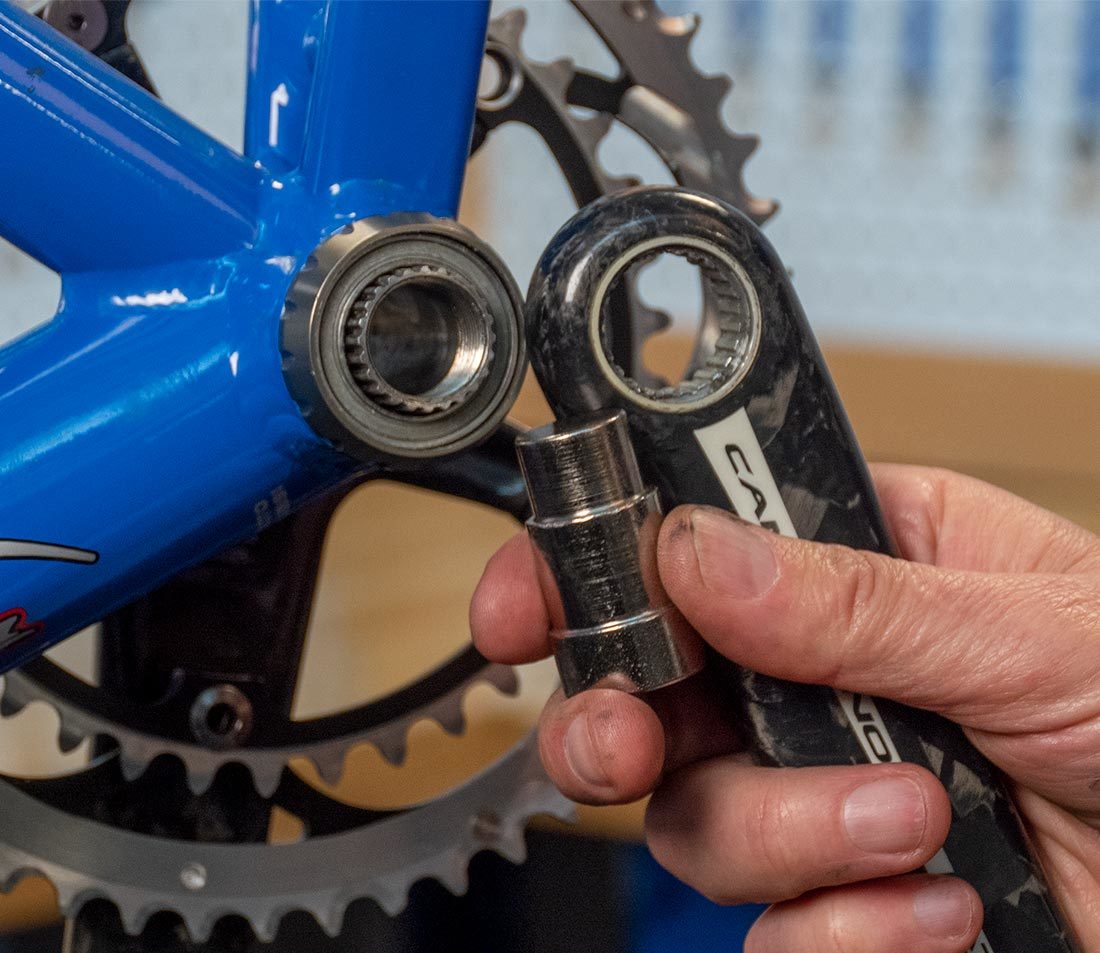
This impact technique does not damage the cartridge bearings in the system. The force is on the spindle and does not pass through the bearings to free the left arm. If the spindle has not been properly lubricated, it can be difficult to remove.
Bearing Removal and Installation
The drive side bearing is pressed to the spindle. There is a C-clip that must be removed before pulling this bearing. The aluminum and carbon arms share the same service feature for bearing removal and replacement.
The procedure for crank bearing removal and installation:
- Use a screwdriver or utility pick and work the clip up and off the spindle.
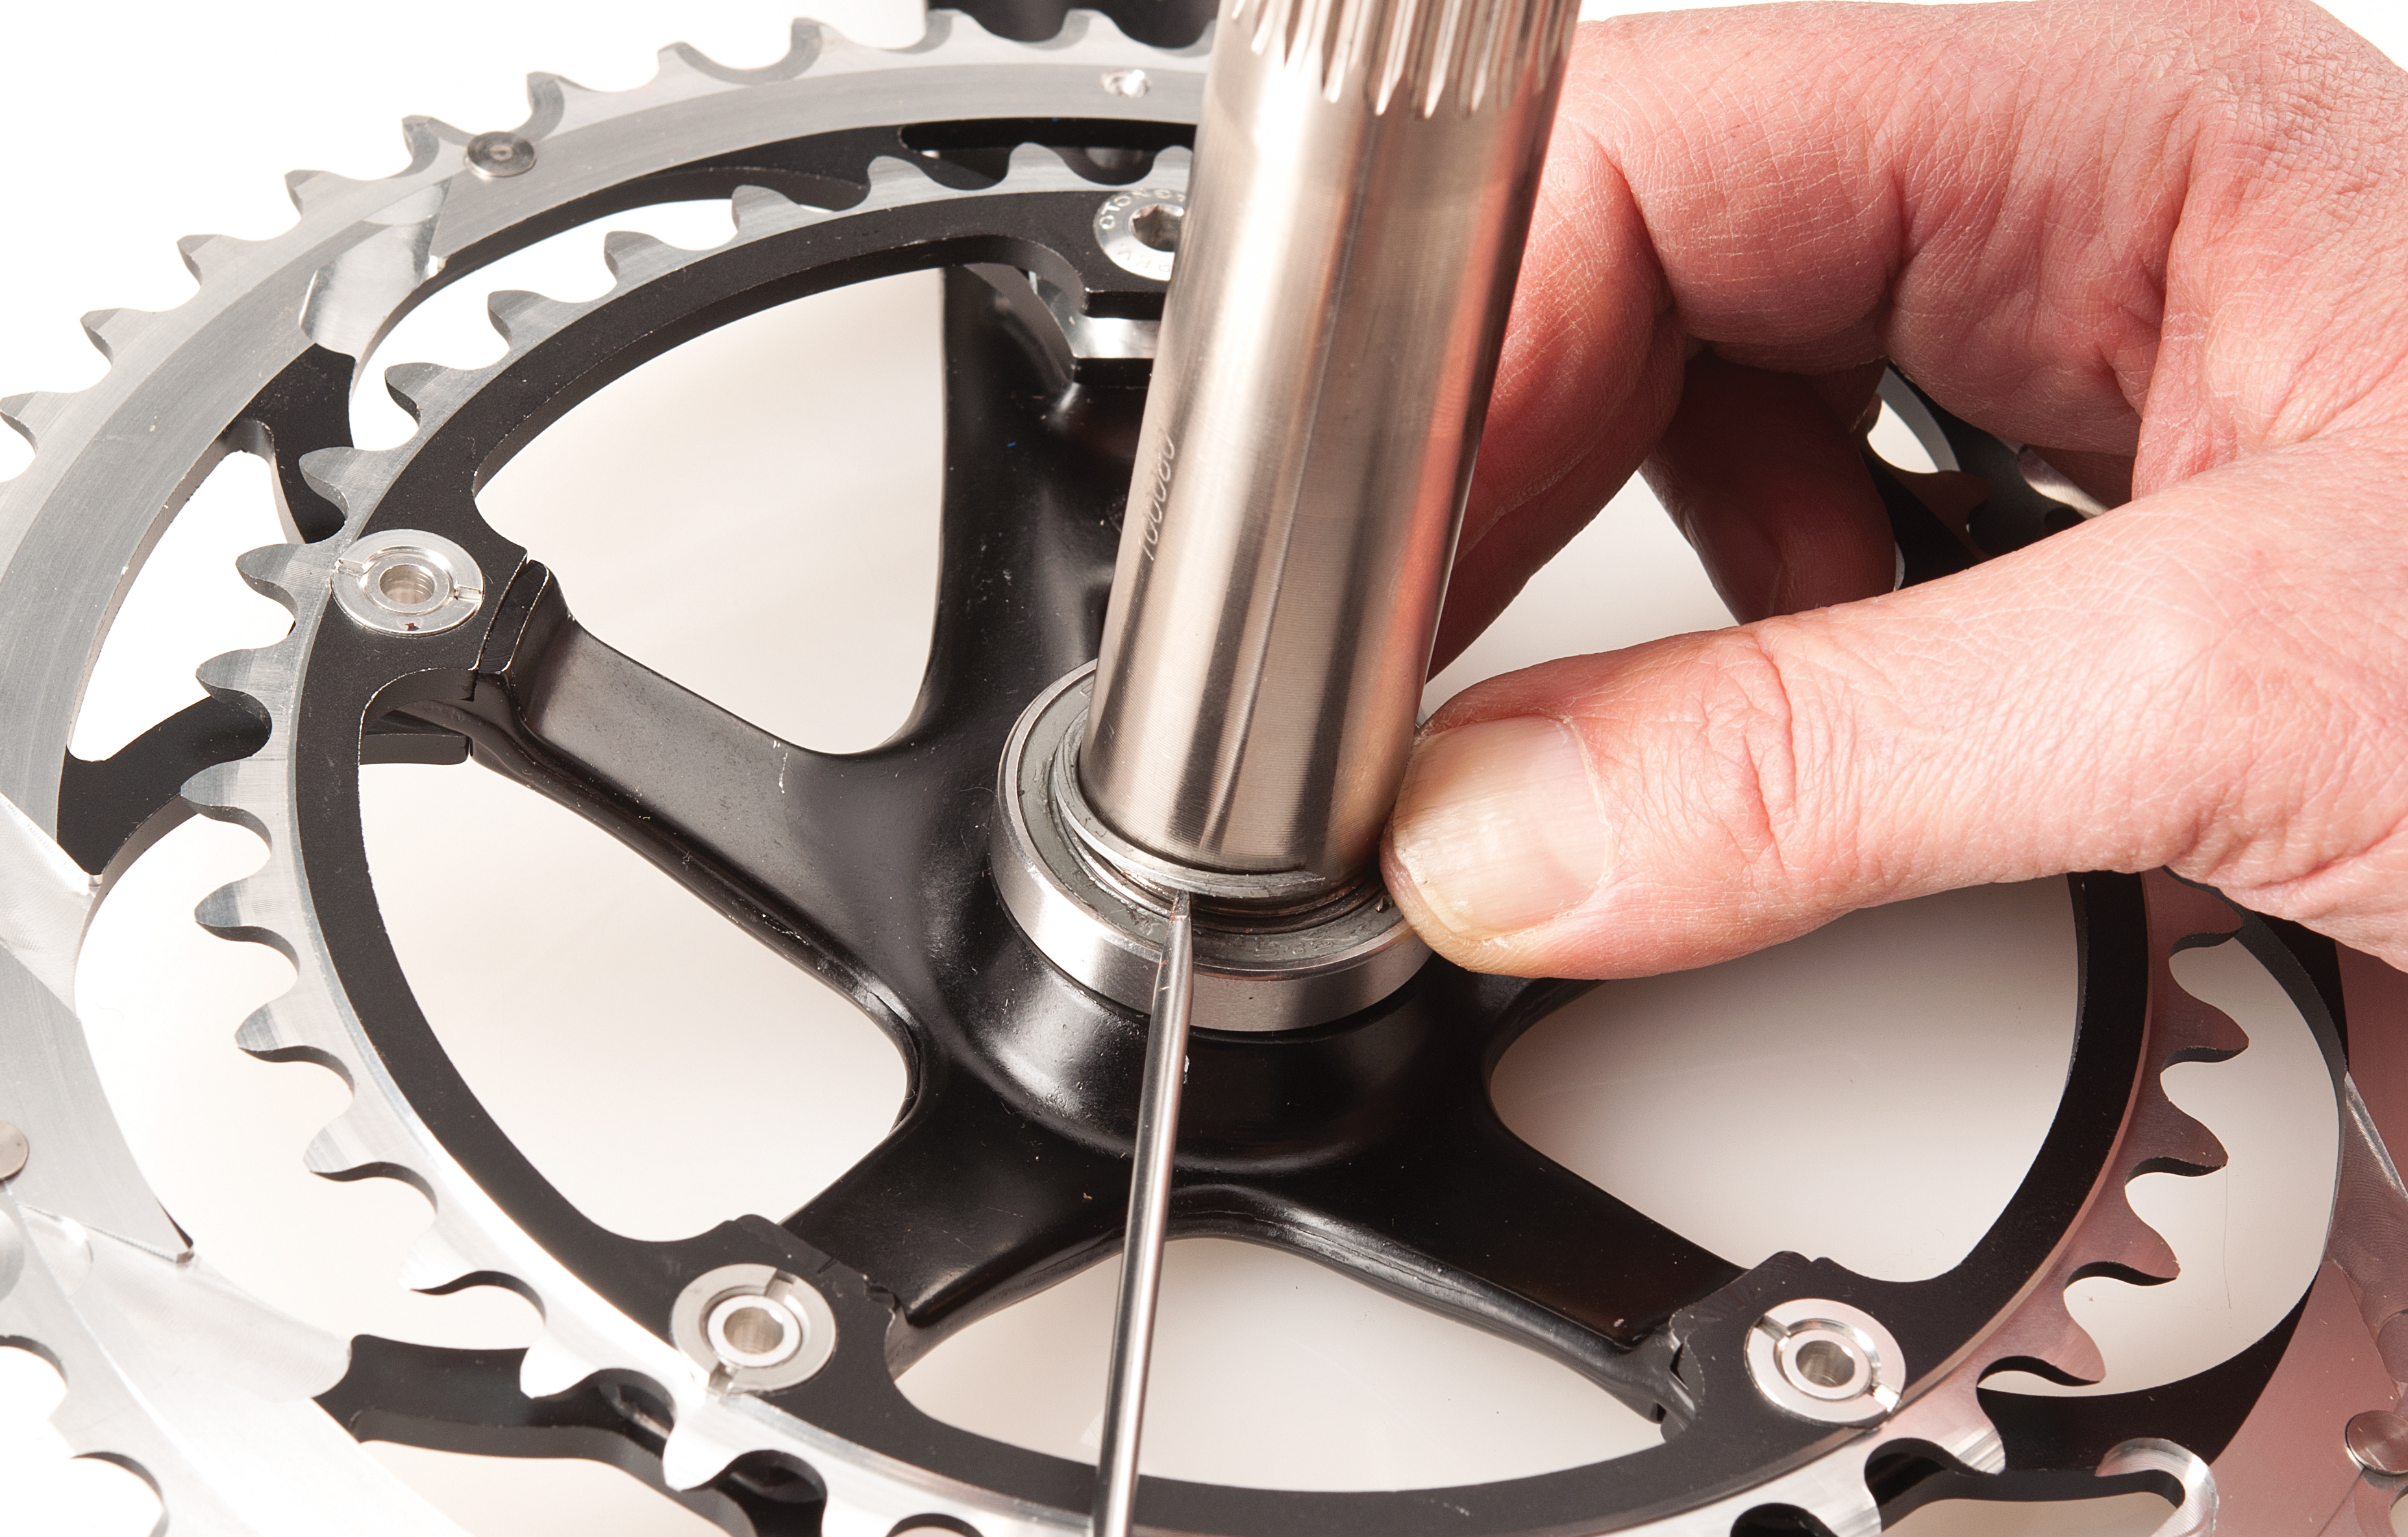
- Install the bearing remover adapter on the crank. Install adapter aligned with the arm of crank. Push adapter until fully engaged.
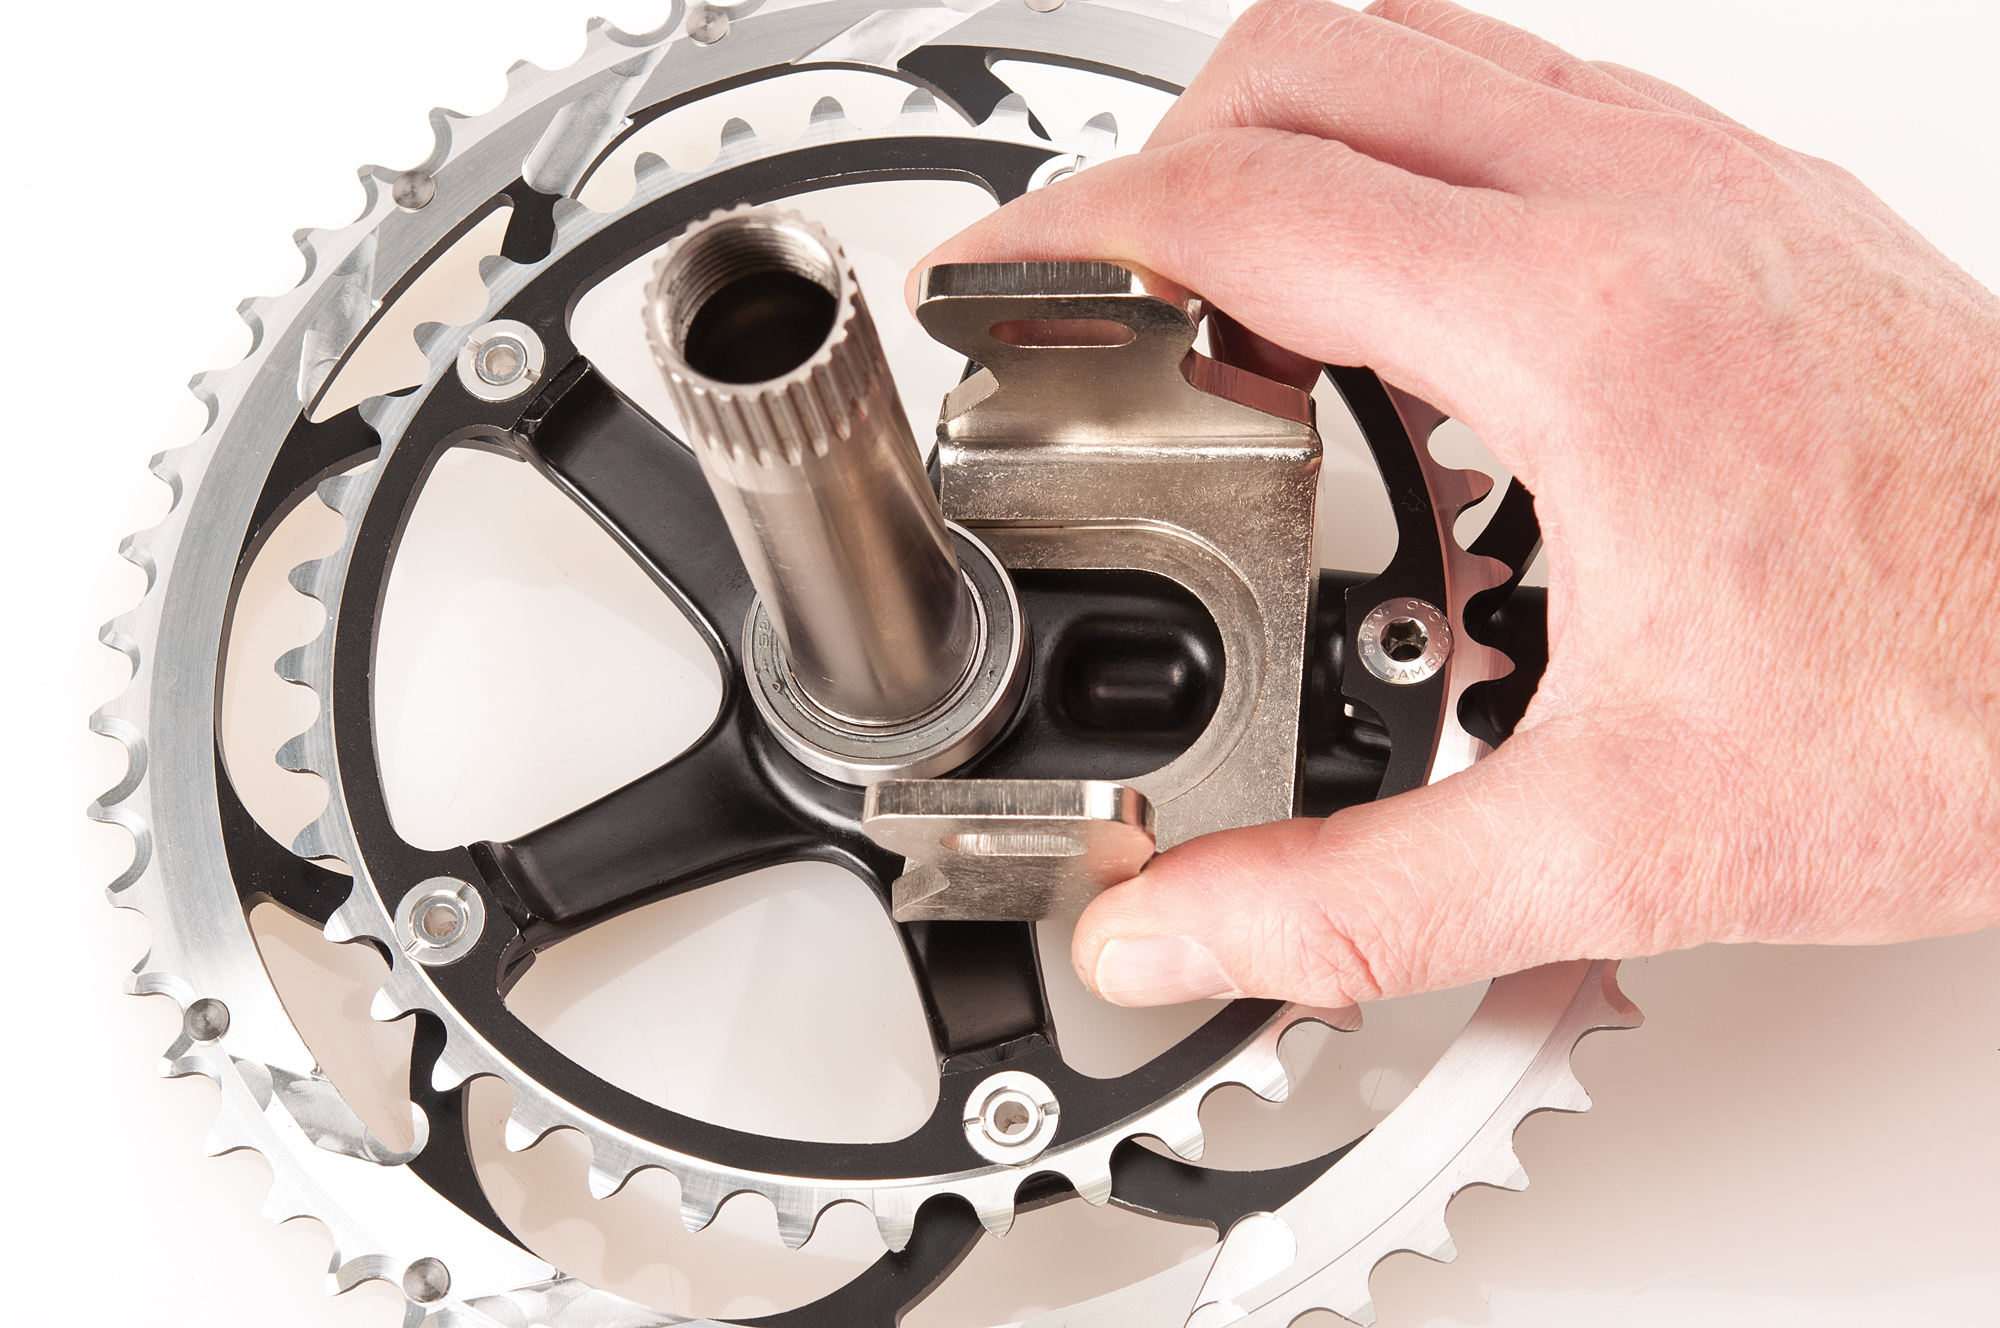
- Install puller and engage fingers into arms of adapters. Adjust knobs of puller to remove play in puller.
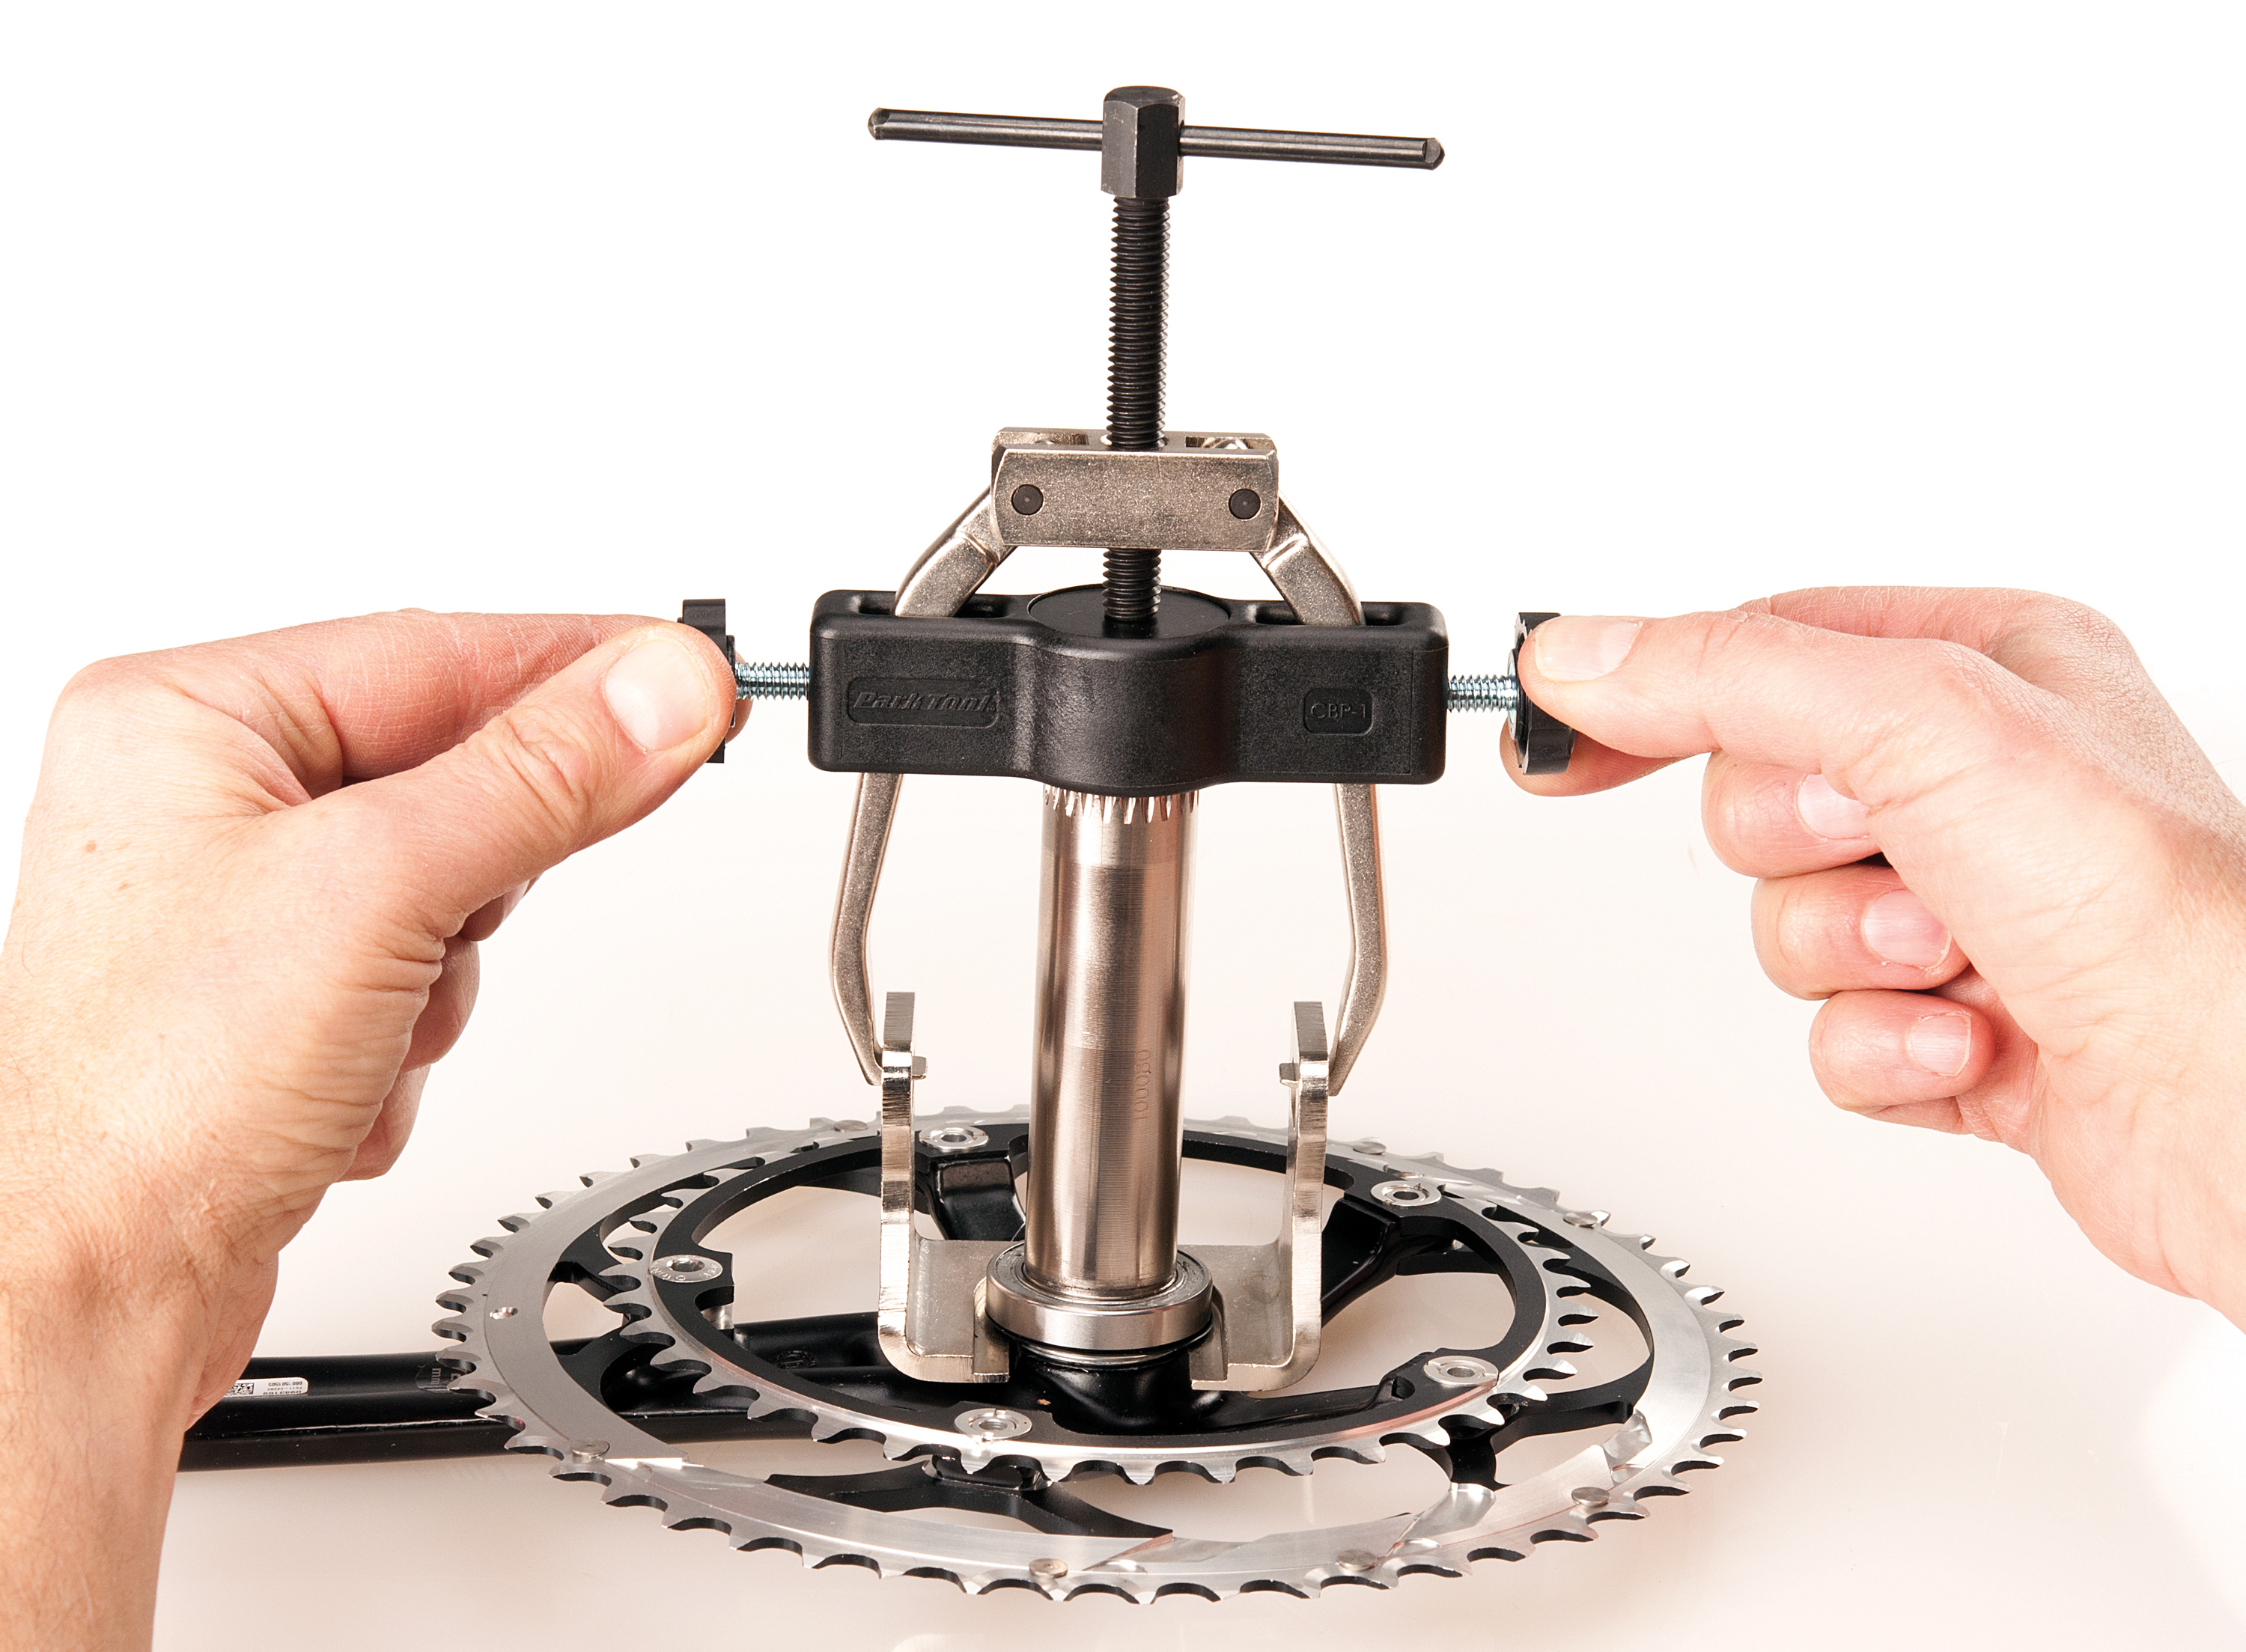
- Tighten handle of puller to lift adapter and bearing from crank. Inspect the puller and adapter are lifting evenly and not twisting. Readjust as necessary.
- Install new seal and bearing on crank spindle. Place crank on smooth workbench, and place bearing installer over spindle. Use a hammer to drive bearing fully into place.
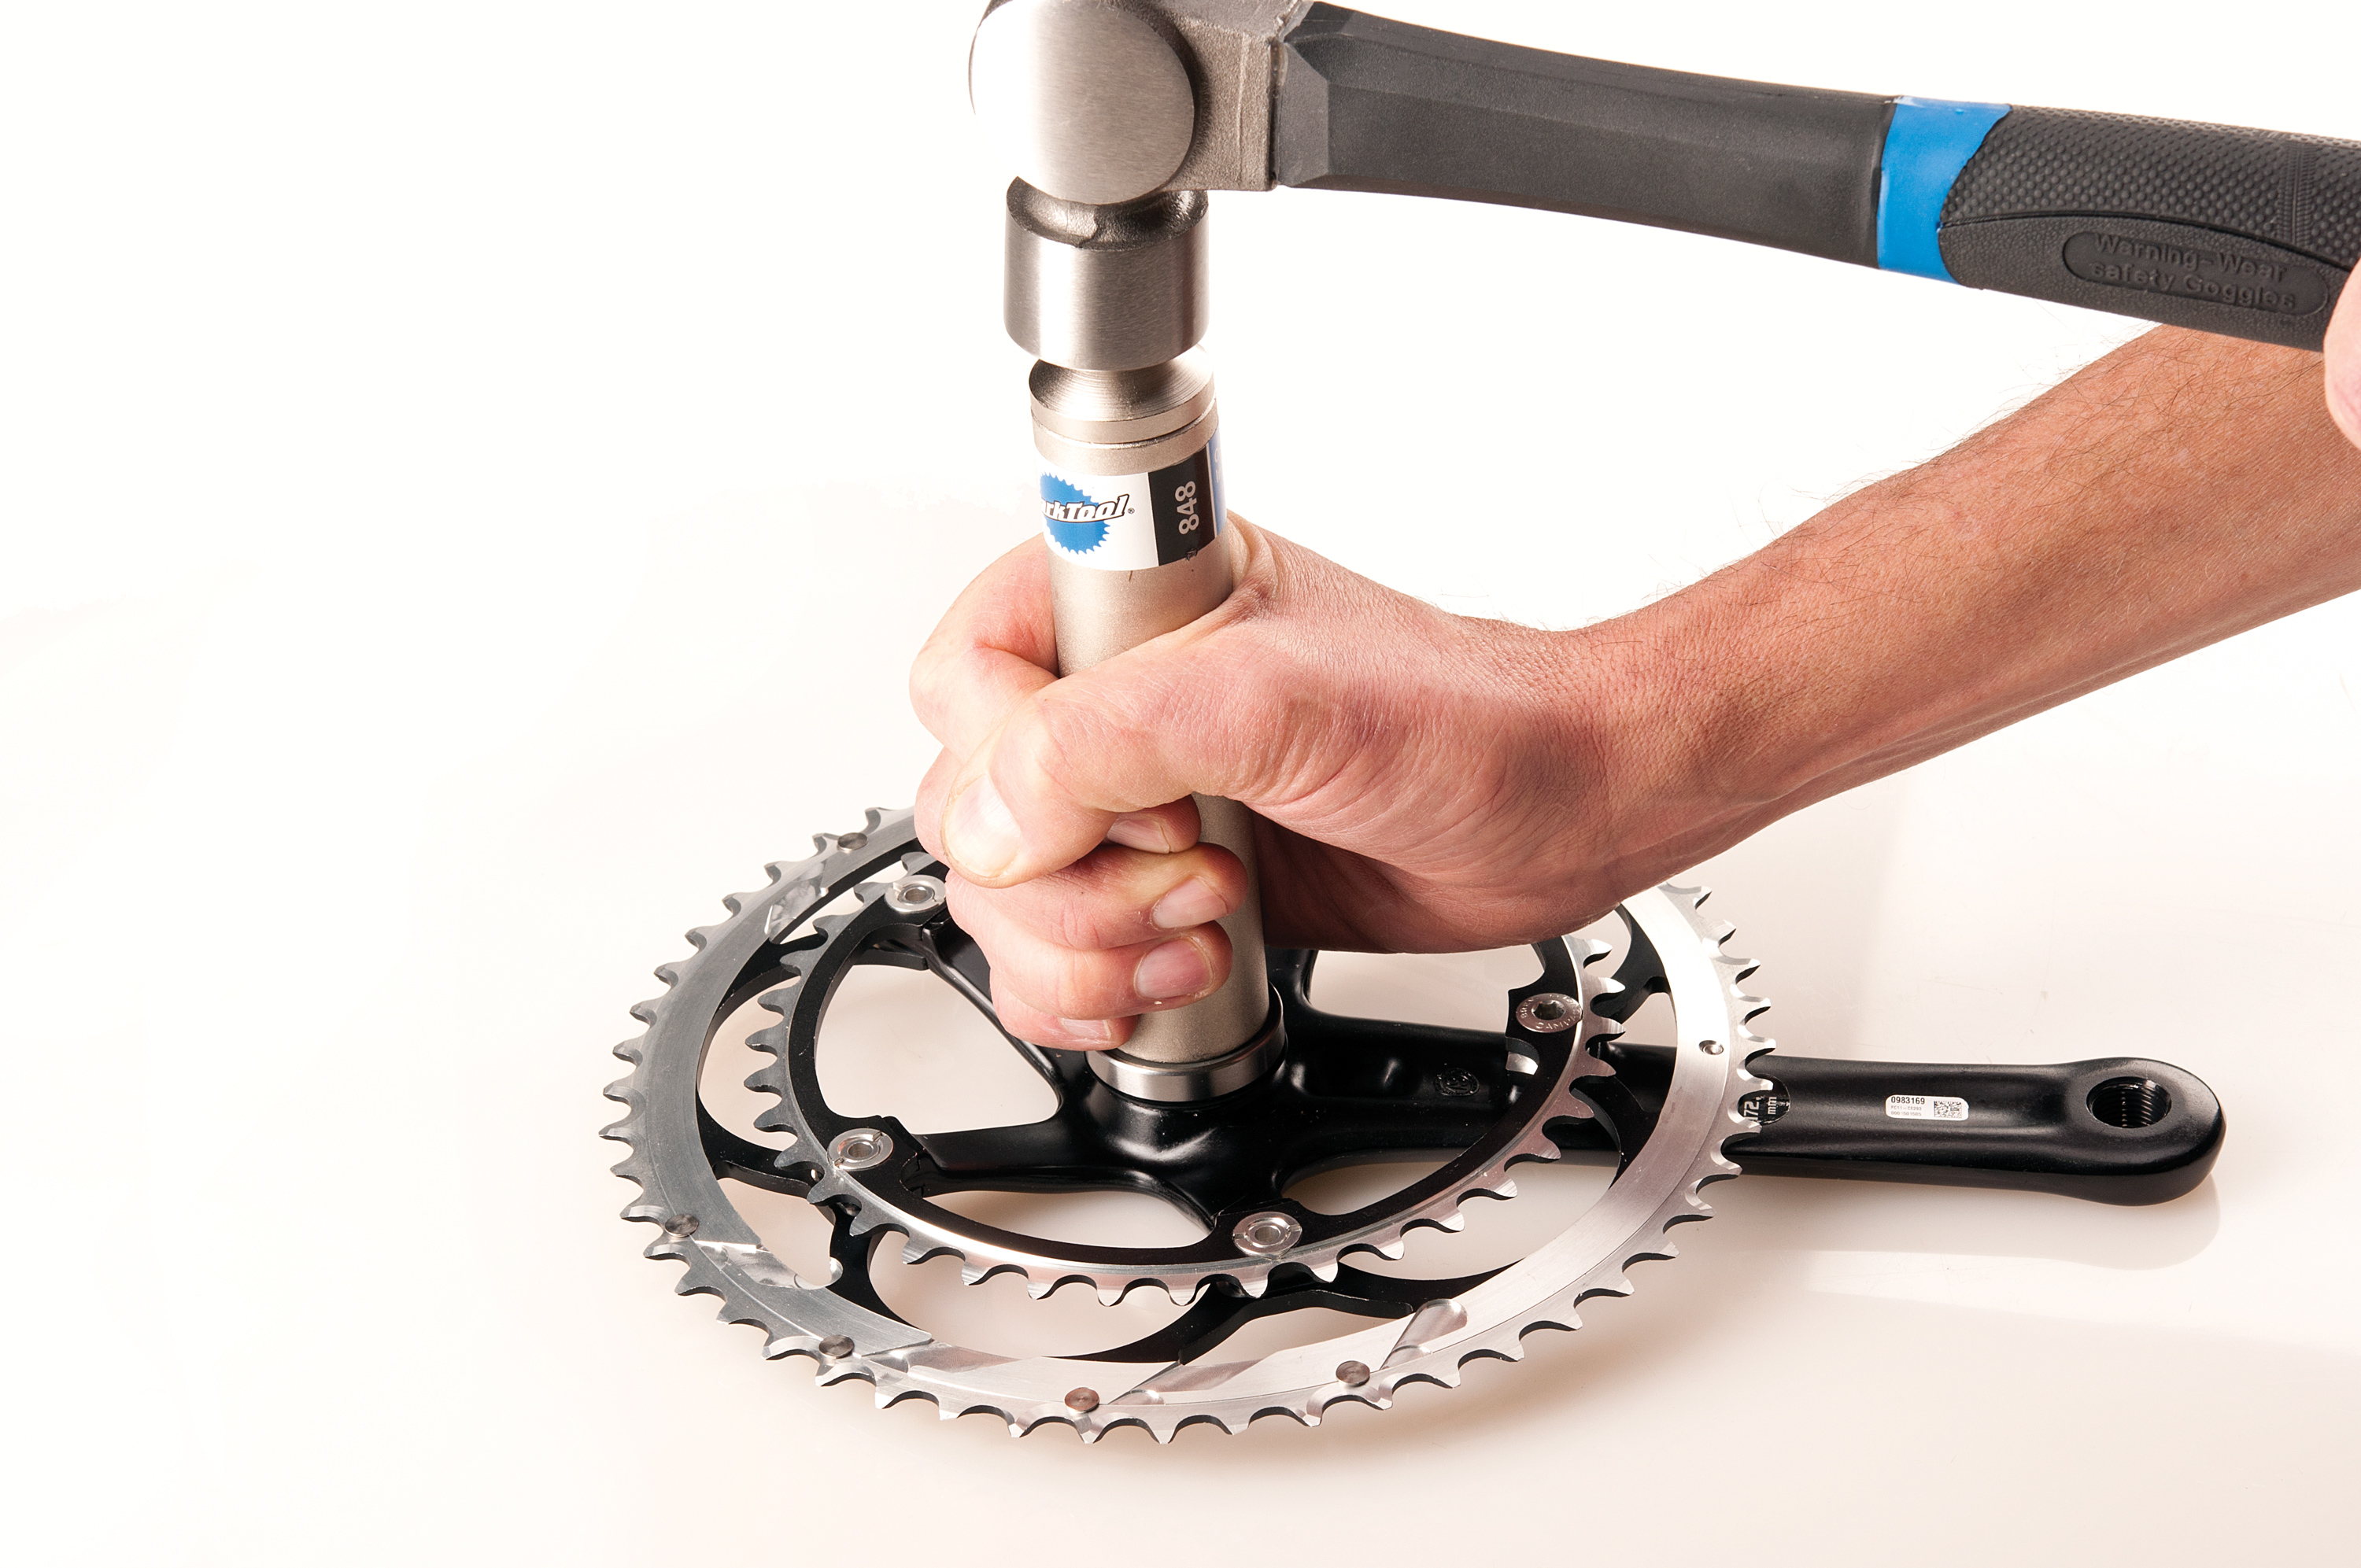
- Crank is ready to install.
The left side bearing is pressed into the cup. It is Campagnolo’s intention that this entire cup with bearing should be replaced when bearing is worn out.
Crank Installation
Both the aluminum and carbon cranks share the same installation procedure.
- Install crank through right side bearing.
- Install C-clip into pin holes of right side cup.
- Install pre-load spring and seal cover over left side bearing.
- Grease splines of crank. Grease threads of crank bolt.
- Align crank to point 180-degree opposite of drive side arm and install on spline of crank.
- Install crank bolt and secure to manufacturer’s recommended torque.