Chain Length Sizing: Campagnolo®
This guide walks step by step through sizing a Campagnolo chain, using the longest length the bike can take. Helps you get the shifting feel the maker intends.
In this article
While most chains can be sized using the same methods, Campagnolo® recommends specific measures be taken in order to ensure ideal shifting feel at the levers. This repair help article will take you step by step through the methods of sizing Campagnolo® chains.
Preliminary Info
Campagnolo® drivetrains require the longest possible chain length the bike can use. Campagnolo® says this results in a feeling of softness in shifting by reducing spring tension at the pulley cage. You will need a chain tool to break the chain and an 8 mm hex wrench to use a feeler gauge.
Before removing the old chain, confirm that it was an acceptable length. Shift to the largest front and rear sprockets. If the derailleur makes the shift and there is a bend at each pulley, the chain is not too short. You can simply use the old chain to size the new chain.
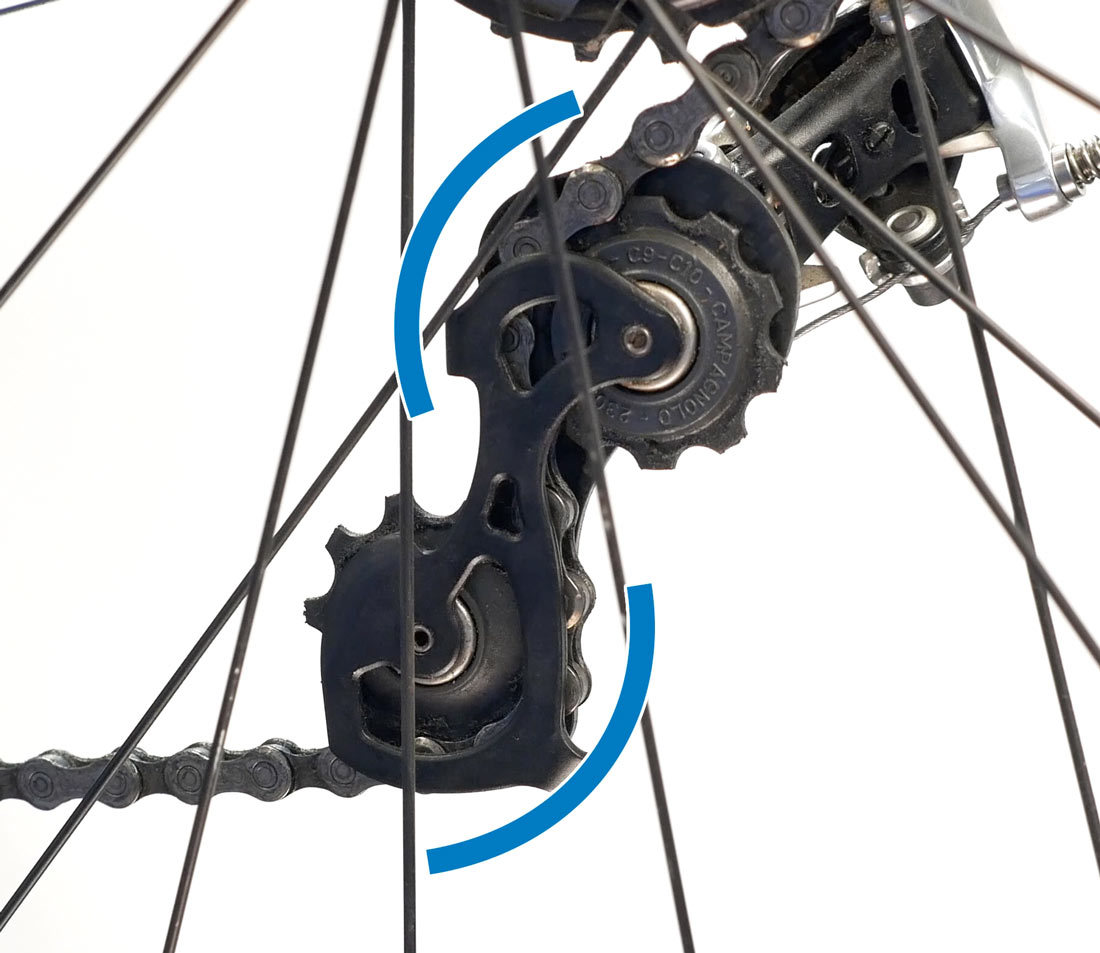
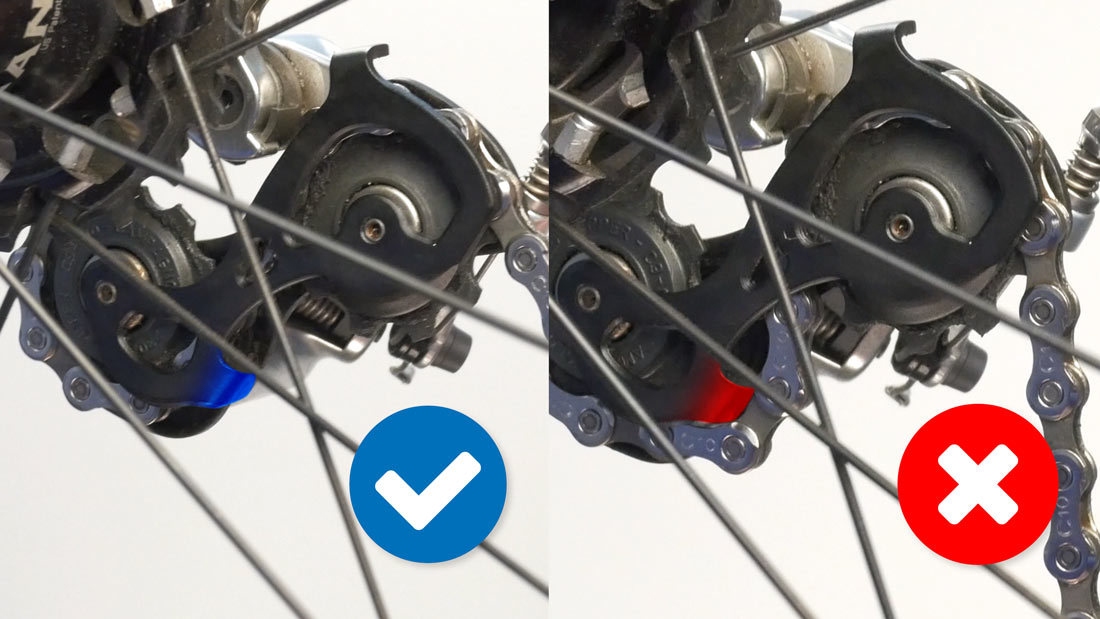
Now, shift to the smallest cog and front chainring. There should be no slack in the lower run of chain. The chain should not be contacting itself at the front guide pulley. In the Campagnolo® sizing system, this gap should be between eight and fifteen millimeters. However, if the gap is less than eight millimeters, but the chain is not slack and there is no contact at the pulleys, it is considered a usable length.
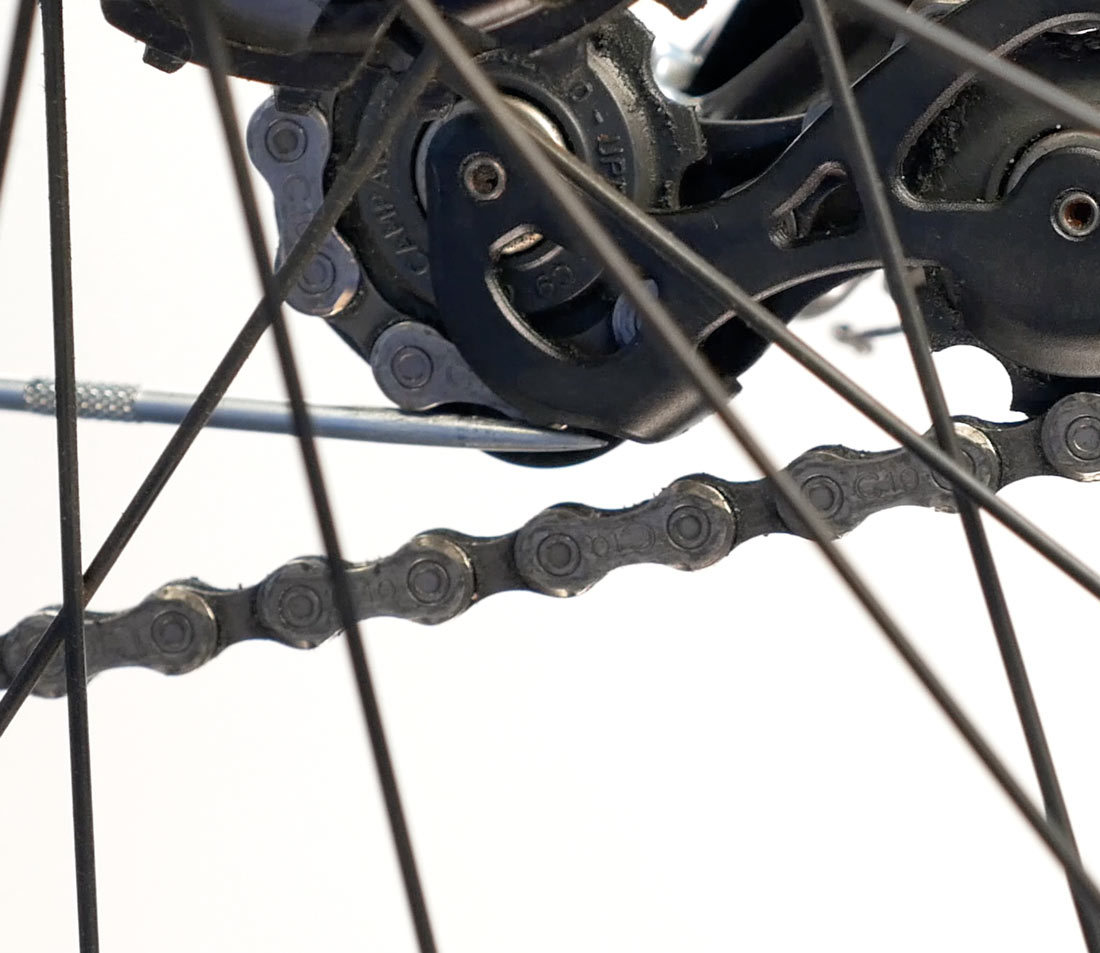
No contact at front guide pulley
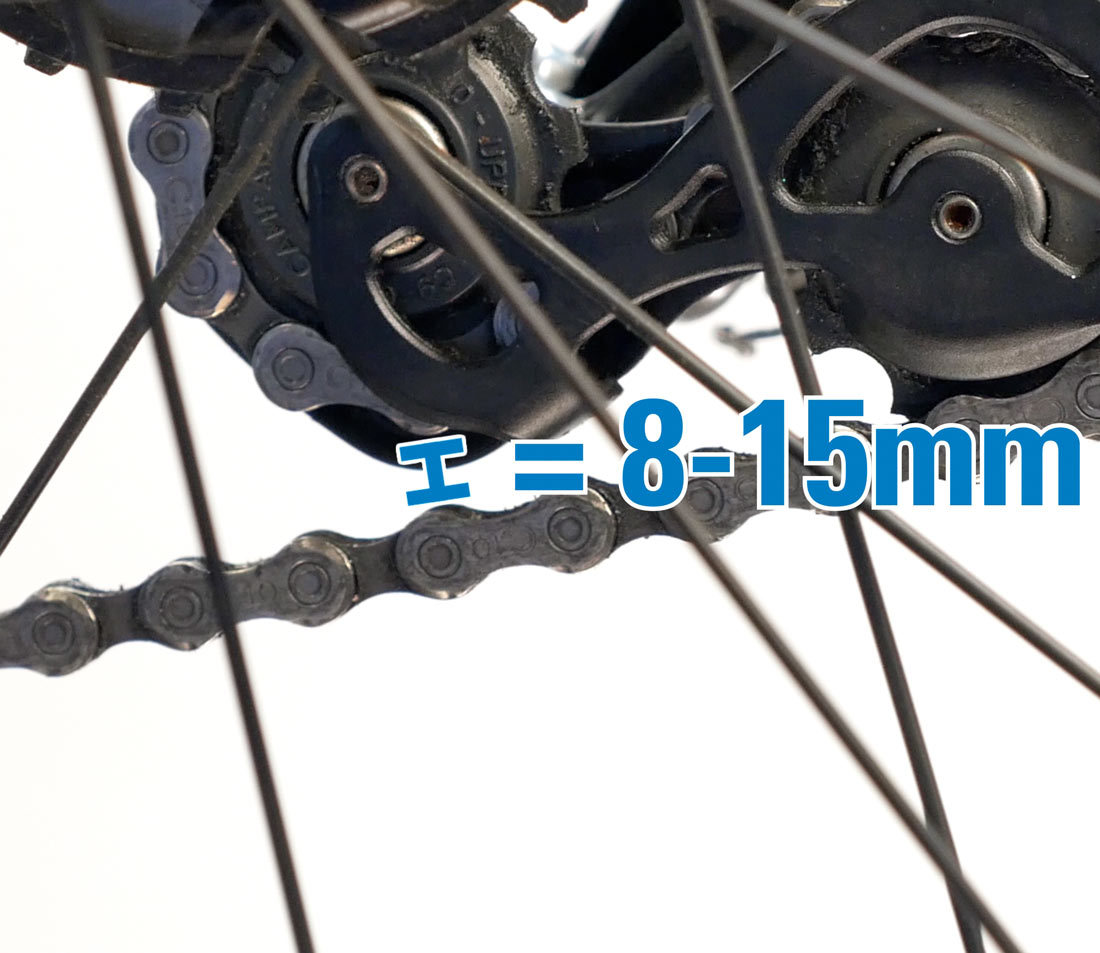
Gap should be 8–15 mm
Old Chain Method
If the old chain is an acceptable length, lay it next to the new chain on a flat surface. Always line up ends with outer plates and take care to match them rivet to rivet, noting that old chains will lengthen as they wear. Cut the new chain to the same length as the old chain and voila, your chain is sized.
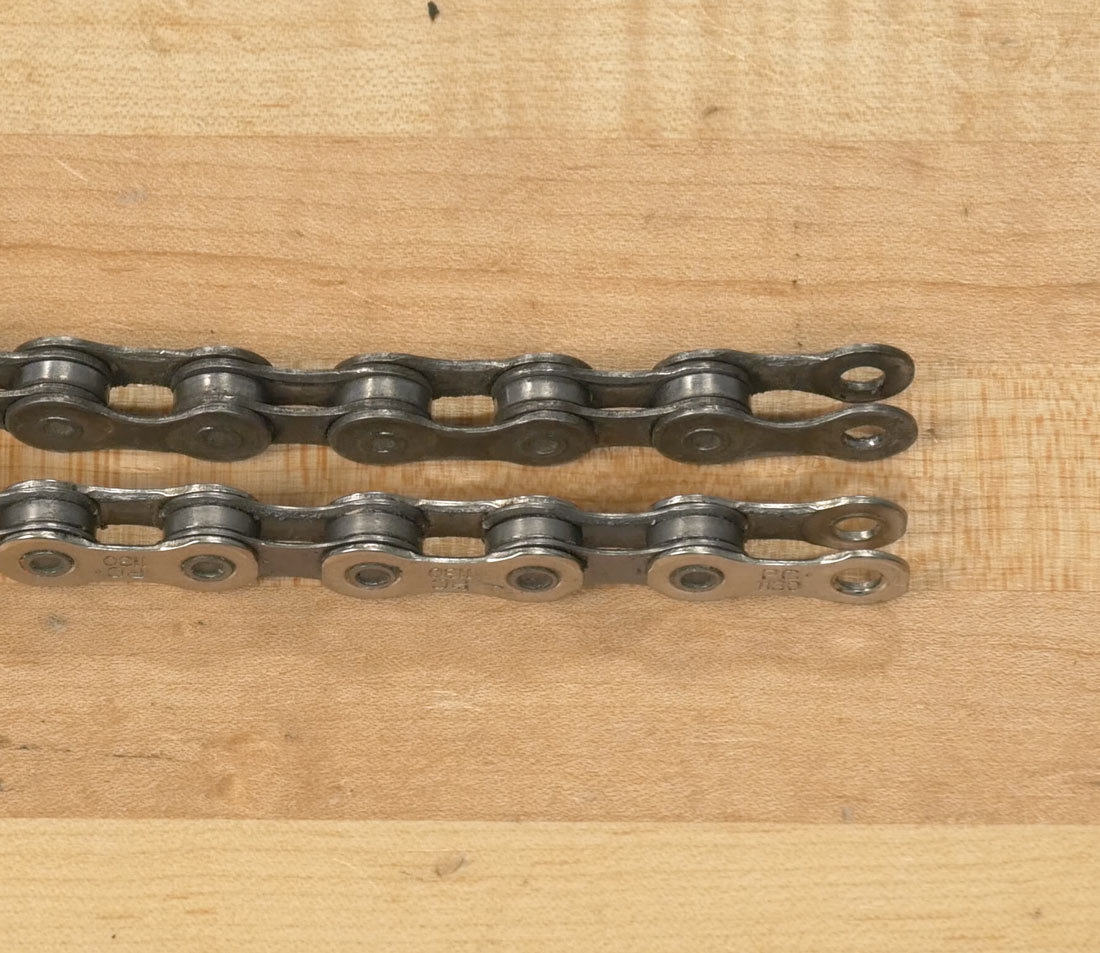
Line up ends
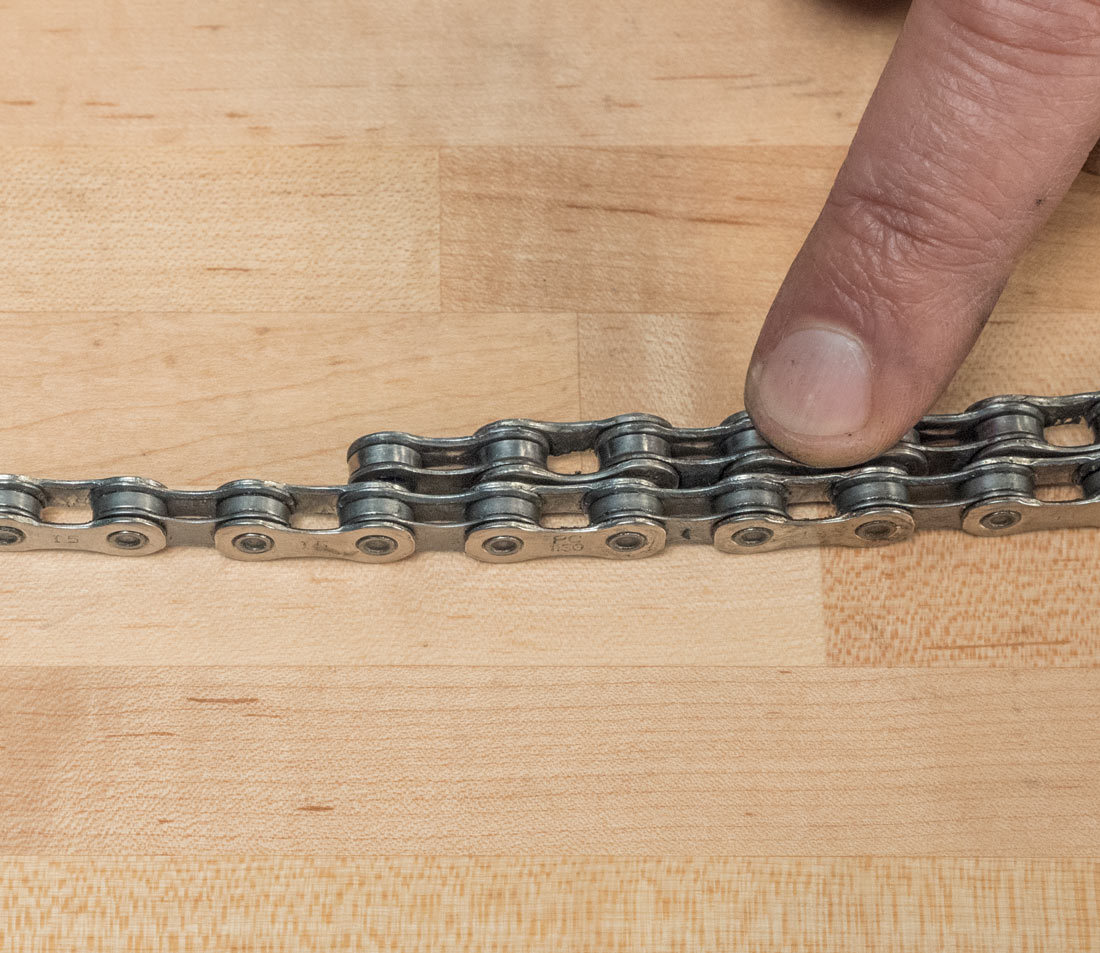
Match rivets on used chain to new chain
New Chain Method
To size a chain without the use of an old chain, begin by removing the old chain and shift both front and rear derailleurs into the smallest cog and front chainring. Using the end with the outer plates, route the new chain through the rear derailleur.
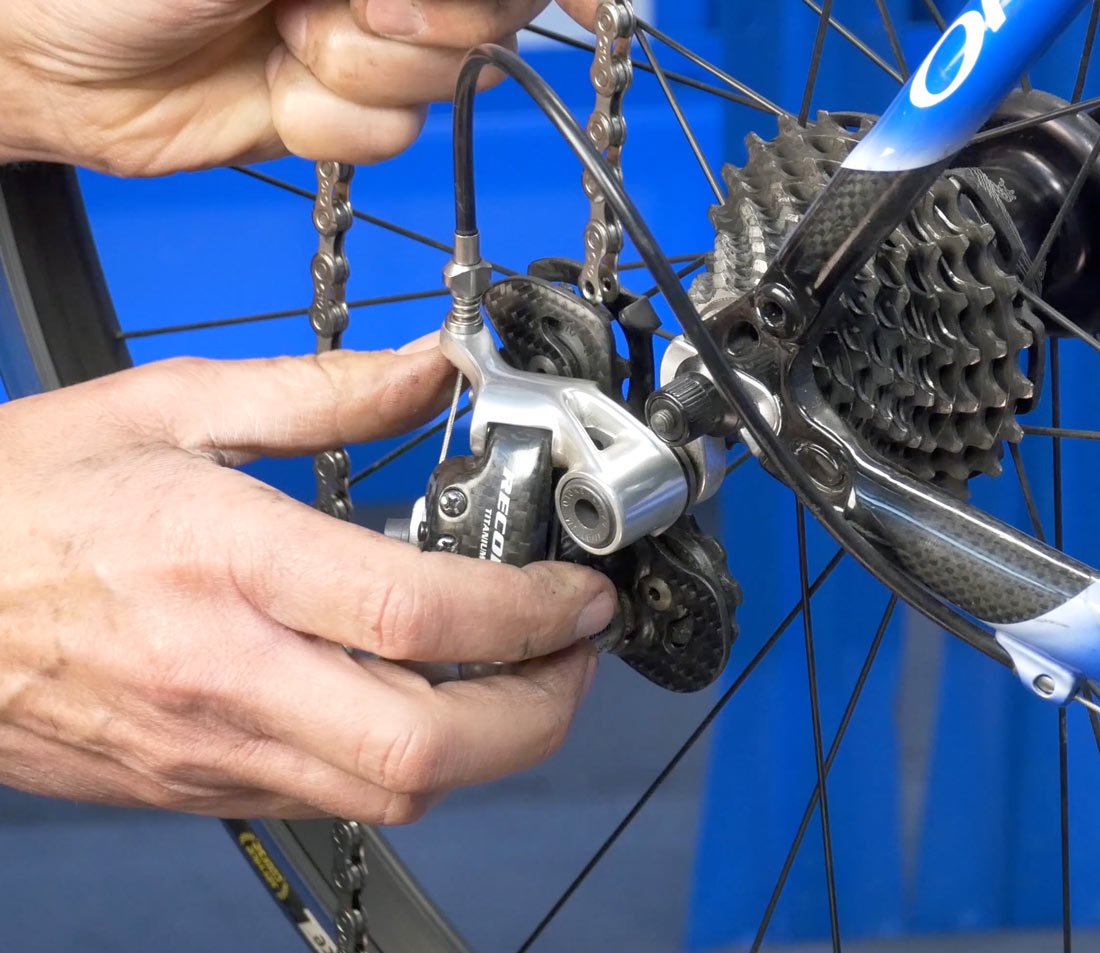
Be sure to route in a straight line from the lower pulley to the upper pulley and be aware of any tabs in the cage and route the chain on on the correct side of the tab.
After passing the chain through the rear derailleur and around the smallest rear cog, route it through the front derailleur and onto the smallest chainring.
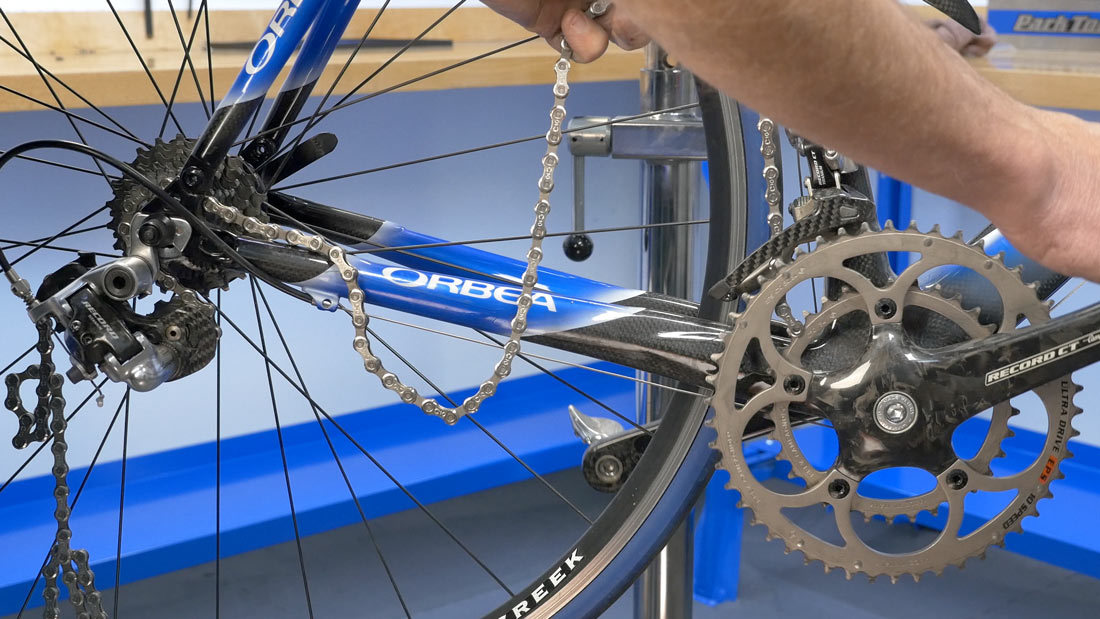
Hold the chain end on the front chainring at the five o’clock position and pull the lower section of the chain well forward until the rear derailleur pulleys are approximately perpendicular to the ground. This will wind up the body and cage pivot spring.
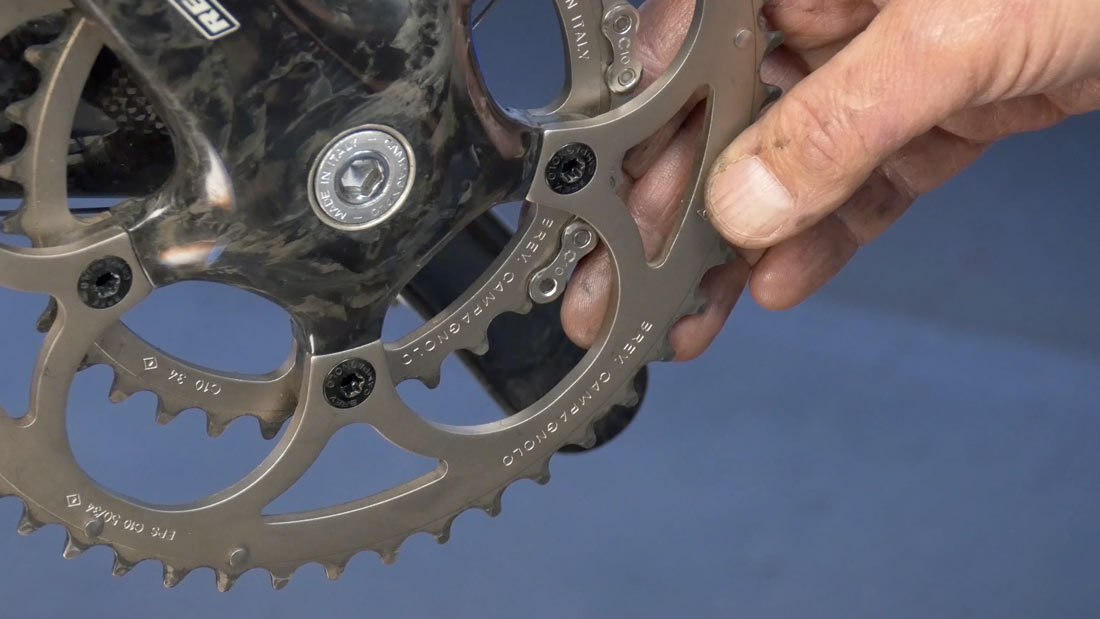
Hold at five o'clock position
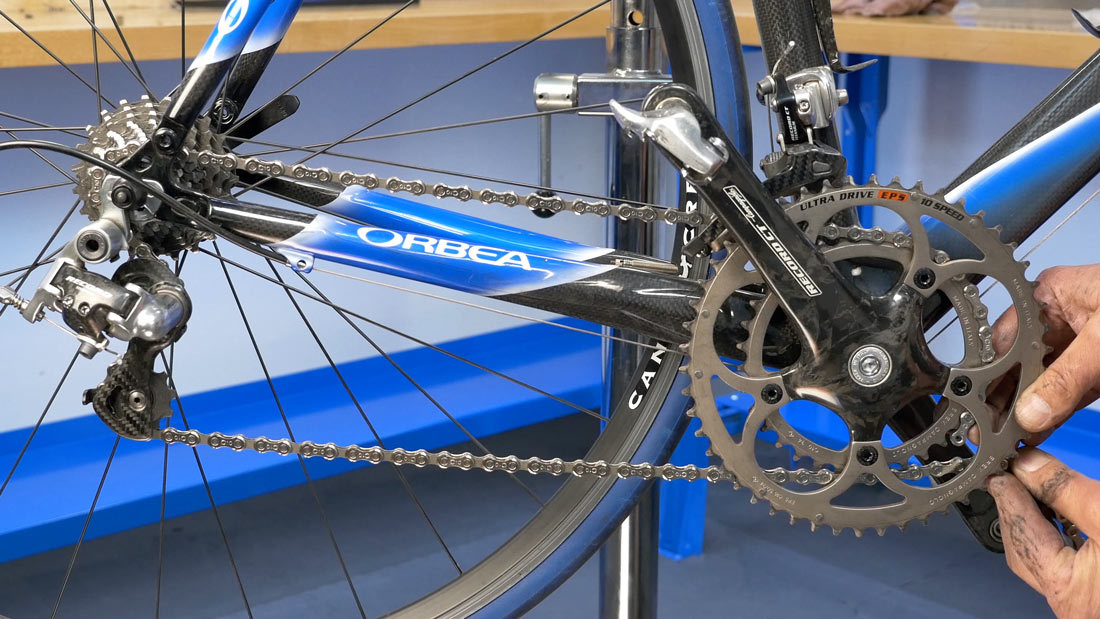
Pull rear rear derailleur until perpendicular
Now begin to lengthen the chain. Extend the lower section of chain one inch, or two rivets at a time. Extend the chain until the gap between the lower section of chain and the section of chain that wraps around the guide pulley cage of the derailleur cage is between eight and fifteen millimeters. To see if the gap is too small, use an eight millimeter hex wrench as a feeler gauge. The wrench should fit into this gap.
8–15 mm clearance
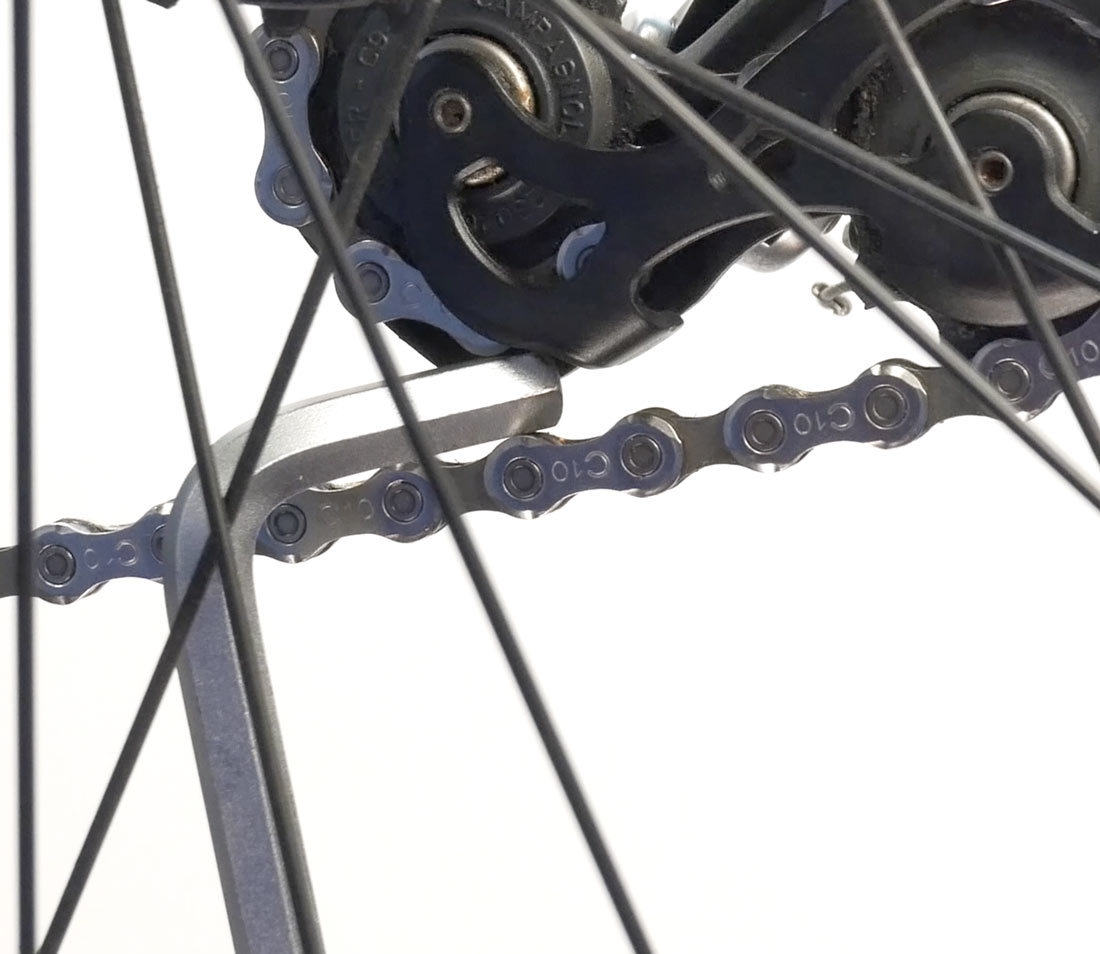
Use 8 mm hex as feeler gauge
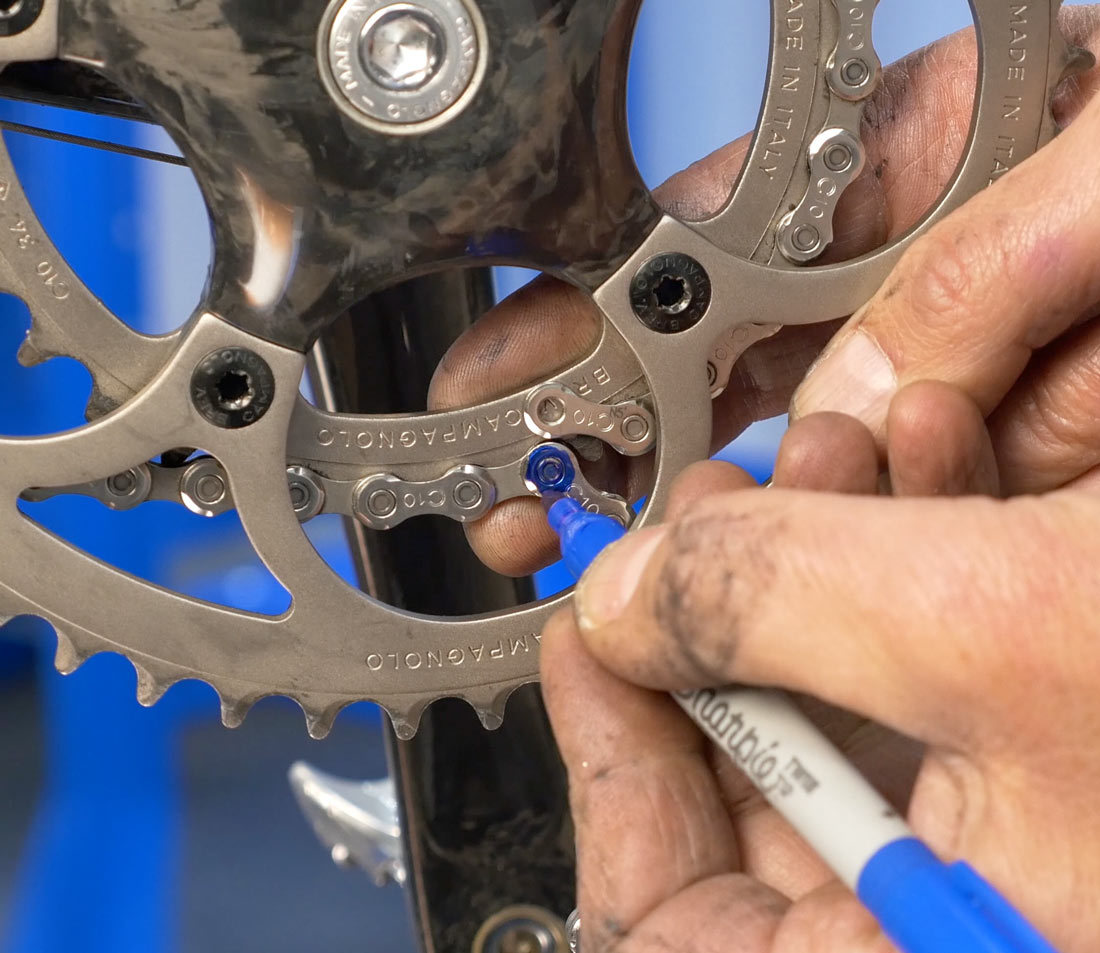
Mark the rivet to be cut at the front chainring and break the chain using a chain tool. Your chain is now sized and ready for installation.
NOTE: On Campagnolo® 11, 12, and 13-speed chain, the company recommends peening the connecting rivet. This requires a specialized chain tool such as the Park Tool CT-15. The peening process is explained in full in our Chain Replacement article.