Head Tube Reaming and Facing
Explains reaming and facing a head tube so both headset bearing races sit true after welding. Intended mainly for metal frames, using a reamer and facer tool.
In this article
This article will discuss the reaming and facing of the head tube. For the integrated headsets, see Integrated Headsets below.
Getting Started
The headset of the bicycle consists of two sets of bearings, one each at the top and bottom of the head tube. To work well, these bearing races must be aligned to one another and to the fork steering column. During manufacturing, the welding may cause the head tube to become warped and deformed. It is then necessary to re-machine the head tube faces. This is accomplished with the HTR-1B Head Tube Reamer and Facer.
NOTE: The processes described in this article are intended primarily for metal bike frames. When dealing with carbon fiber frames, first verify with the manufacturer that this process is appropriate or necessary.
Facing
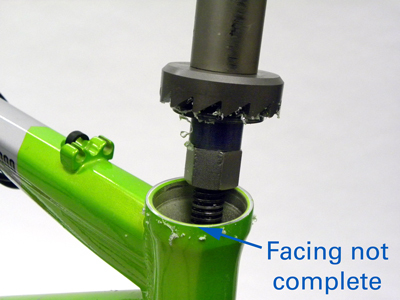
The machining of the top and bottom surfaces of the head tube, called facing, can be tracked by using the paint as a marker for cutter progress. As the facer cuts more material, paint is removed. Any remaining paint indicates a lower area than a fresh cut. If the frame has no paint, use a permanent-marker or “machinist dye” as a marker. The headset bearing needs a fresh cut completely around the head tube.
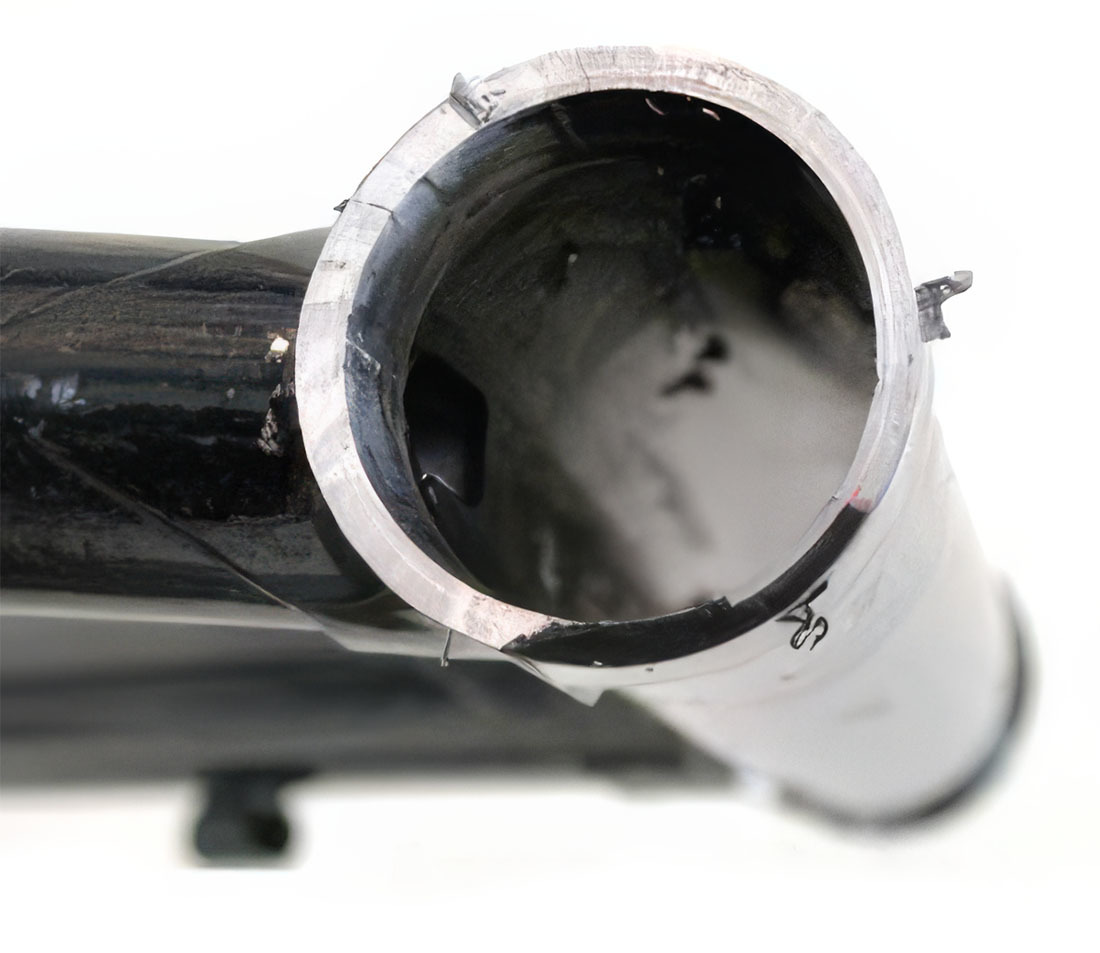
The head tube above shows an incomplete face at the 5:00 to 6:00 position. Additionally, there is a burr at the 11:00 position.
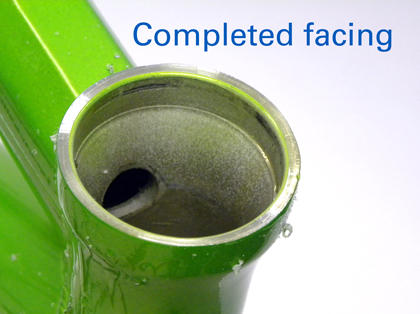
When there is a clean cut completely around the head tube, the process if finished. The cup has a square face to reference when it is pressed. It is not necessary the cut be the same thickness around its circumference.
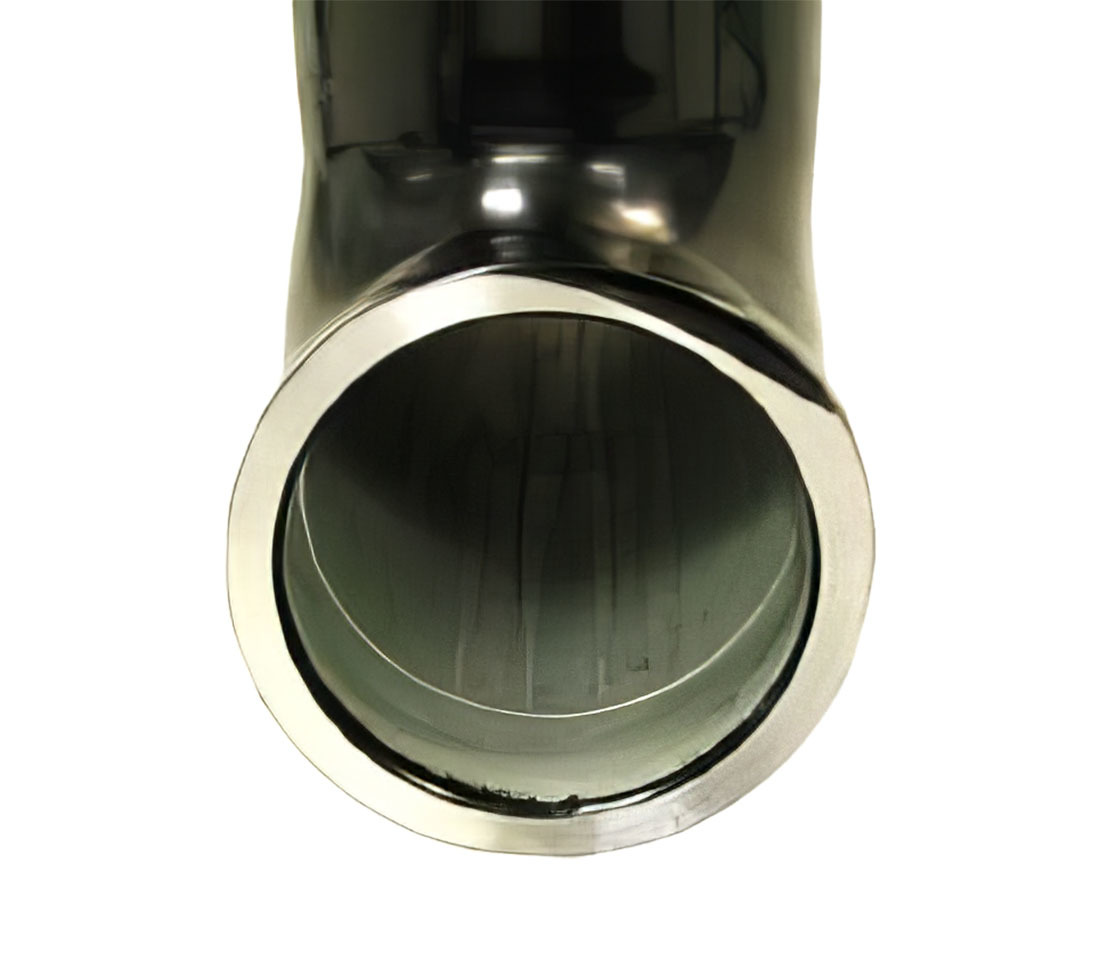
The head tube above is completely faced. Notice the machining at the 1:00 to 2:00 position. The paint indicates a low spot, yet there is still cleanly machined metal all the way around the cut.
It can happen that the facing tool will skip or chatter over a cutting surface. Chatter can often be controlled by changing turning speed and pressure. The type and hardness of the material will also affect the amount of chatter. After facing, light spins on the facer will minimize chatter. Even if the head tube appears to have slight chatter marks, these are all the same height, and typically do not affect the quality of the machining. The head tube is still squared even with chatter marks.
Reaming
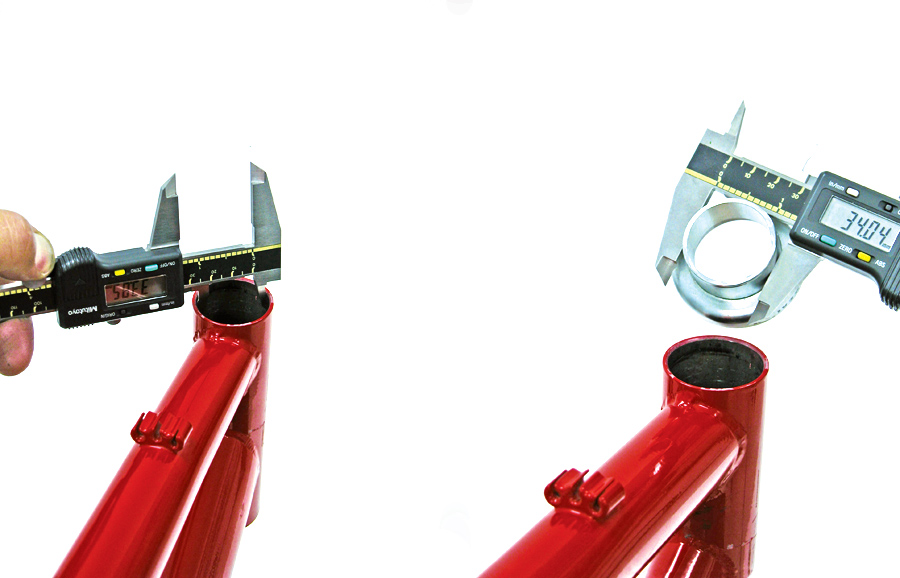
Many headset cups are held in place by a “press fit”. The headset cup has a slightly larger diameter than the head tube inside diameter. Generally, differences of 0.1-0.25 mm are considered adequate for a press fit. If the pressed cup is more than 0.3 mm larger than the frame inside diameter, it may be very difficult to install, and frame damage may result.
If the press fit difference is from 0 mm to 0.05 mm, the press fit may be weak, and may result in movement during use. It may be possible to find a different headset cup that is slightly larger to improve the press fit. Otherwise, a strong grade of bearing retaining compound is recommended. If the headset cup is actually smaller than the inside diameter of the head tube, a new headset with a larger diameter is recommended.
The HTR-1B comes with a 33.9 mm reamer (part #754.2) for the 1⅛-inch standard and 4 pilots (one each for JIS, One-inch “Modern-European” 1⅛-inch, and 1¼-inch). The optional 30.1 mm reamer (part #751.2) for the 1-inch standard is also available as an accessory. The pilots may be used in place of the reamer if the inside diameter requires no reaming. Reaming is only required if the press fit diameter difference is too great. To install either the reamer or pilot, remove the retaining nut. Install the reamer or pilot. Replace the retaining nut and tighten fully. The retaining nut must be secure to keep the reamer from spinning.
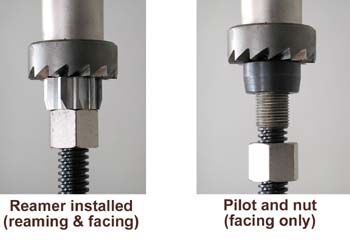
Reaming and Facing Procedure
- Measure outside of headset cups to be pressed and compare to the inside diameter. When measuring head tube inside diameter check in two different directions and average the readings. Determine correct reamer or pilot and install onto the HTR-1B.
- Install HTR-1B into head tube.
- Install lower quick-release cartridge with tapered end facing upward. Lubricate cutting edges with cutting fluid, such as CF-2. Reapply often.
- Adjust cartridge upward until touching frame, then add 3-4 turns spring pressure.
- Remember to reapply fluid often.
- Turn handle CLOCKWISE only for both reaming and facing. Periodically add tension on cartridge below as reamer enters frame head tube.
- Remember to reapply fluid often.
- When facer engages head tube, turn three or four turns. Stop to check progress.
- Loosen cassette to relieve spring tension, and depress quick-release. Lower centering cone well below head tube, or remove. Turn handle clockwise while pulling upward.
- If machined metal appears in a complete circle, head tube is faced.
- Continue to face if necessary. Generally, it is better to remove only the material necessary.
- Remember to reapply fluid often.
- When facing is complete, loosen centering cone tension fully until cone is not touching head tube. Turn centering cone back into head tube. STOP the moment cone contacts frame. The cone should center the tool, and should provide no pressure on facer. Spin facer with light hand pressure to remove burrs and to minimize any chatter.
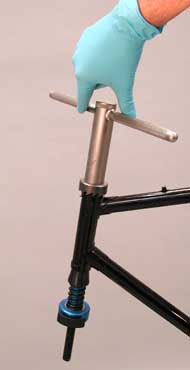
- Remove HTR-1B and repeat process on other side.
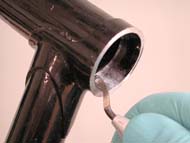
- Use deburring tool or round file to remove sharp edge on inside of top tube.
- Clean the bike of cutting fluid and clean cutting tools. Do not use compressed air to clean cutting tools or bike.
There are now available headset cups have a relatively long insertion into the head tube. The head tube may require further reaming to allow these headsets to fit. The 769 Head Tube Reamer Extension will allow for reaming down to just over one-inch (26 mm). Check with frame manufacturer if in doubt about frame integrity.
Internal Headset Machining
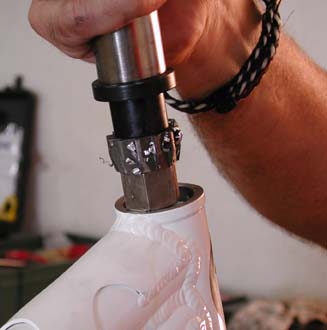
Internal headsets use a pressed cup inside the frame. The cups hold the bearings and the entire headset has a low-profile look. The head tube ID is nominally 44 mm. The 768 pilot is used with the 690-XL to face the head tube. At this time there is no reamer for this standard.
The procedure is the same as with facing conventional headsets.
Integrated System Headset Machining
The Integrated System without cups comes in different standards and dimensions. The 756S.2 reamer and spacer set is made for the so-called “Cane Creek” standard, also known as IS41. This is a nominal ID of 41 mm, with a 45-degree bearing seat. Do not use these cutters to attempt to convert a frame to a different standard.
The 756S.2 comes with a spacer to assist in cutting the upper and lower head tube. The upper head tube requires a shallow cut for the upper part of the head tube, so the reamer should be installed on the HTR-1B without the spacer. The lower cutter is a deeper cut, and so the #755 spacer should be installed between the reamer and facer. It is important that the spacer be configured correctly for the corresponding parts of the head tube. NOTE: As with any facing tool, inspect for clearance to all frame parts such as the downtube.
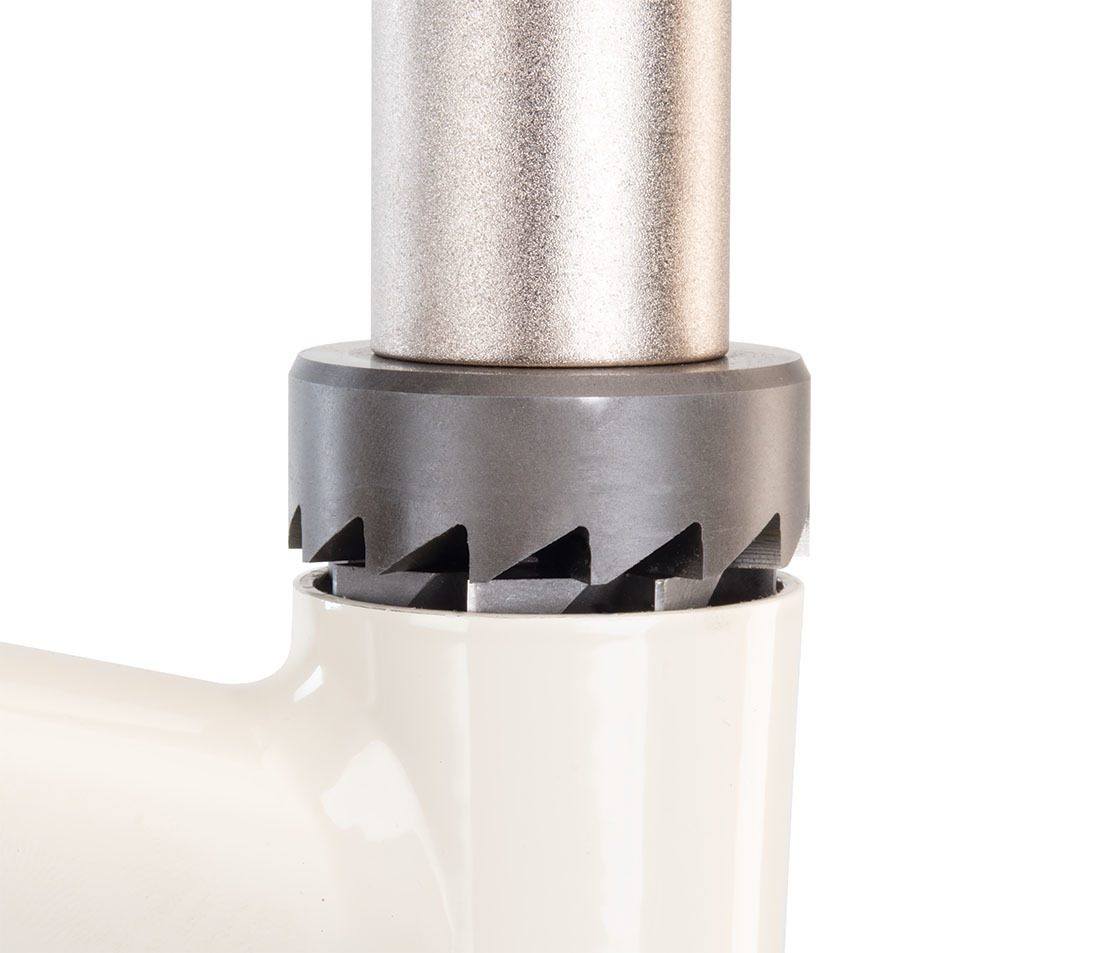
756S.2 and 690 configured for IS41 upper head tube
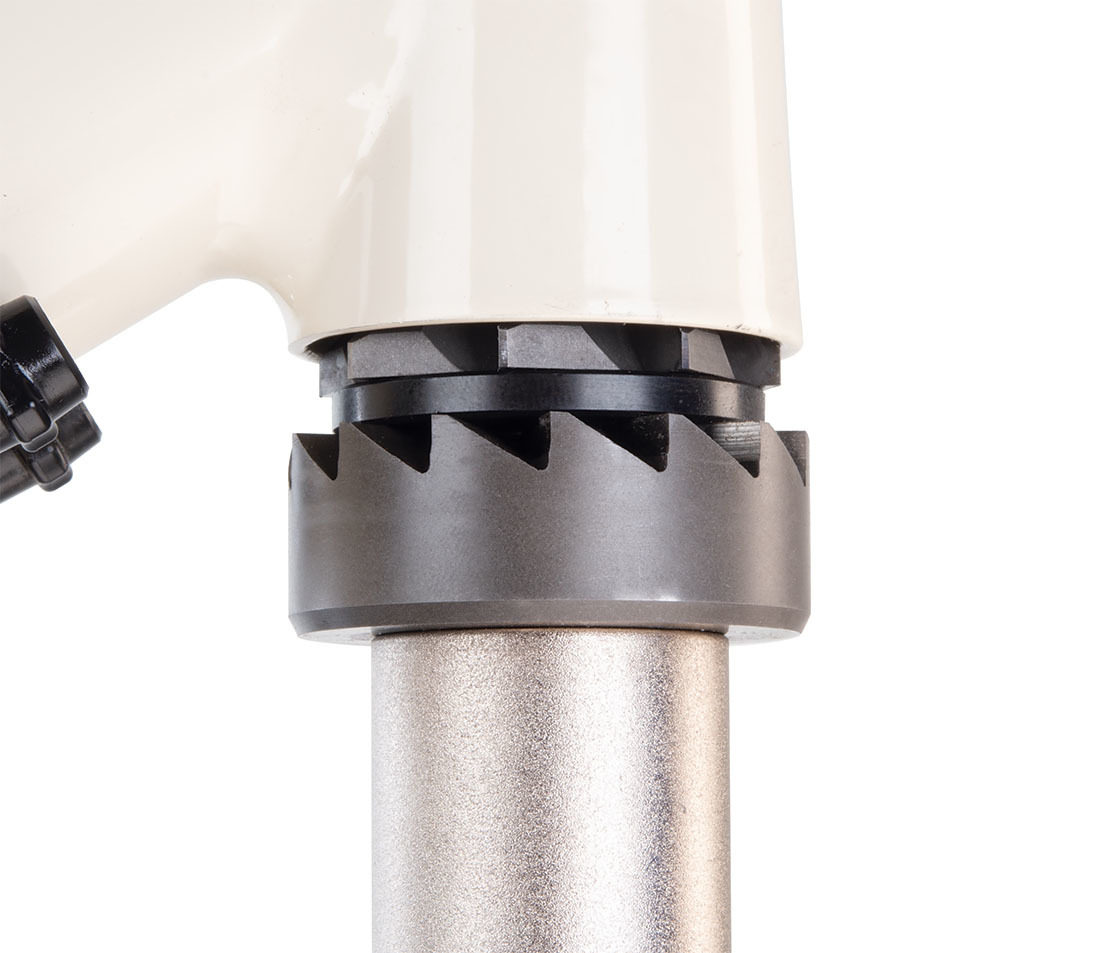
756S.2 and 690 configured for IS41 lower head tube
There is a practical test of the bike to determine the need for machining. Place a bearing into the head tube. The bearing is a loose slip fit, and there will be some motion or rocking in the bearing. Place a thumb on either side of the bearing and press alternatively downward to judge the amount of play. Move to front and back edge of bearing and repeat the test. If the bearing has more play in one orientation than the other, the bike will typically benefit from machining.
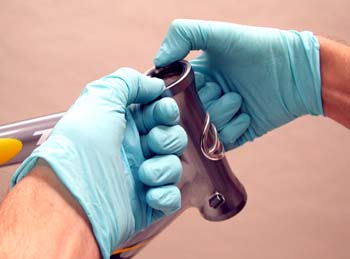
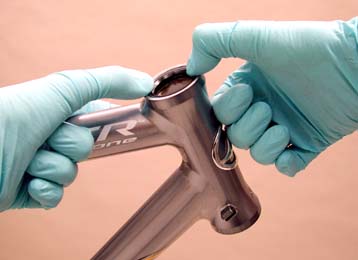
It is important with these cutting tools to stop and recheck the cut often. Take only the minimal cut necessary.
NOTE: All cutting tools will eventually require resharpening. With use, the cutting edge will dull. While there are many variables that play a role in how long a cutting tool will stay sharp (e.g. technique used, amount and type of lubrication used, type of material being machined, etc.), in general, have the tool resharpened once a year. Park Tool offers Resharpening Services.